
I have never been happy with the Rally Overrider brackets I installed during the restoration process for the Bloody Beast. I ordered the brackets from Cape International and while they fit (I guess), the Rally Bumpers protruded too far from the rear shroud.
Cape International Rally Overrider Brackets
I had resigned myself to finally solve the problem with some cutting and welding. However, I met a new Healey enthusiast who was just finishing up his restoration and he mentioned to me that he had purchased his Rally Overrider brackets from AH Spares and that he was pleased with them. He showed me a few photos and I was sold. I ordered a pair of the brackets from AH Spares for $73.00.
It was immediately obvious upon inspection that the AH Spares brackets were shorter and the angle of the brackets where they mount with the Overrider was also considerably different. The AH Spares bracket is laying on top of the Cape International bracket in the photo below. The much sharper angle on the AH Spares bracket tucks the rally bumper up and under the shroud nicely, paralleling the shroud curvature.
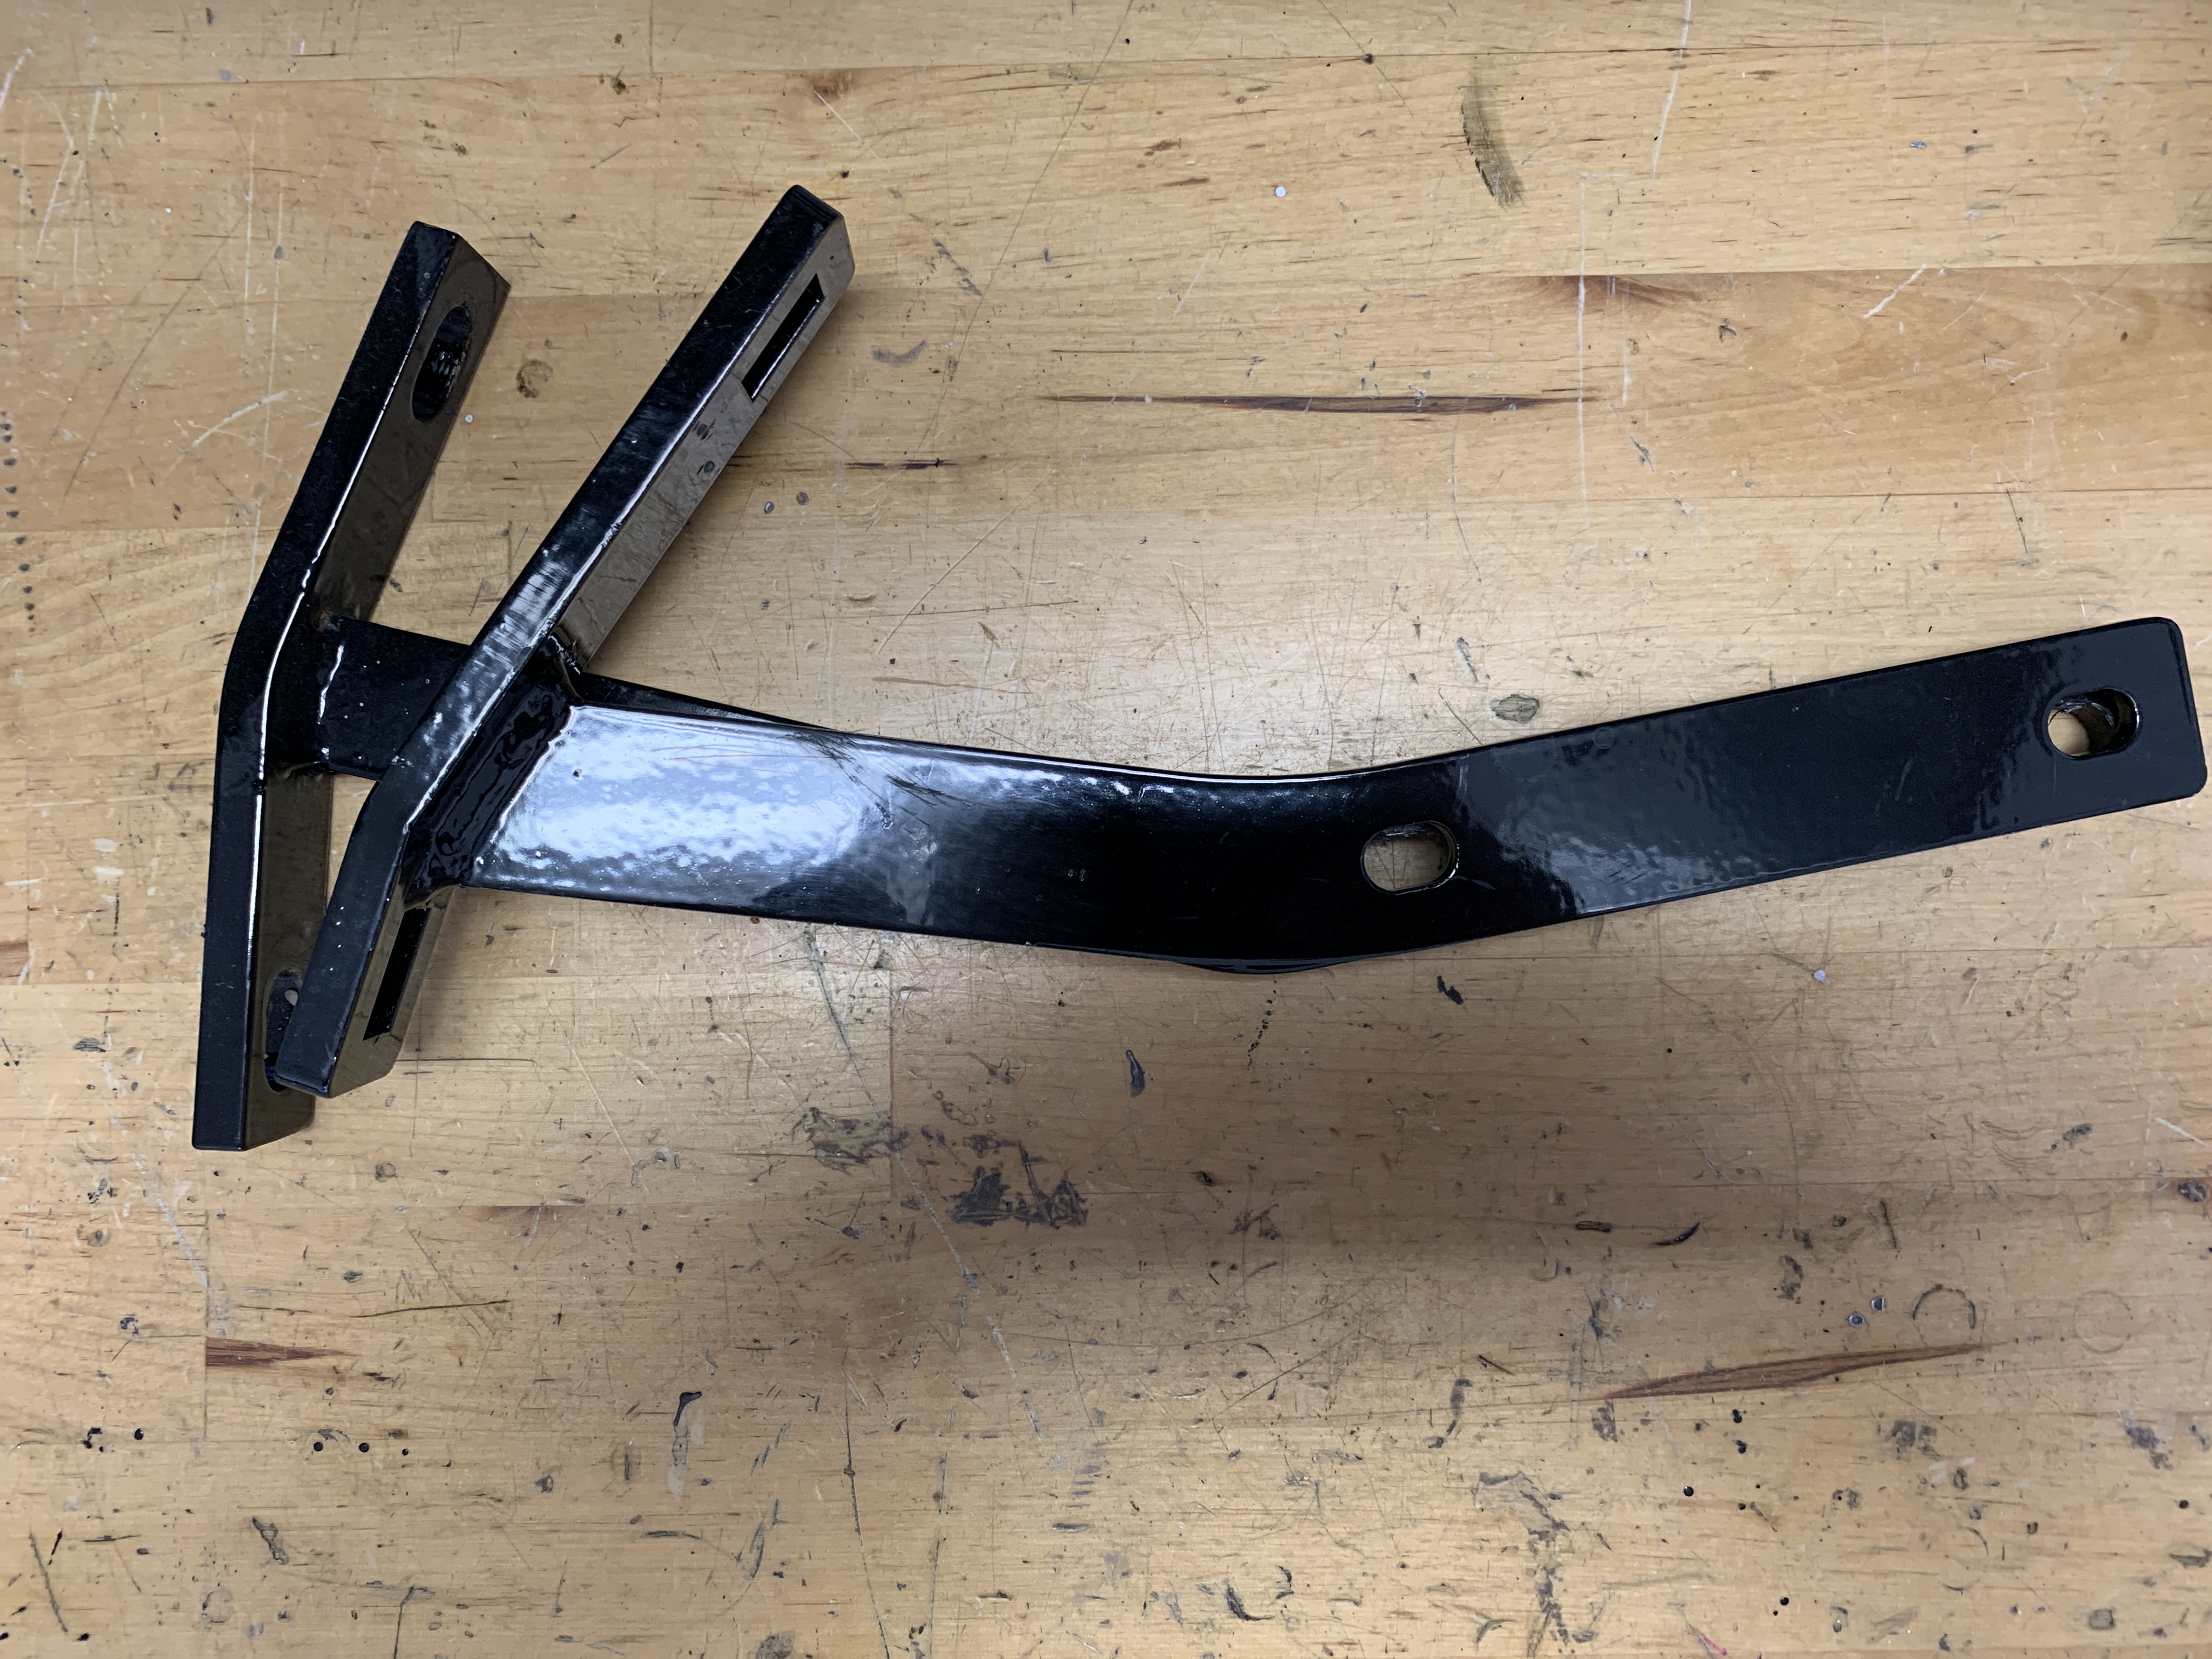
Old and New Brackets
I decided to replace the RH side bracket first. The initial step in the replacement process was to remove the battery and just to make things a little easier I also removed the master ground switch near the battery. This provided access to the two 3/8″ bolts that secure the bracket to the frame of the car.
Battery and Master Ground Switch
With the battery removed one can see the forward bolt for the bracket mount:
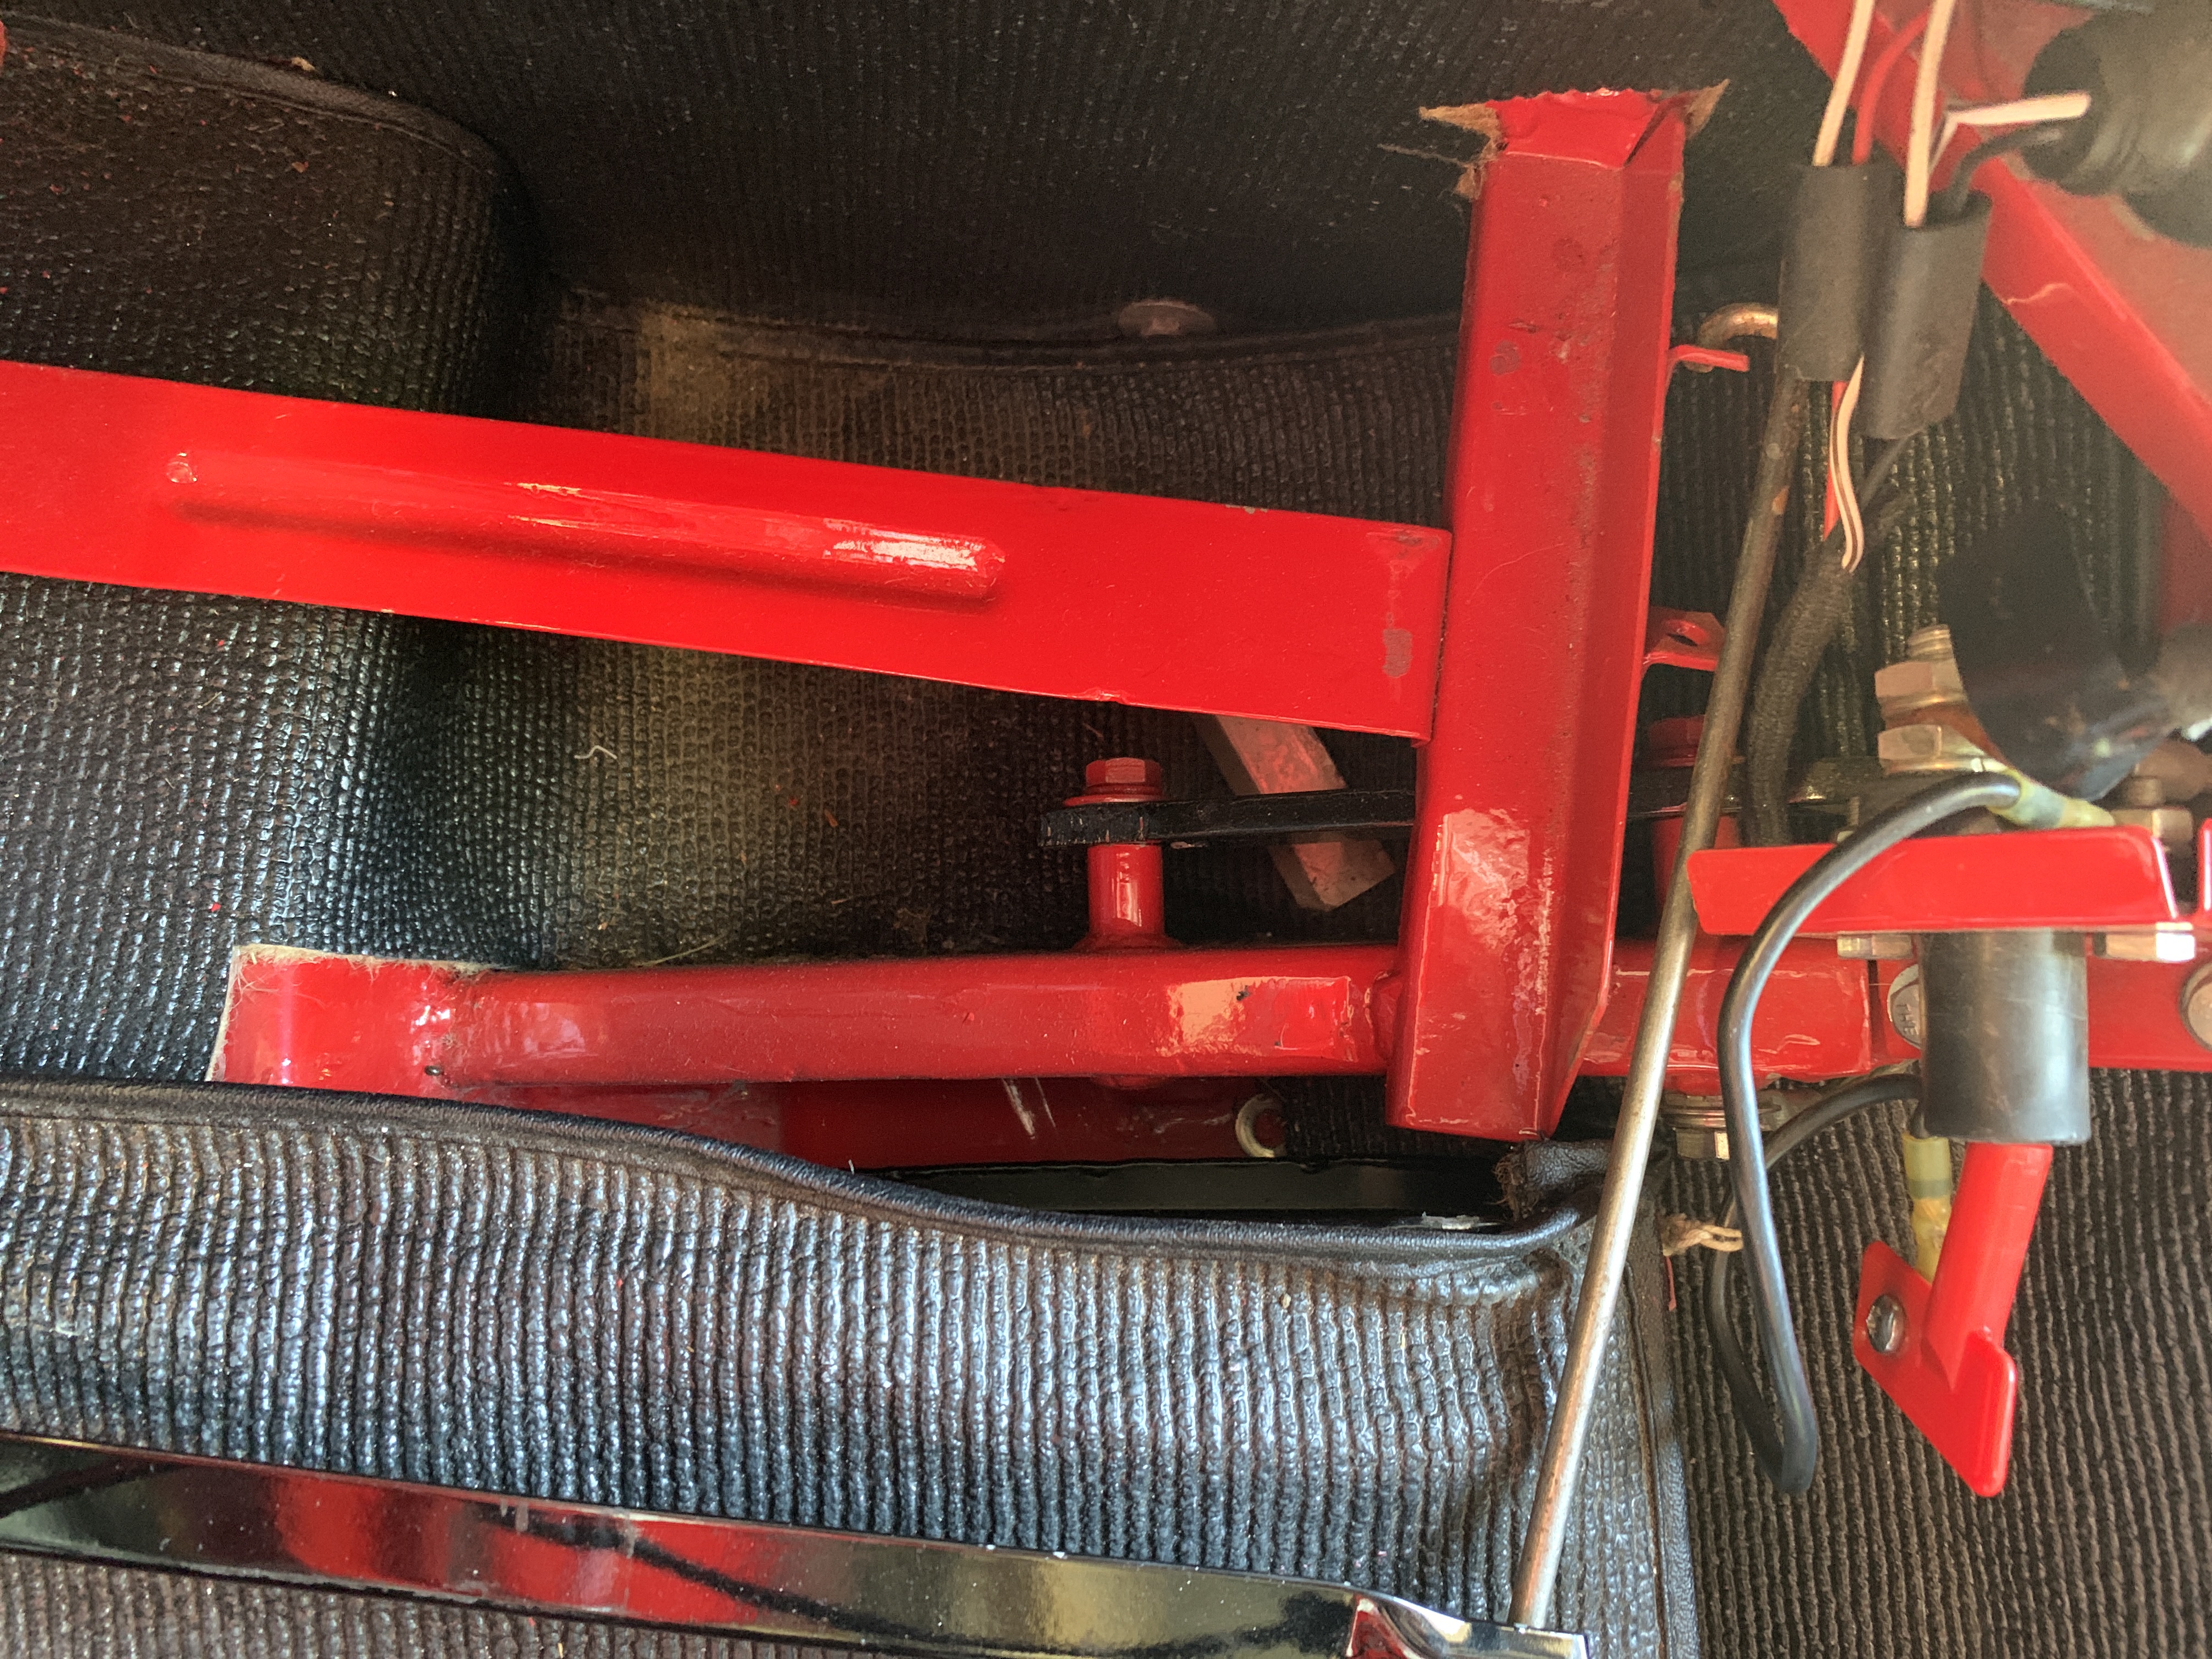
Battery Brace and Forward Bracket bolt
To get to the rear-most bracket bolt I removed the master ground switch:
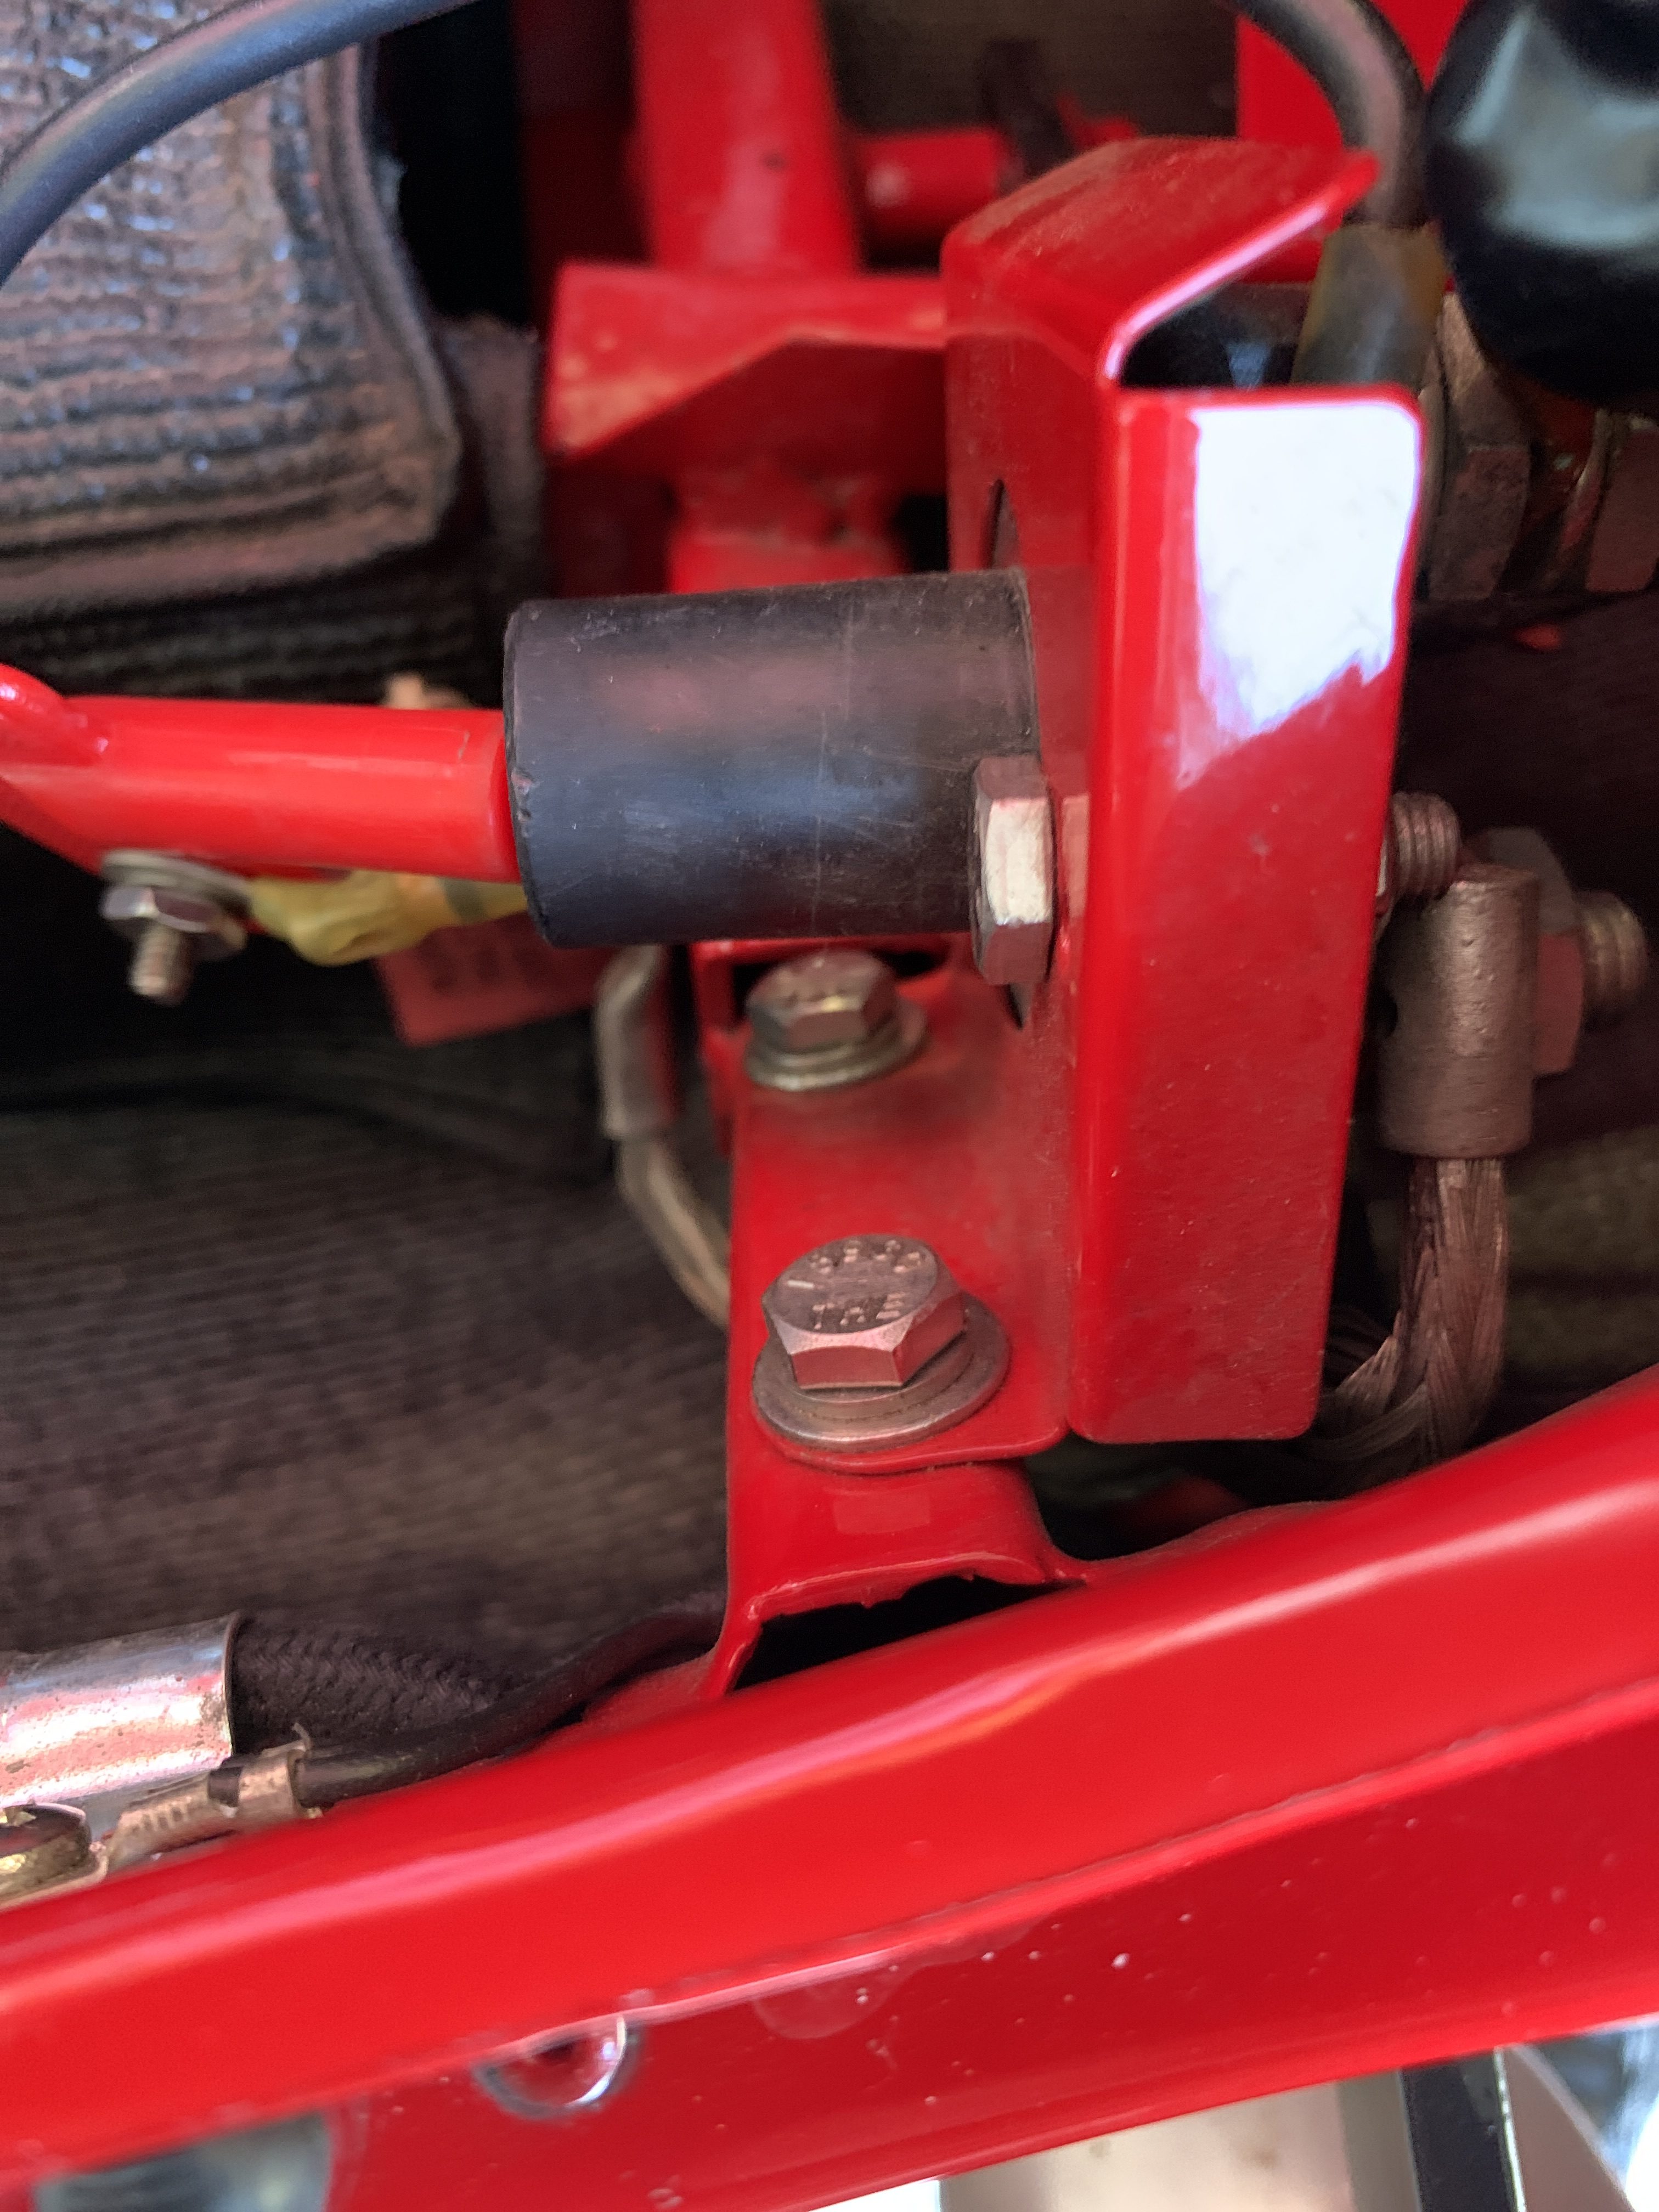
Master Ground Switch
It was then just a matter of bolting the rally bumper to the bracket and sliding the assembly into place. I then tightened all of the bolts, replaced the battery and tray as well as the master ground switch. I then moved to the left side of the boot.
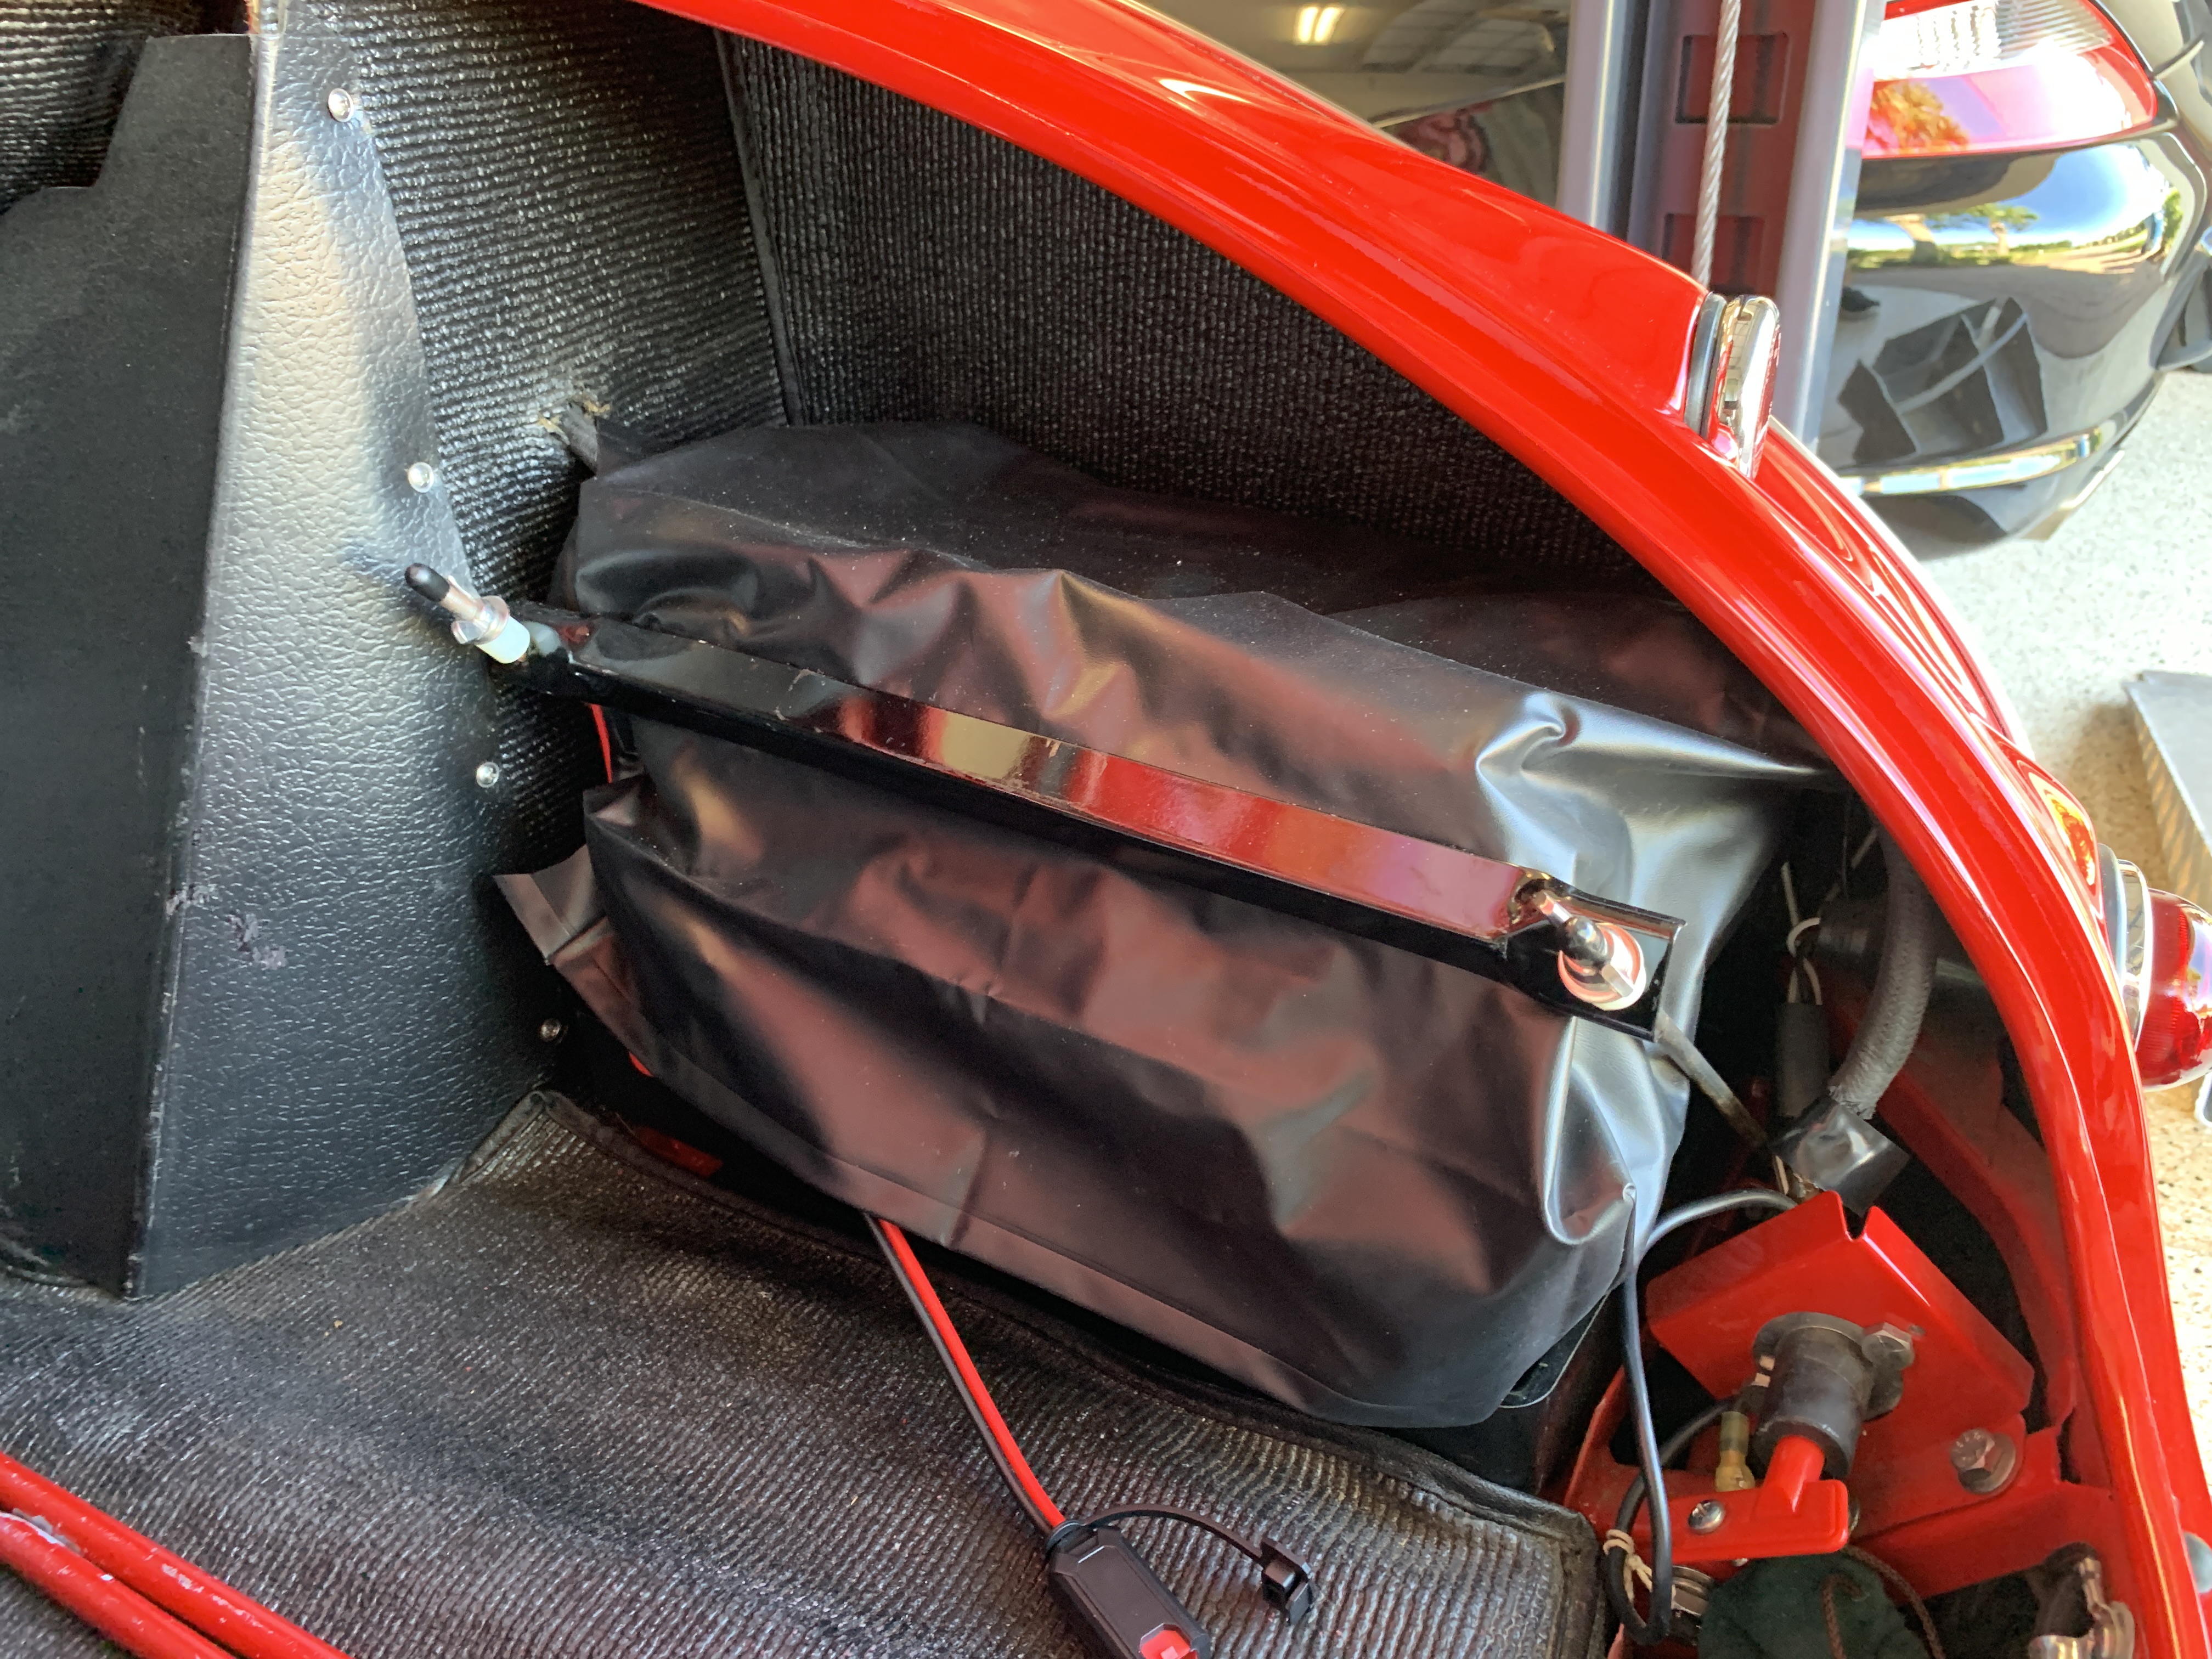
Of course, to access the LH bracket one must remove the spare tire!
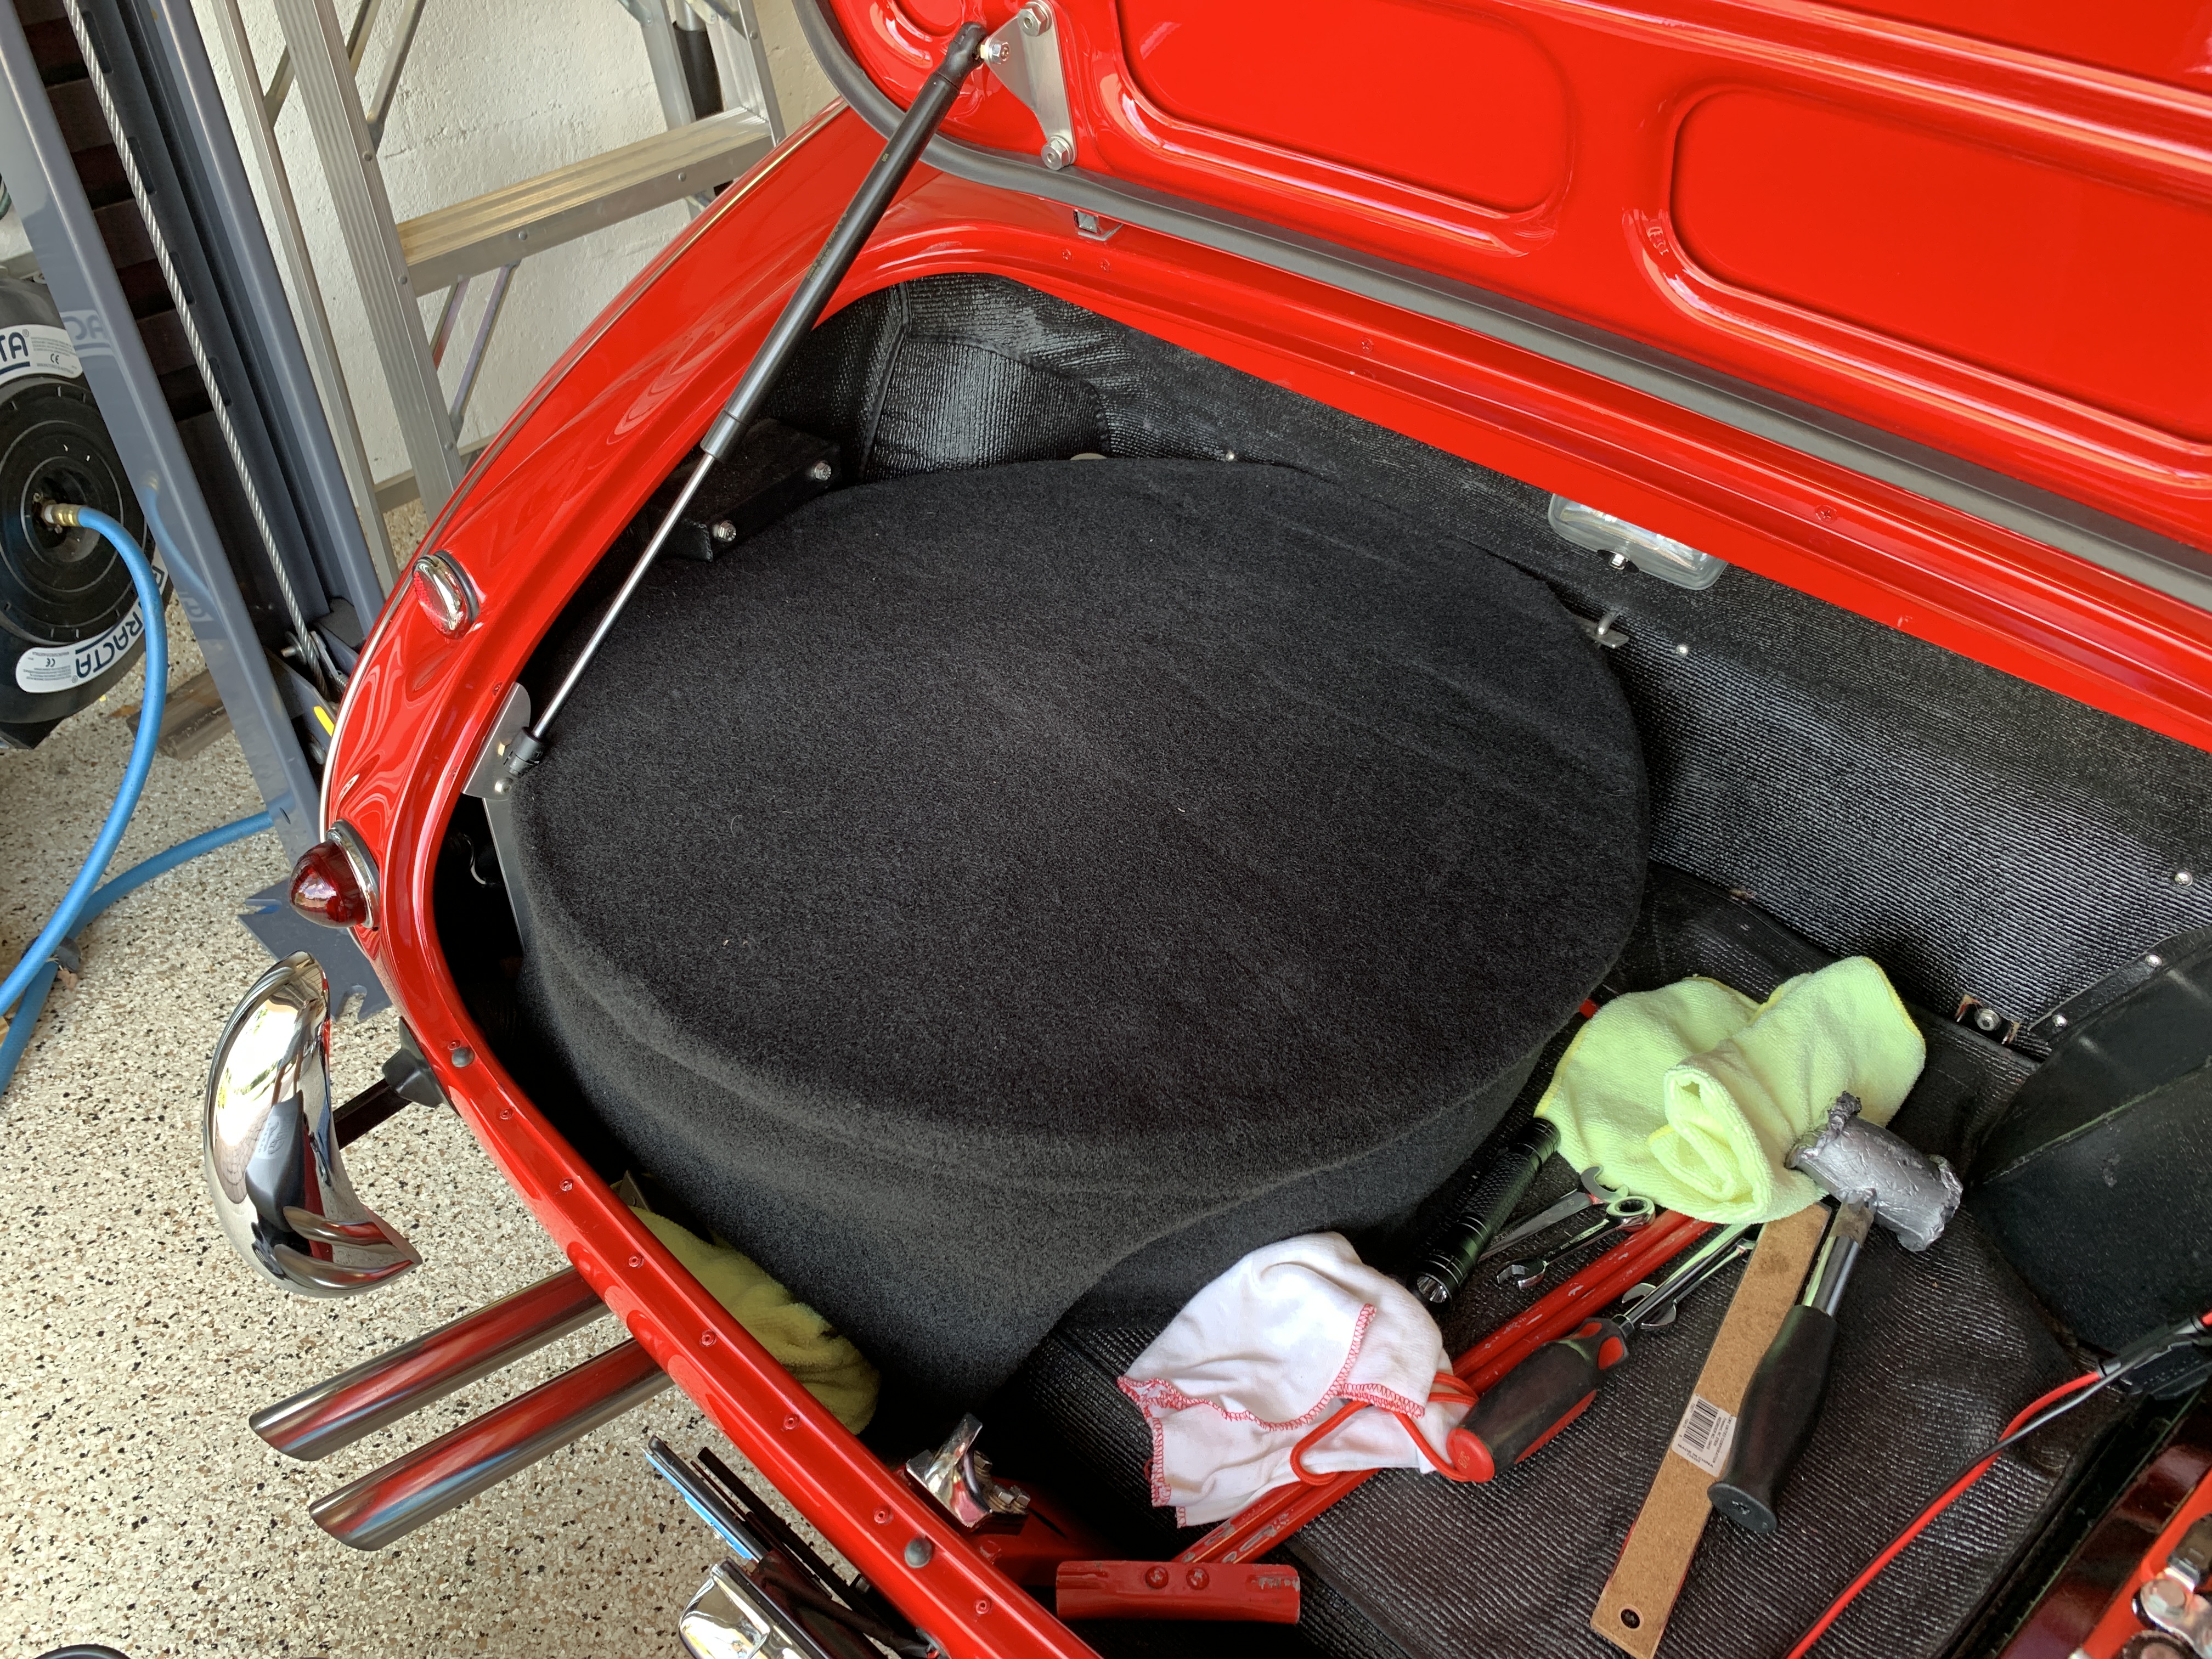
Spare Tire Removal
I then installed the LH bracket and rally overrider as I had done the RH side and replaced the spare tire and cover. While I was at it, I checked the air pressure in the spare and found it to be 11 pounds so I topped that up to 30 and was glad for the reminder to check spare air pressure!
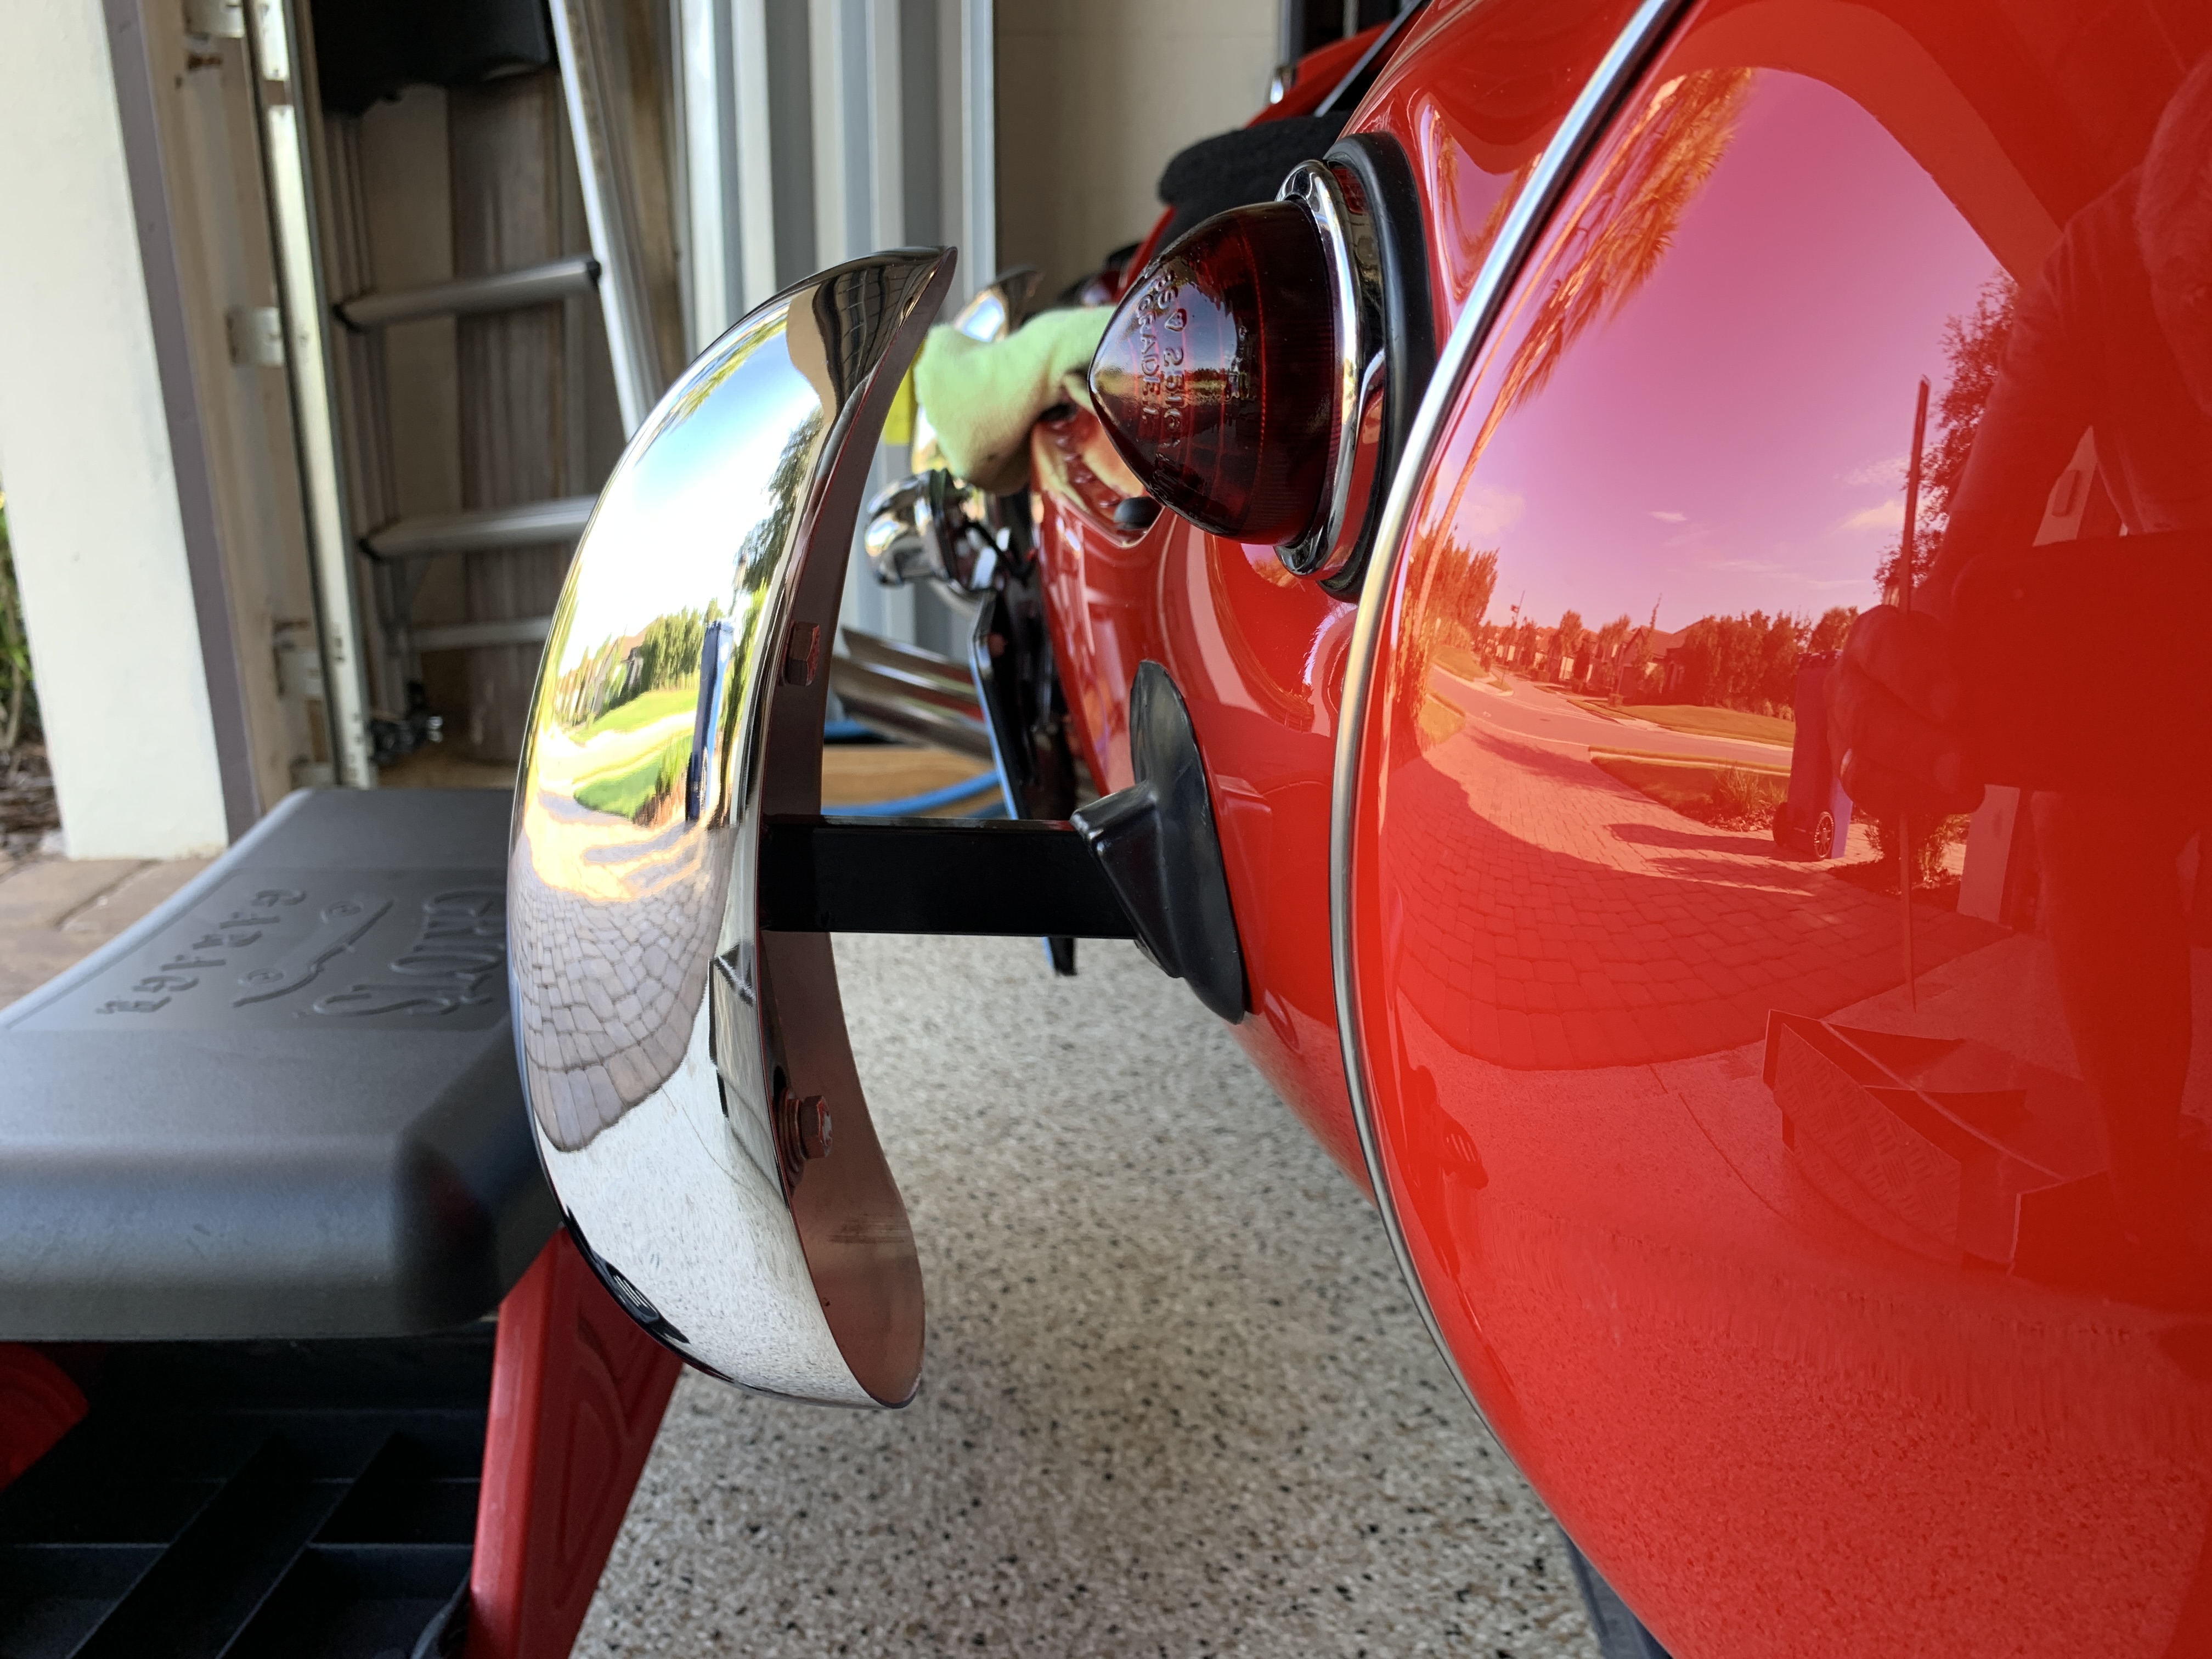
I am quite happy with the finished product. The rally overrider bumpers now fit as they should and I think it is a much better look.

Rally Overrider with AH Spares bracket

New Overrider brackets Installed
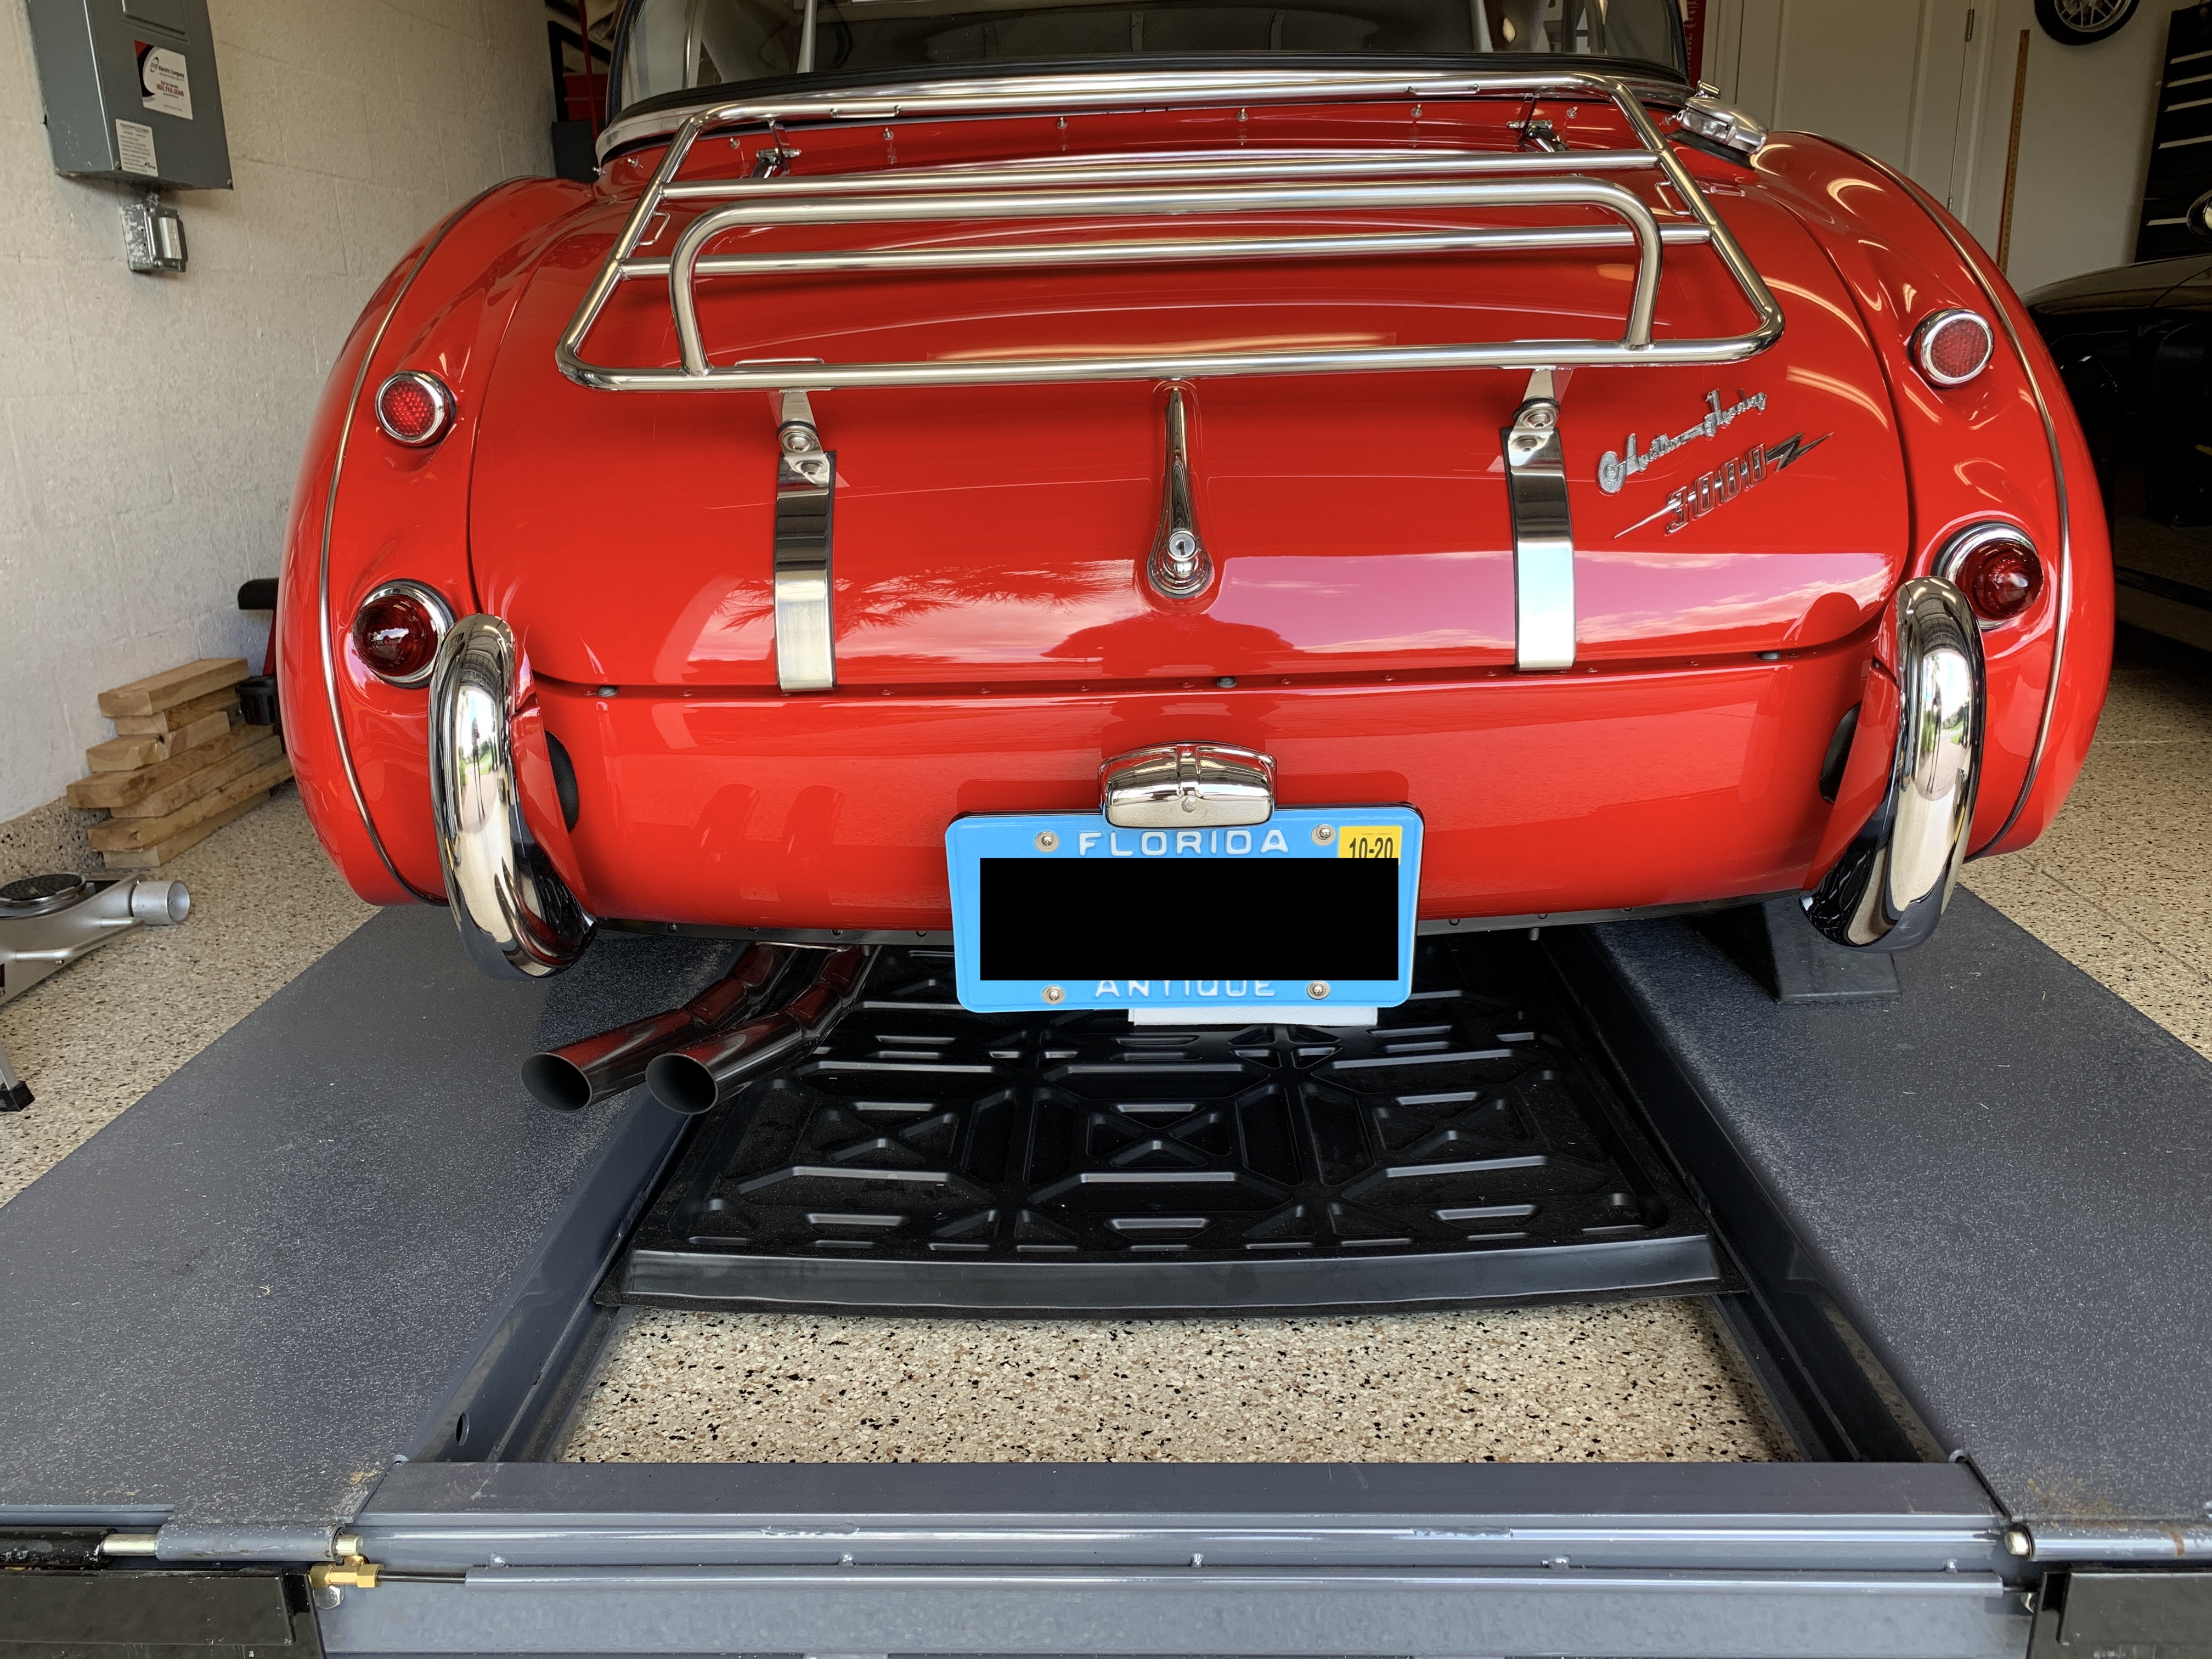
Rear View of New Rally Overrider Install
One more task completed and checked off the list!