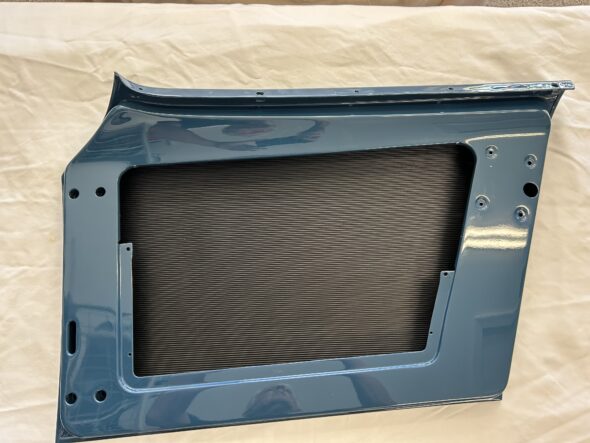
Prior to installing the doors on the car, we decided to assemble the door trim. Hopefully this is the best route to take. our first step was to install the rubber door liner that we purchased from Bugeyeguys. This liner is heavy and in addition to providing a solid feel when the door is opened and closed, it should afford a certain degree of sound insulation as well. The liner was glued to the door using contact cement. The photo below shows the finished product:
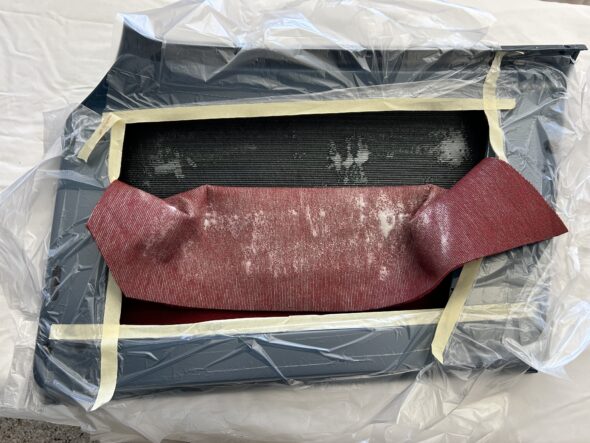
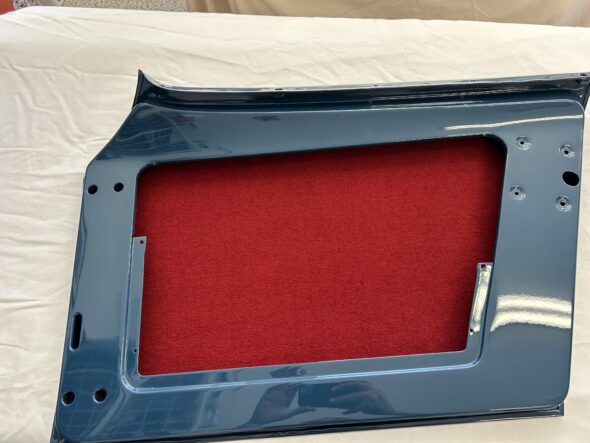
That is where the factory stopped. However, we have decided to glue carpet to the rubber liner to give a more finished and coordinated appearance.
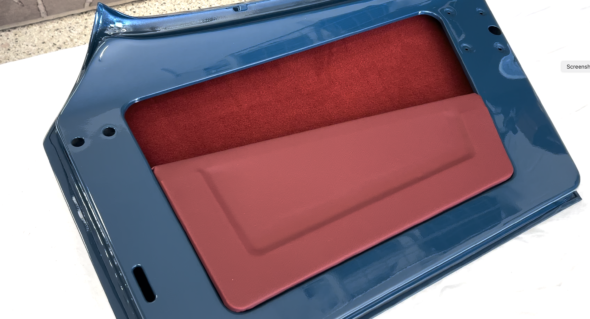
We then installed the upholstered door pockets. These also came from Bugeyeguys and they are an upgrade over the originals. These pockets simply slide over the door lip (as can be seen in the photo above) and push down into place. Screws are not required to secure the pockets.
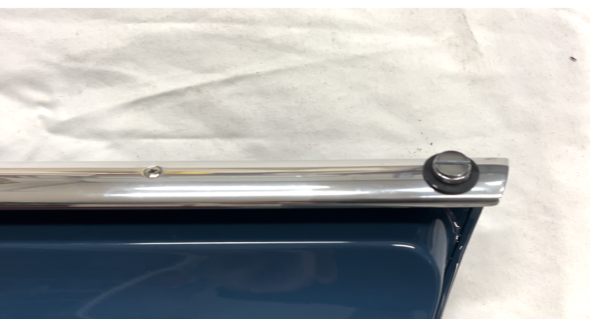
Next came the installation of the polished aluminum cockpit molding. Rubber washers sourced from Bugeyeguys are installed under the thumb screws for the side curtain brackets. They minimize any scuffing that might result from taking the side curtains on and off the car.
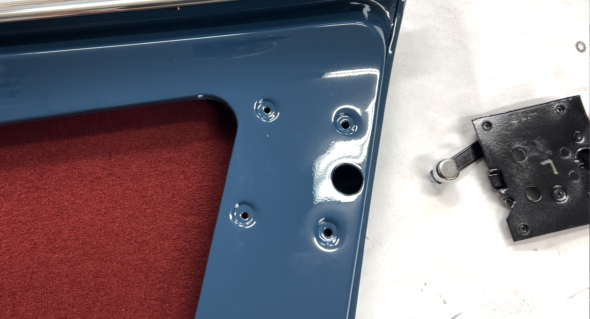
It was then time to install the door latch mechanism to the door. Four pan head #10-32 x 1/2″ stainless machine screws with internal tooth washers are used to mount the latch to the door.
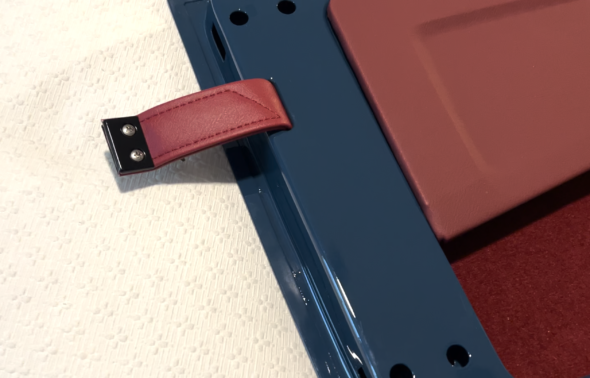
The final step in the completion of the doors is the installation of the upholstered check straps. These fit through a slot in the door and are then secured to the inside of the “A” pillar of the car. The end of the strap has two metal finishing plates.
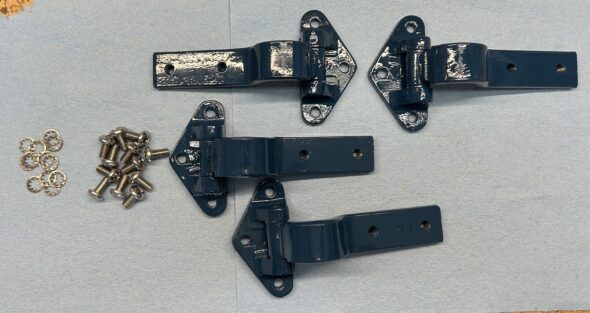
With the doors assembly complete it was time to install the door hinges to the car’s “A” pillar. There are two hinges per door. The hinges had been stamped with markings to signify whether the hinge was top or bottom and left door or right door. Each hinge uses three pan head 1/4″-28 x 1/2″ screws and internal tooth lock washers to mount to the car.
Unfortunately, after we mounted the four hinges we decided that there was just too much play in each hinge so we pulled them all from the car and sent them to a hinge repair specialist to install new bushings, washers, and pins so they will be as good as new.
Episode Ninety-one of the Bugeye Restoration Videos shows the installation of the various door components and the mounting of the door hinges.
https://vimeo.com/1034610967/b9737f276b?share=copy
0:00 – Rubber door liner installation
0:44 – Carpet door liner installation
0:56 – Upholstered door pocket installation
1:08 – Door check strap installation
1:16 – Aluminum cockpit molding installation
2:04 – Door latch installation
2:43 – Door check strap finishers
3:05 – Door hinges installed
When the restored door hinges are received we will install them and update this post.

