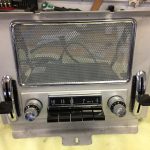
Just as a trial run – I have no leather yet! – I assembled the control panel including the radio, heater control levers, and the speaker grill. I am going to be adding locations for air conditioning control switches and I needed to take a close look at the assembled panel to identify the best spots. I will not be installing a speaker behind the speaker grill, so I will need to place a “blackout” panel behind the grill to prevent one from looking through the grill.
The control panel attaches to the bottom of the newspaper tray and to a bracket on top of the gearbox cover. It will be covered in leather/vinyl to match the interior color.
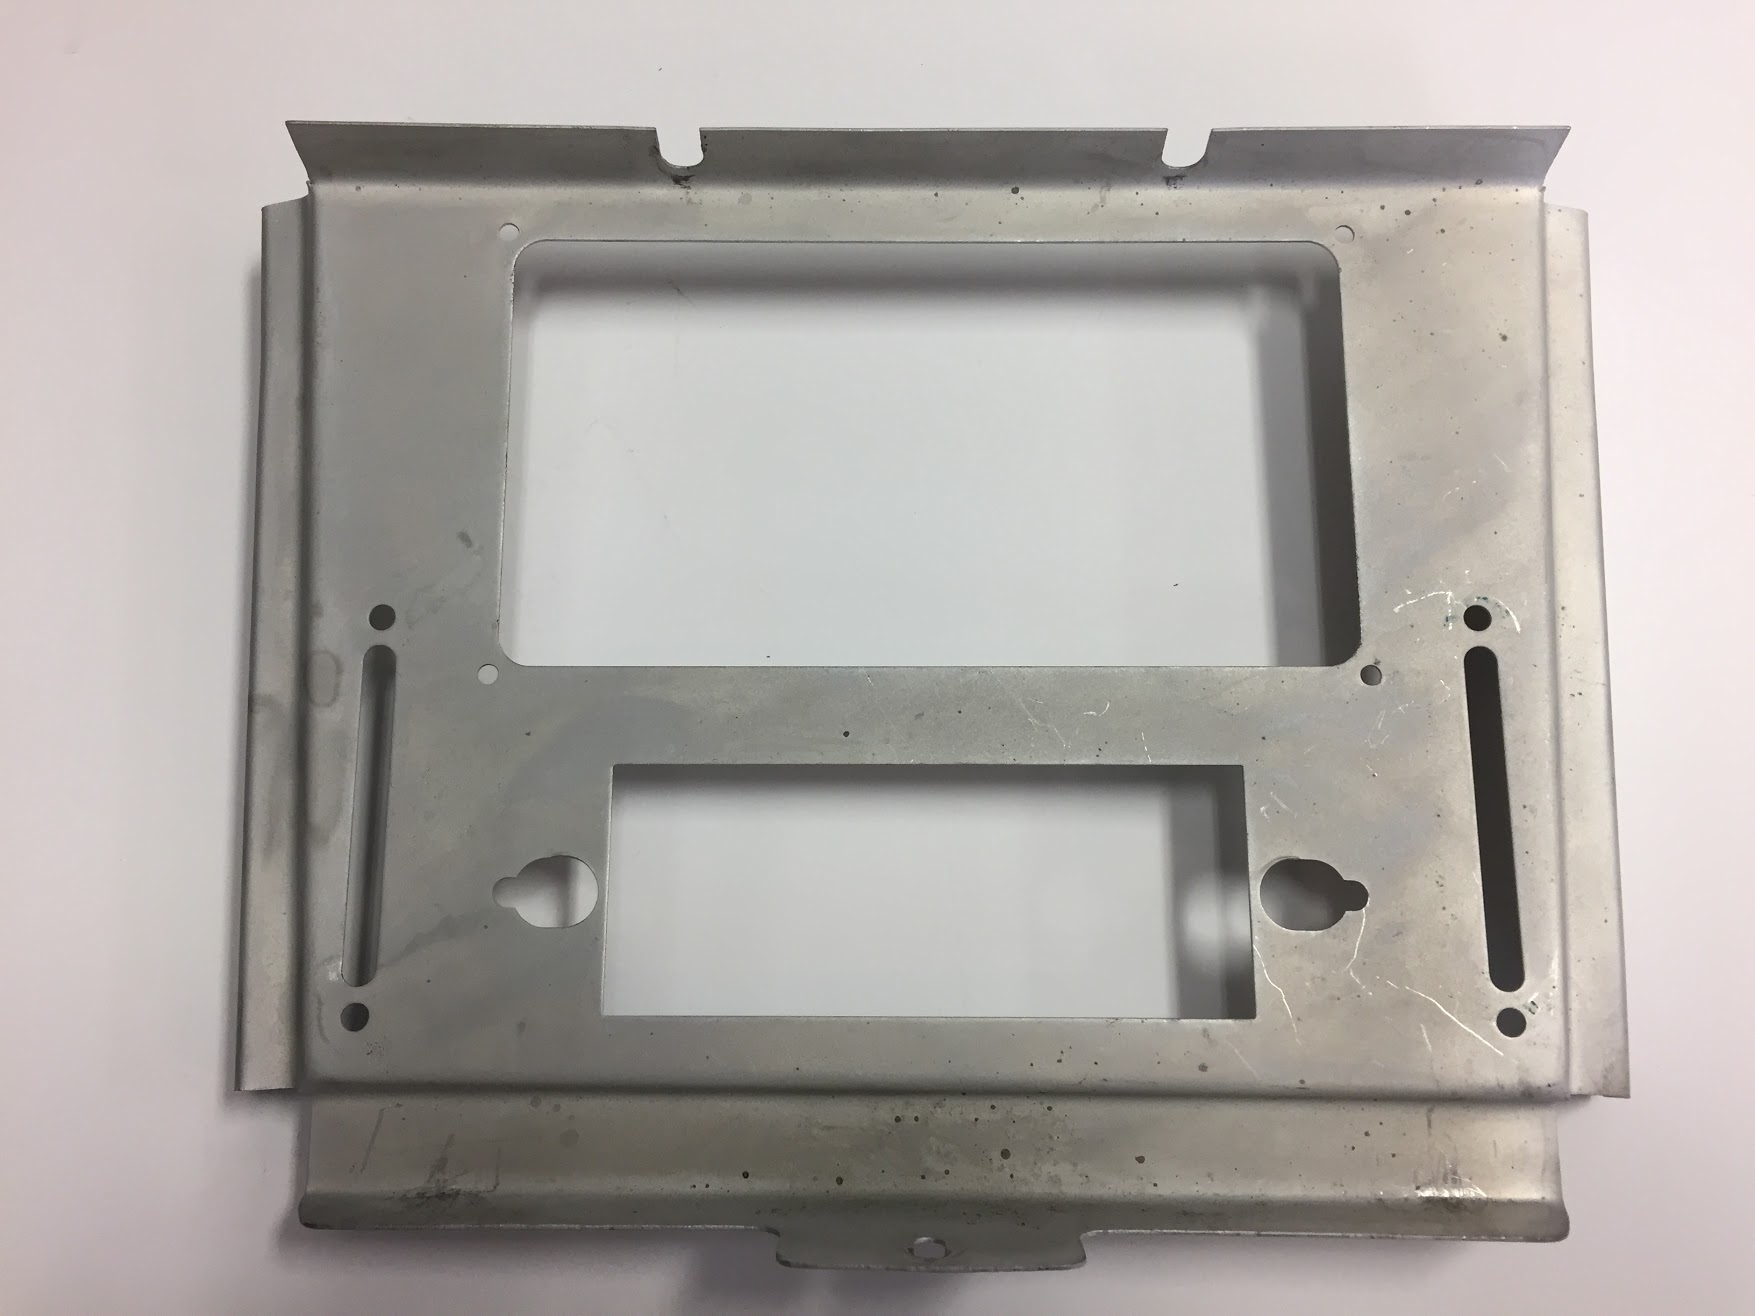
Radio Control Panel
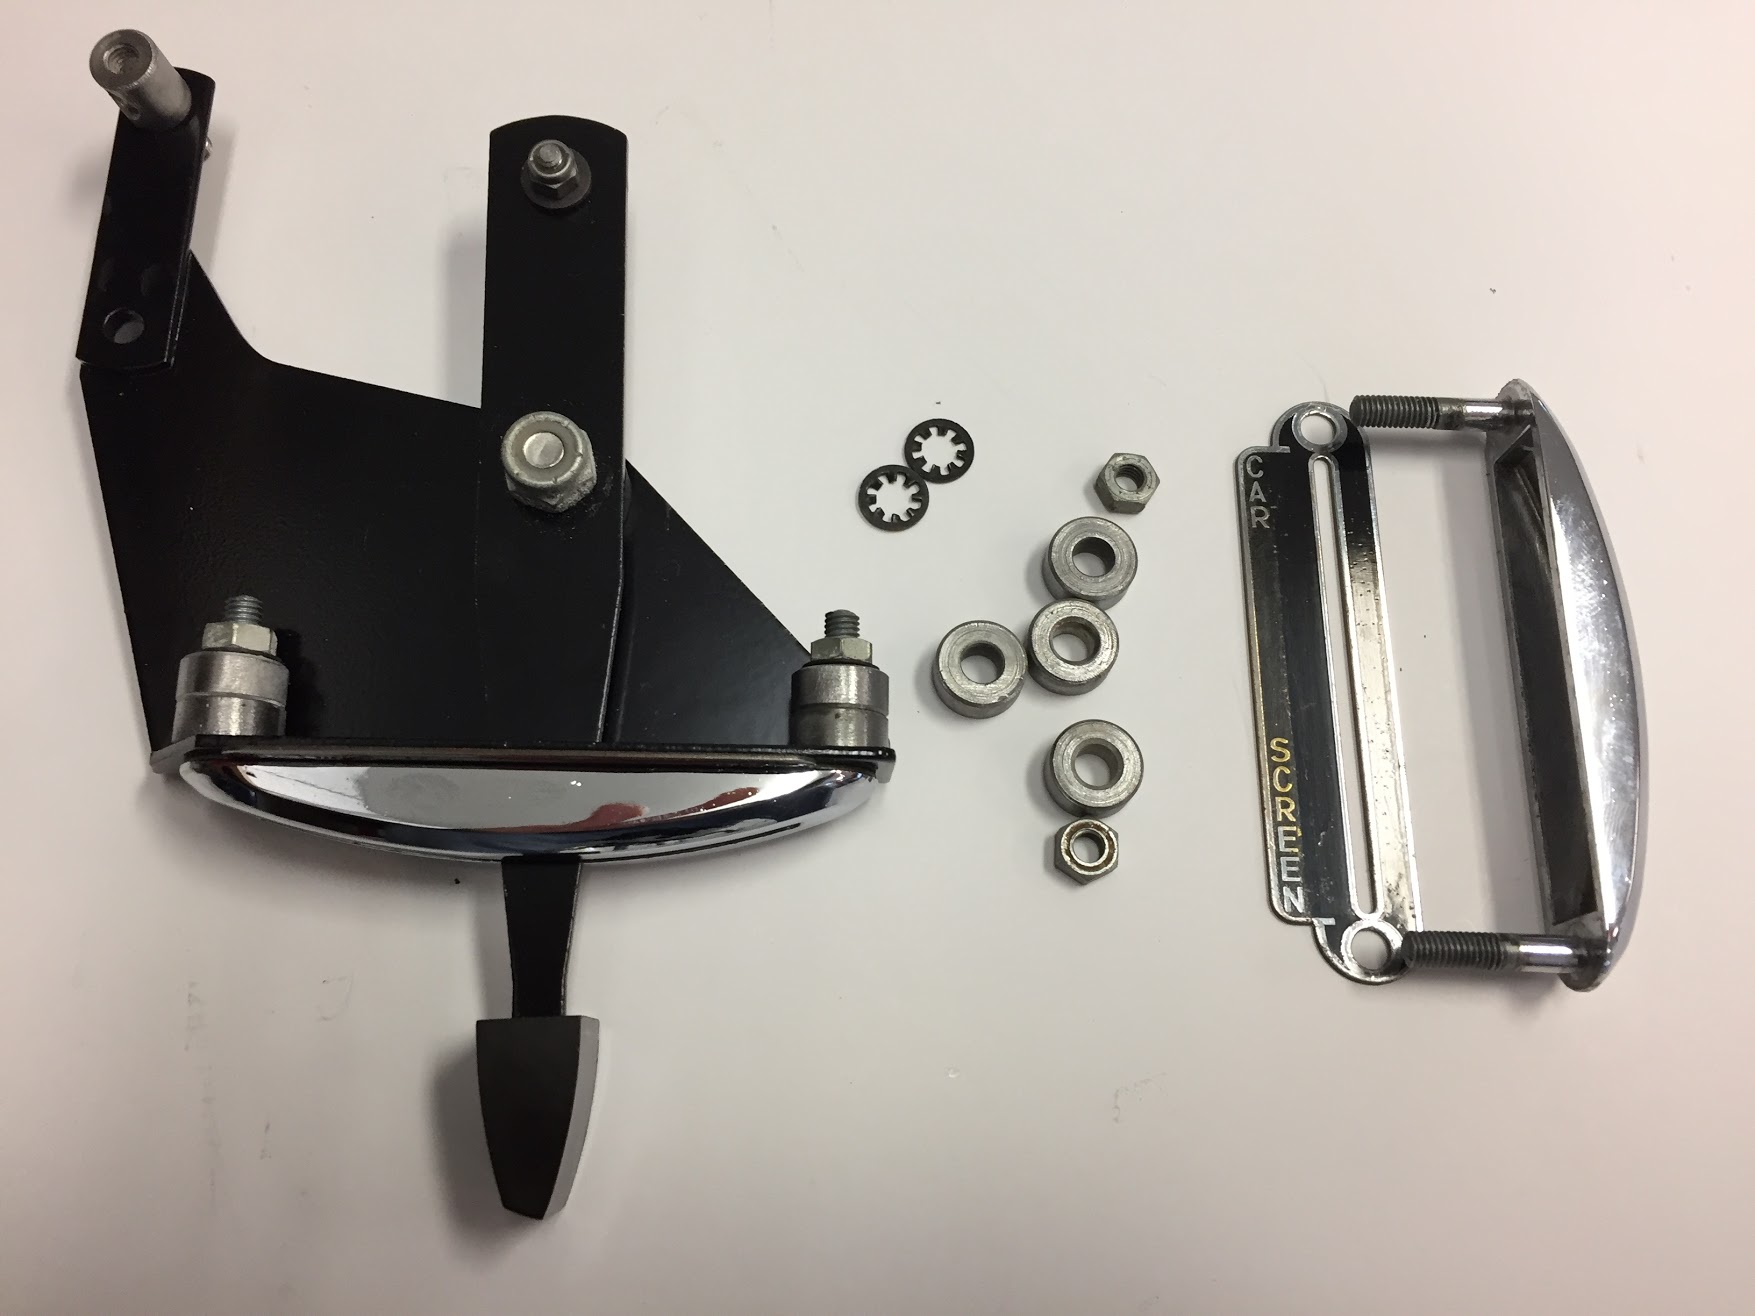
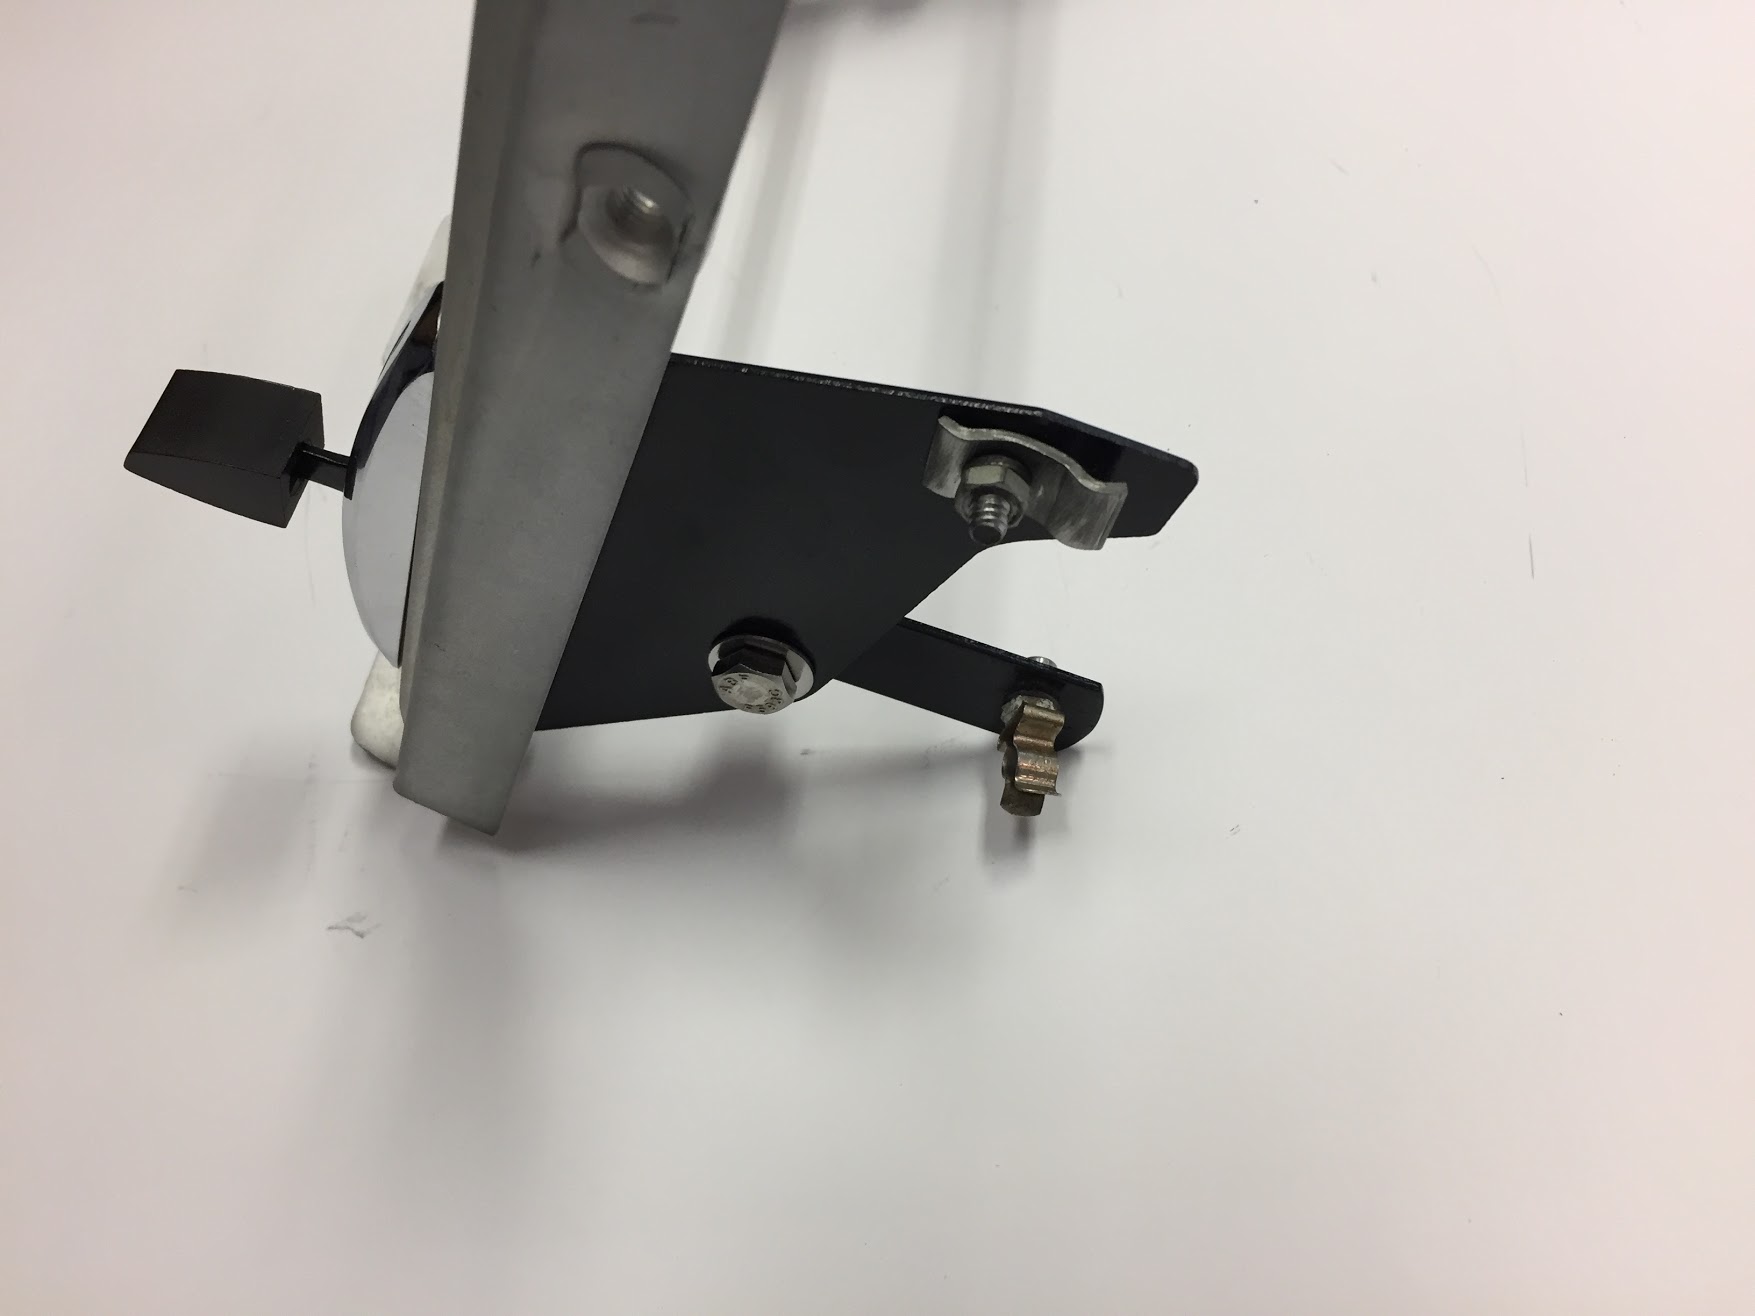
Heater Control Lever with Fasteners, Escutcheon and Identifier Plate
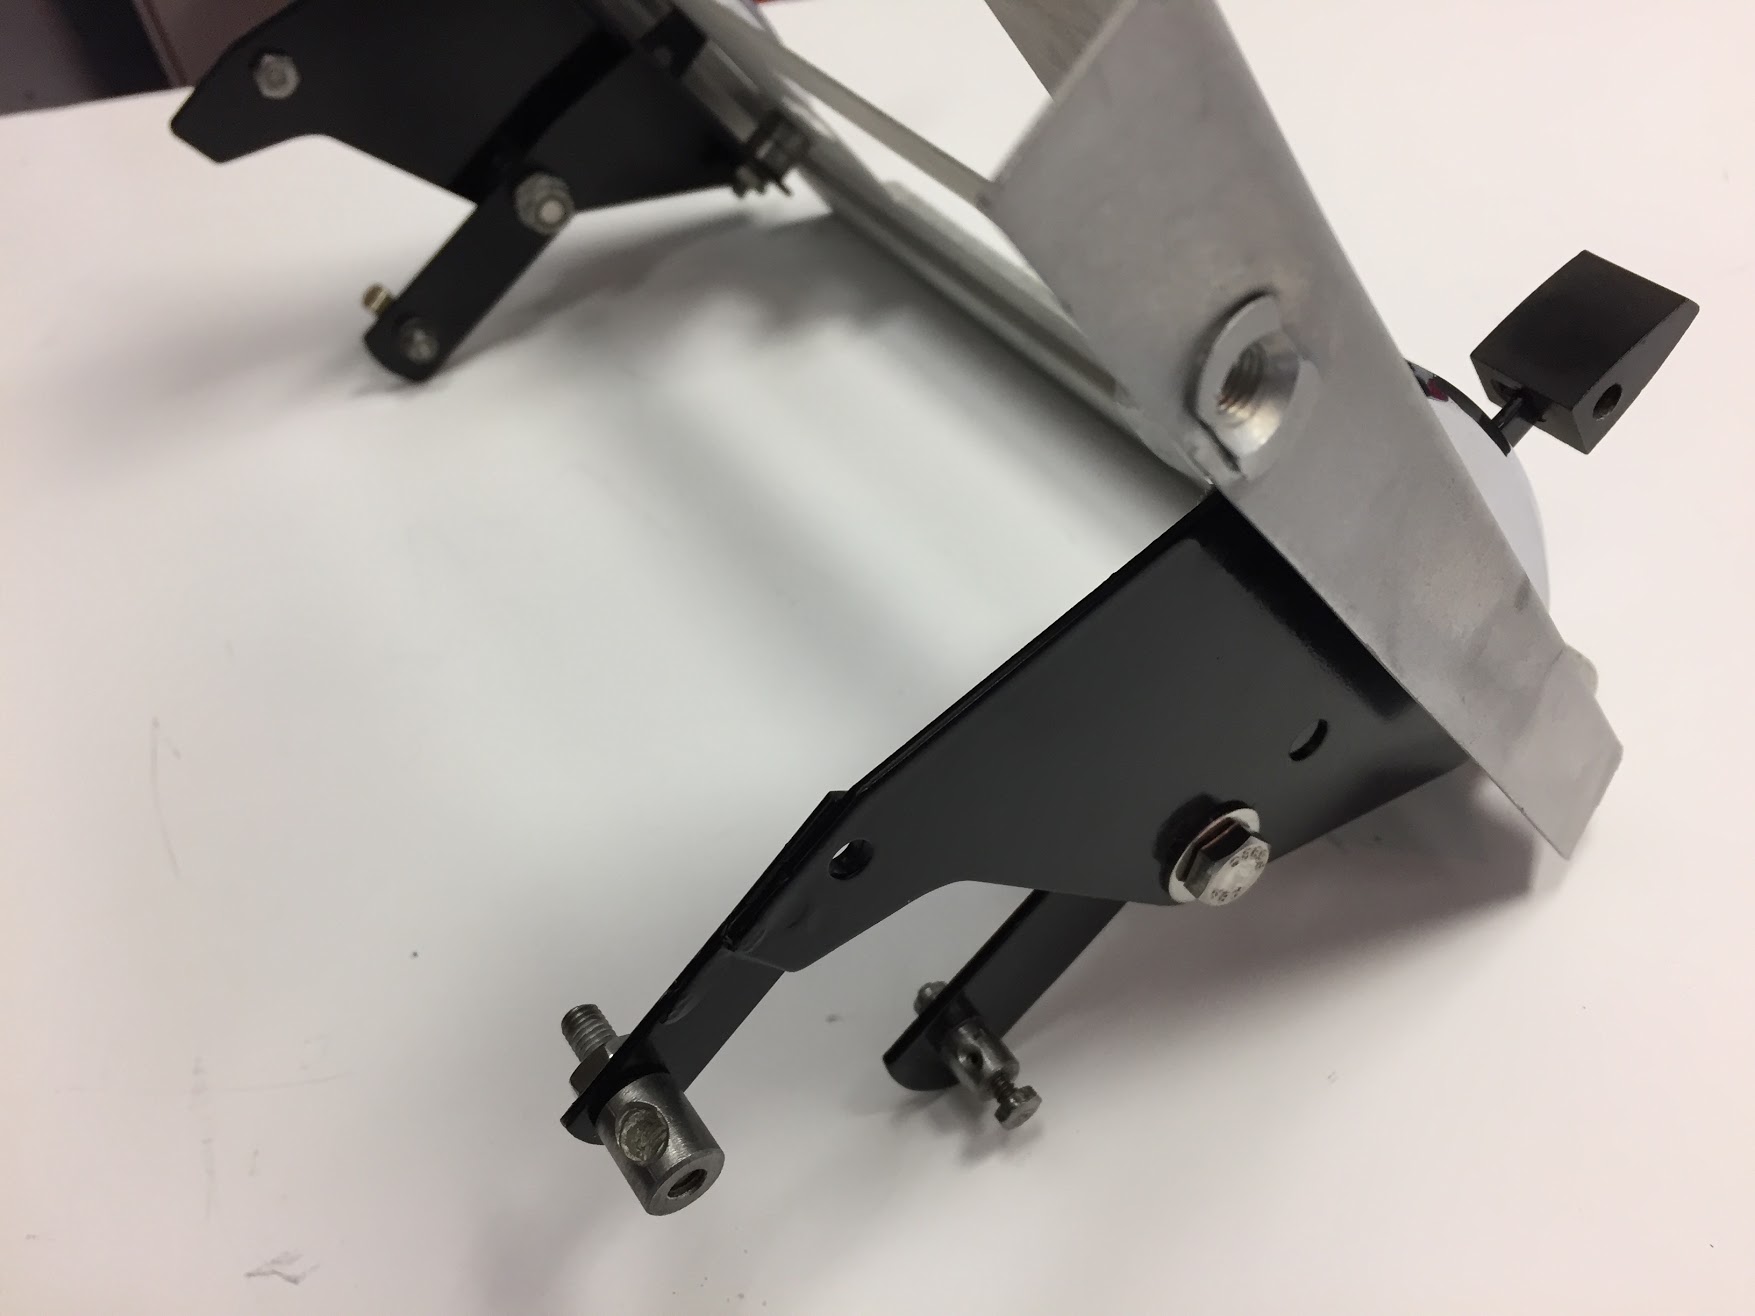
I first inserted the chrome escutcheon with its identifier plate through the mounting holes on the RH side of the panel. I then placed two 5.5mm spacers on each threaded mounting post followed by the lever assembly. The collection was then secured with a shake proof washer and a 10-32 stainless hex nut on each post. The RH side lever is for the “car/screen” control. The Identifier plate is to the inside of the escutcheon. The black control lever knob can then be attached with a small #6? fillister head machine screw.
The procedure was then repeated for the air temperature control lever on the left side of the assembly. This lever has an identifier plate with “hot/cold” lettering, again placed to the inside of the panel.
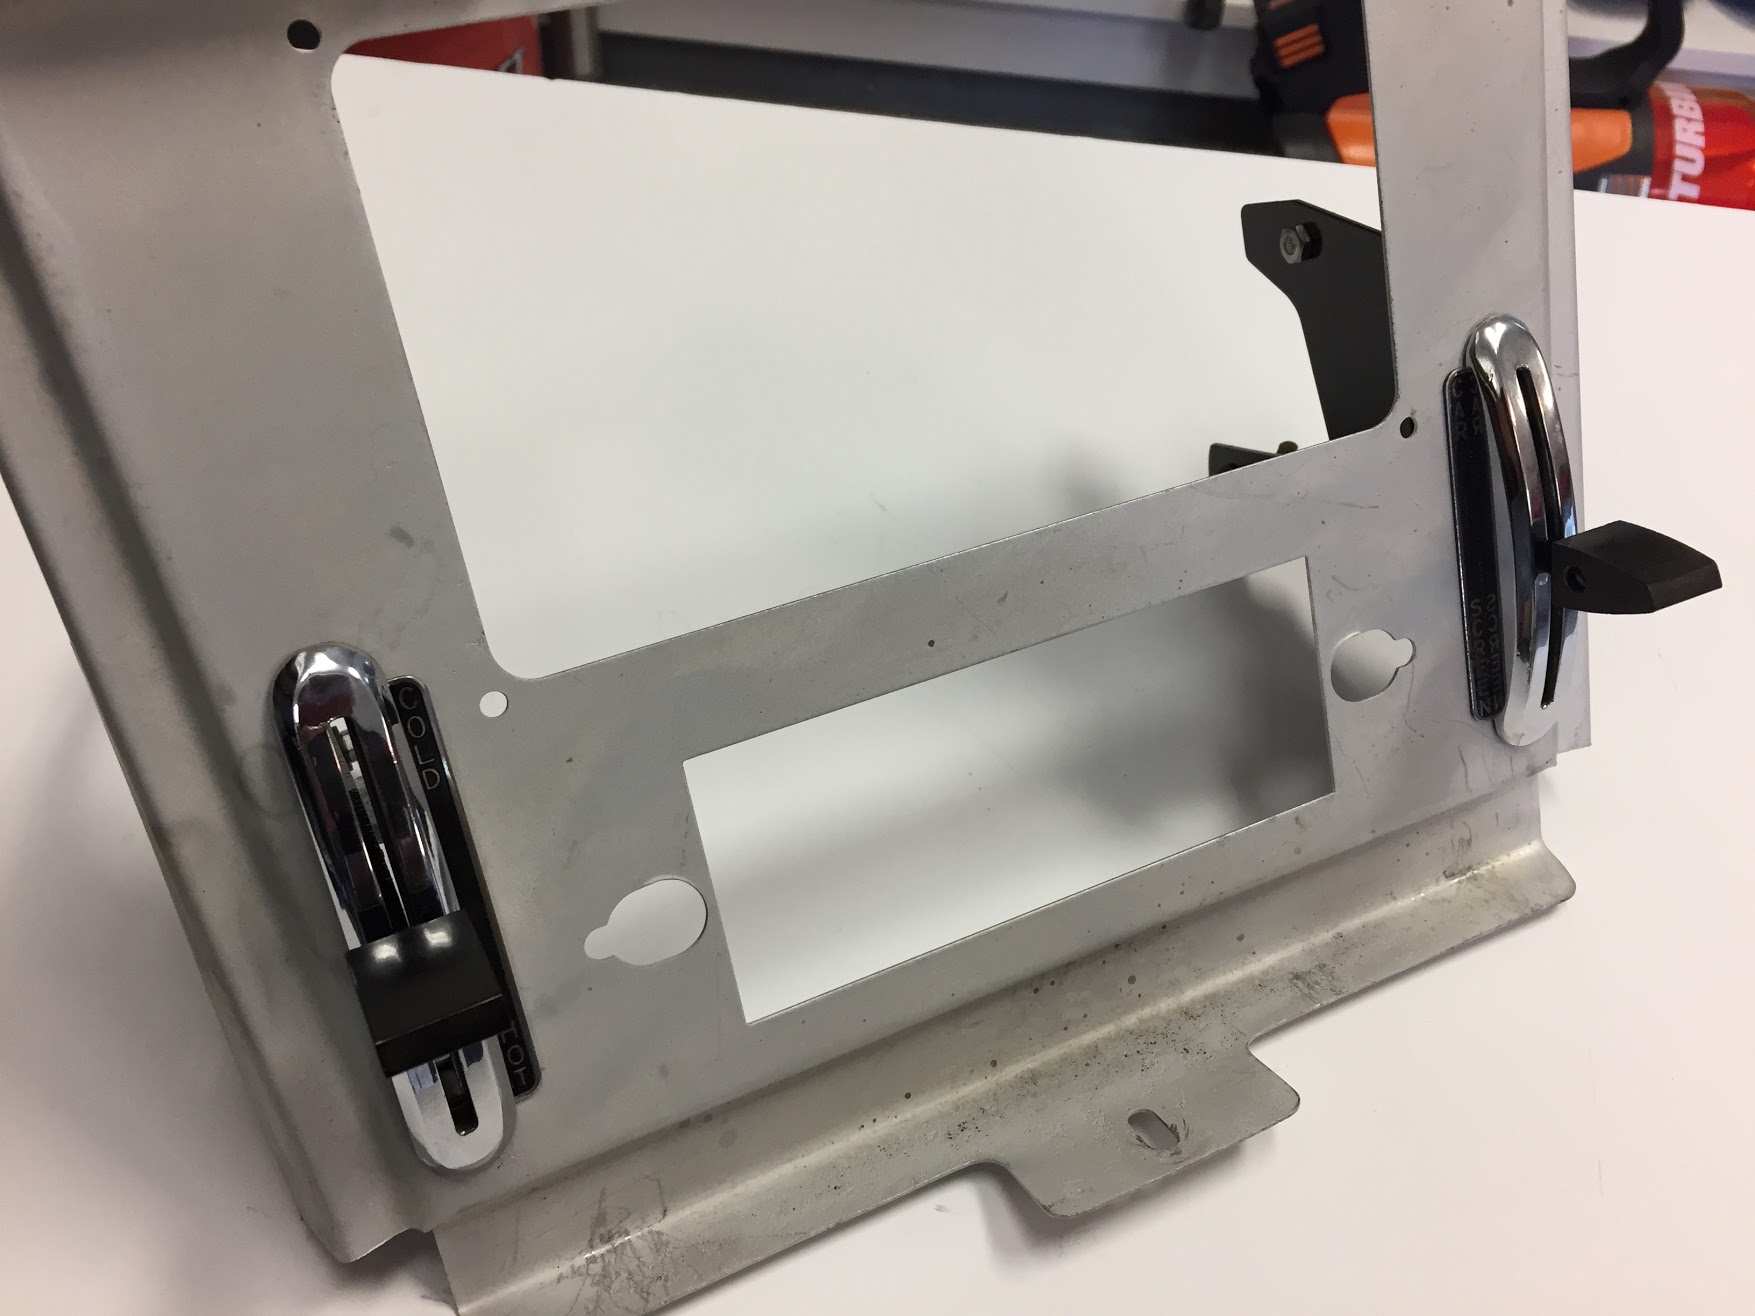
Heater Control Levers in Place, Front View
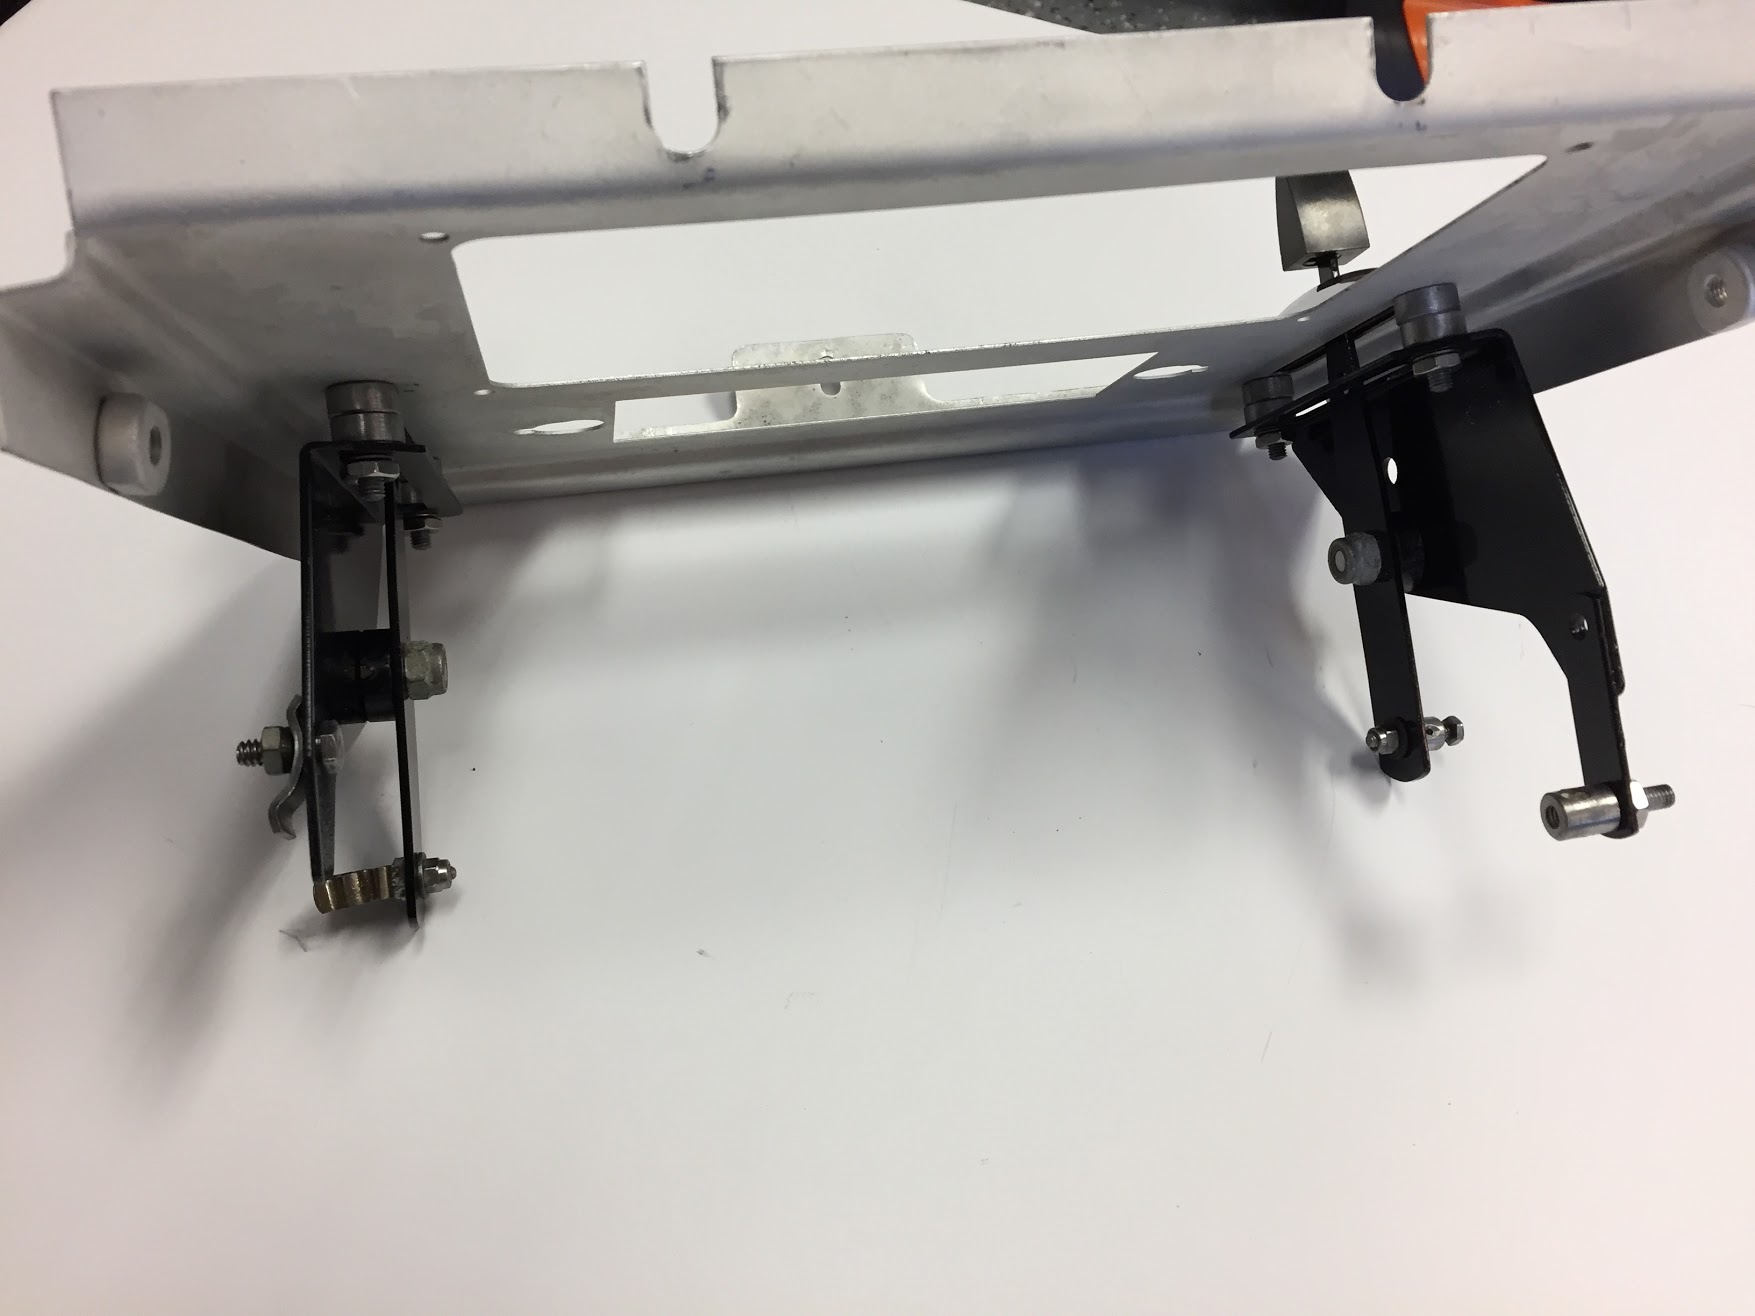
Heater Control Levers in Place, Rear View
Hot/Cold Control Lever Cable Mountings
Car/Screen Control Lever Cable Mountings
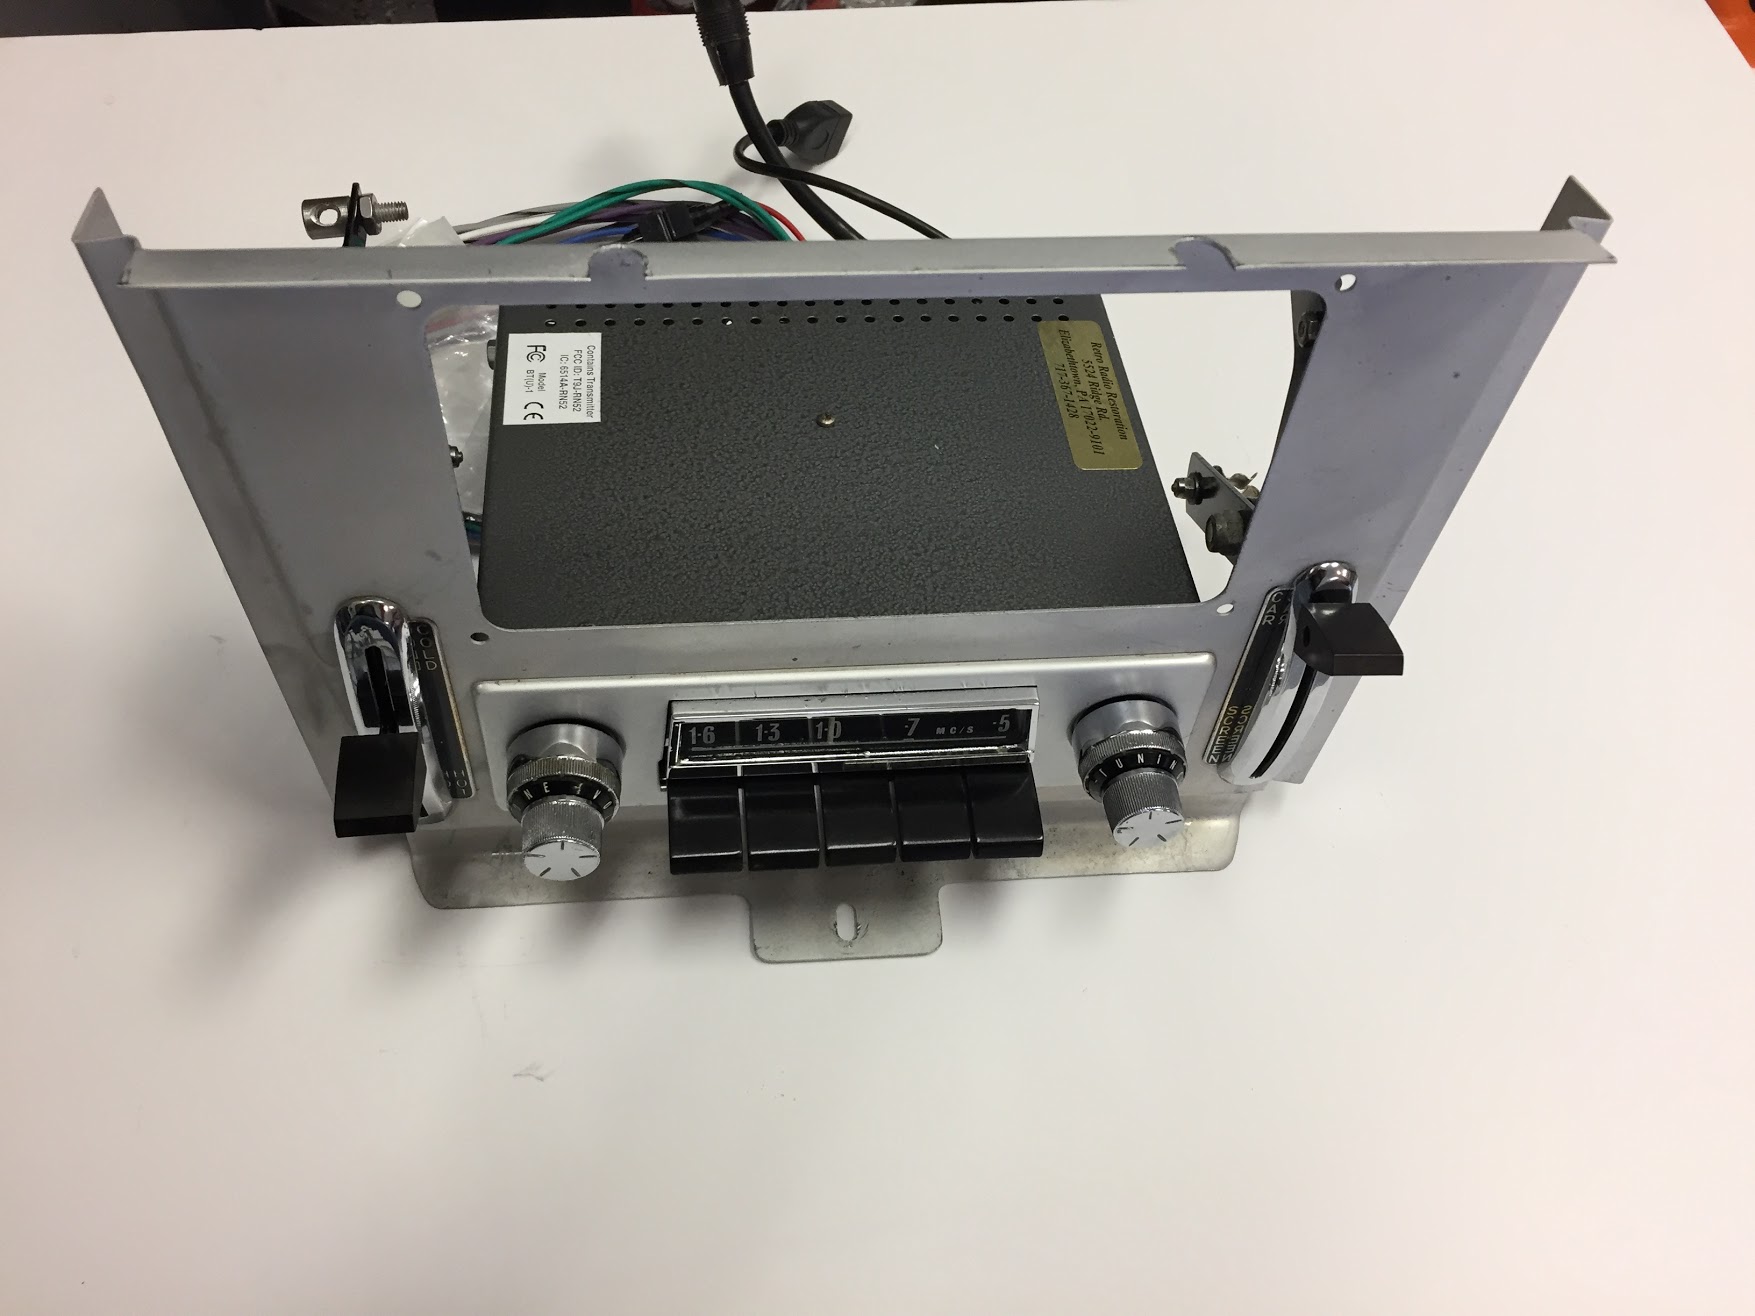
Installation of the radio was next. After removing the locking nuts the face plate and the control knobs from the radio I inserted the radio into the radio control panel from the rear. I then straightened the radio on the control panel, installed the radio faceplate, and the locking nuts on each of the control knobs. The control knobs were then pushed in place with the volume on the left and the channel selector on the right.
Radiomobile Radio Installed, Front View

Radio Installed, Close-up
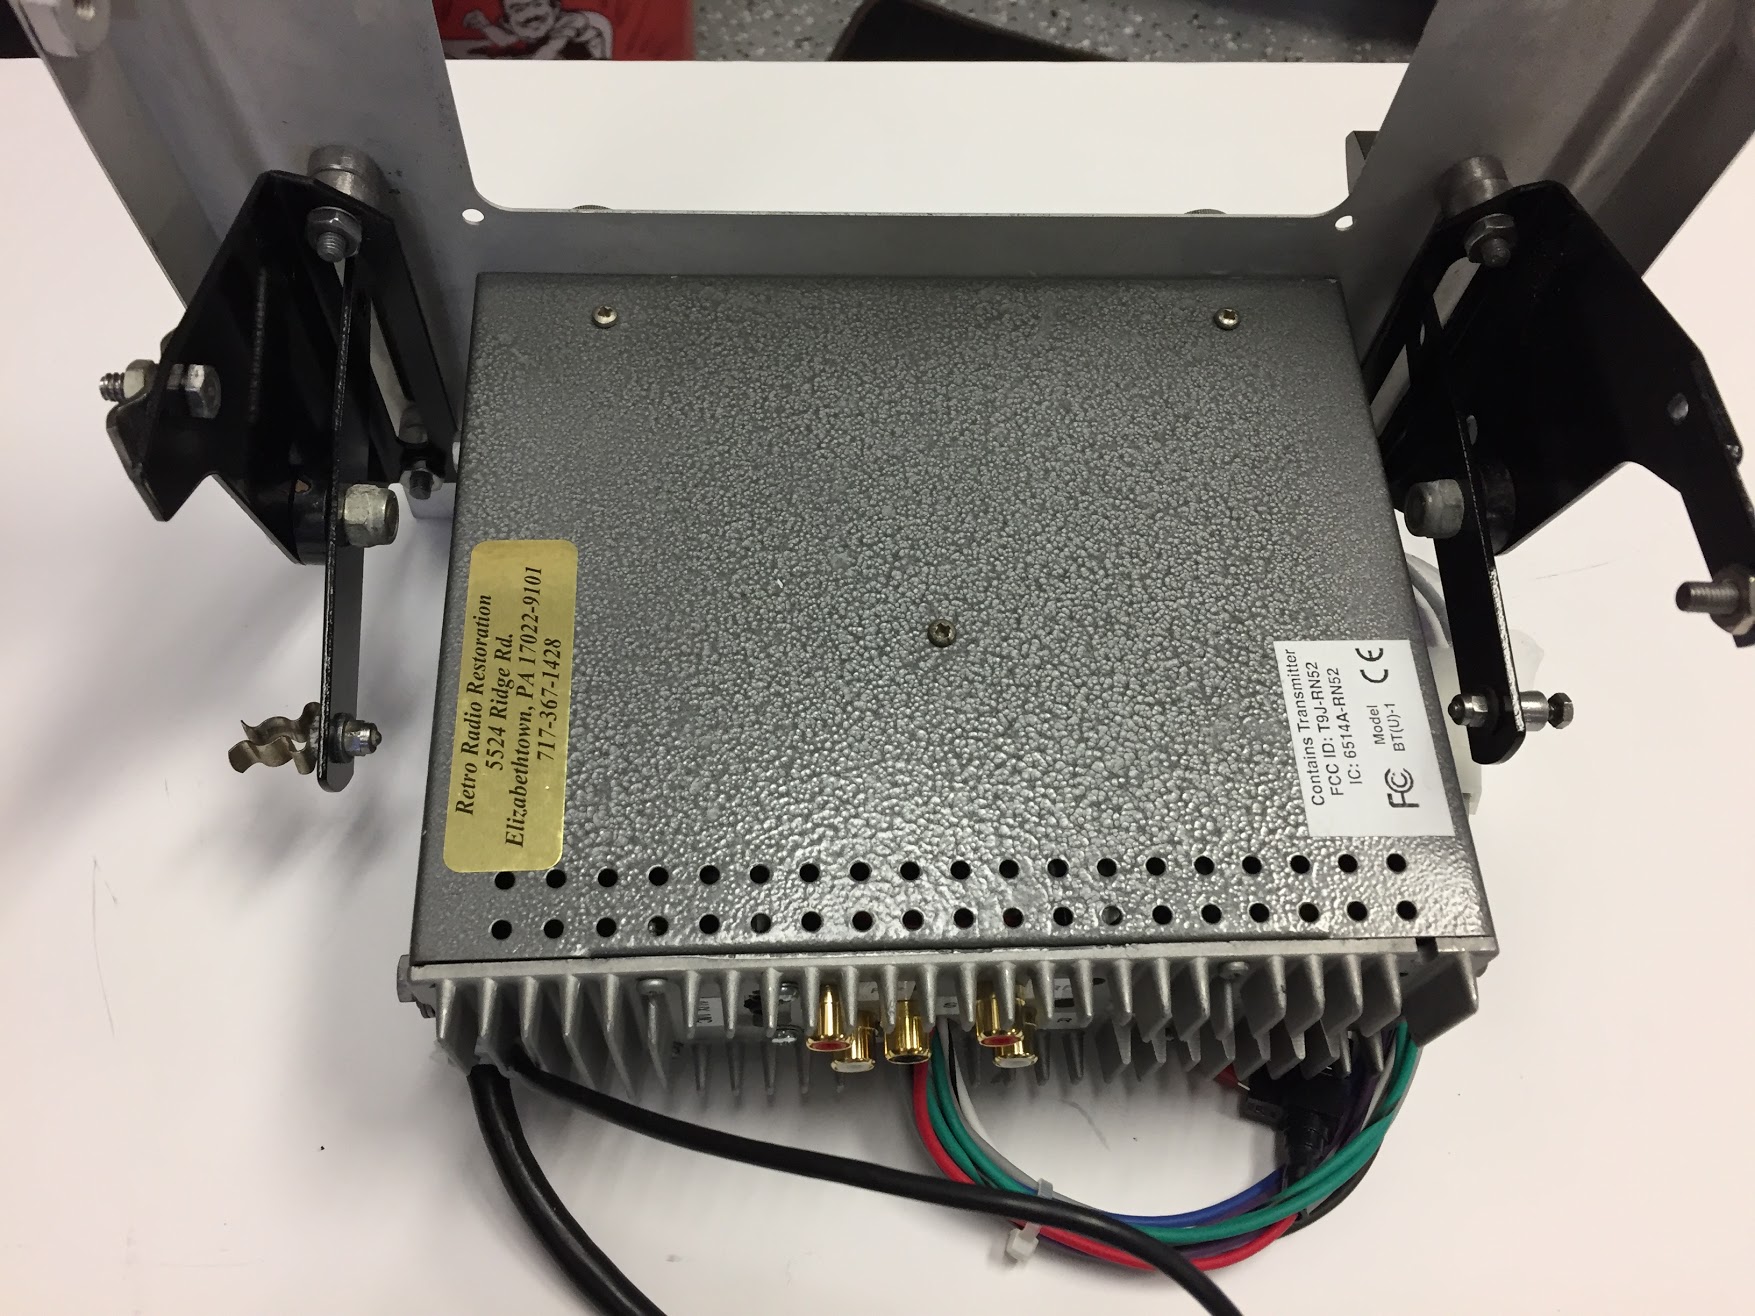
Radio Installed, Rear View
I still need to include the mounting of the radio support arms in this post and will do so soon.
Good luck with the cable that attaches to the valve on the heater box. I find it keeps bending. A fairly agricultural arrangement, but I suppose the design is over 50 years old!
Yes, you are correct. On final assembly, I plan to attach the cables to the heater first, and push them through the firewall grommet to the levers. We will see how it goes!
Lin