Bumpers
Front Bumper
The front bumper is secured to the frame with two inner and two outer brackets and two angle brackets at the ends of the bumper. I media blasted these brackets and painted them with POR-15.
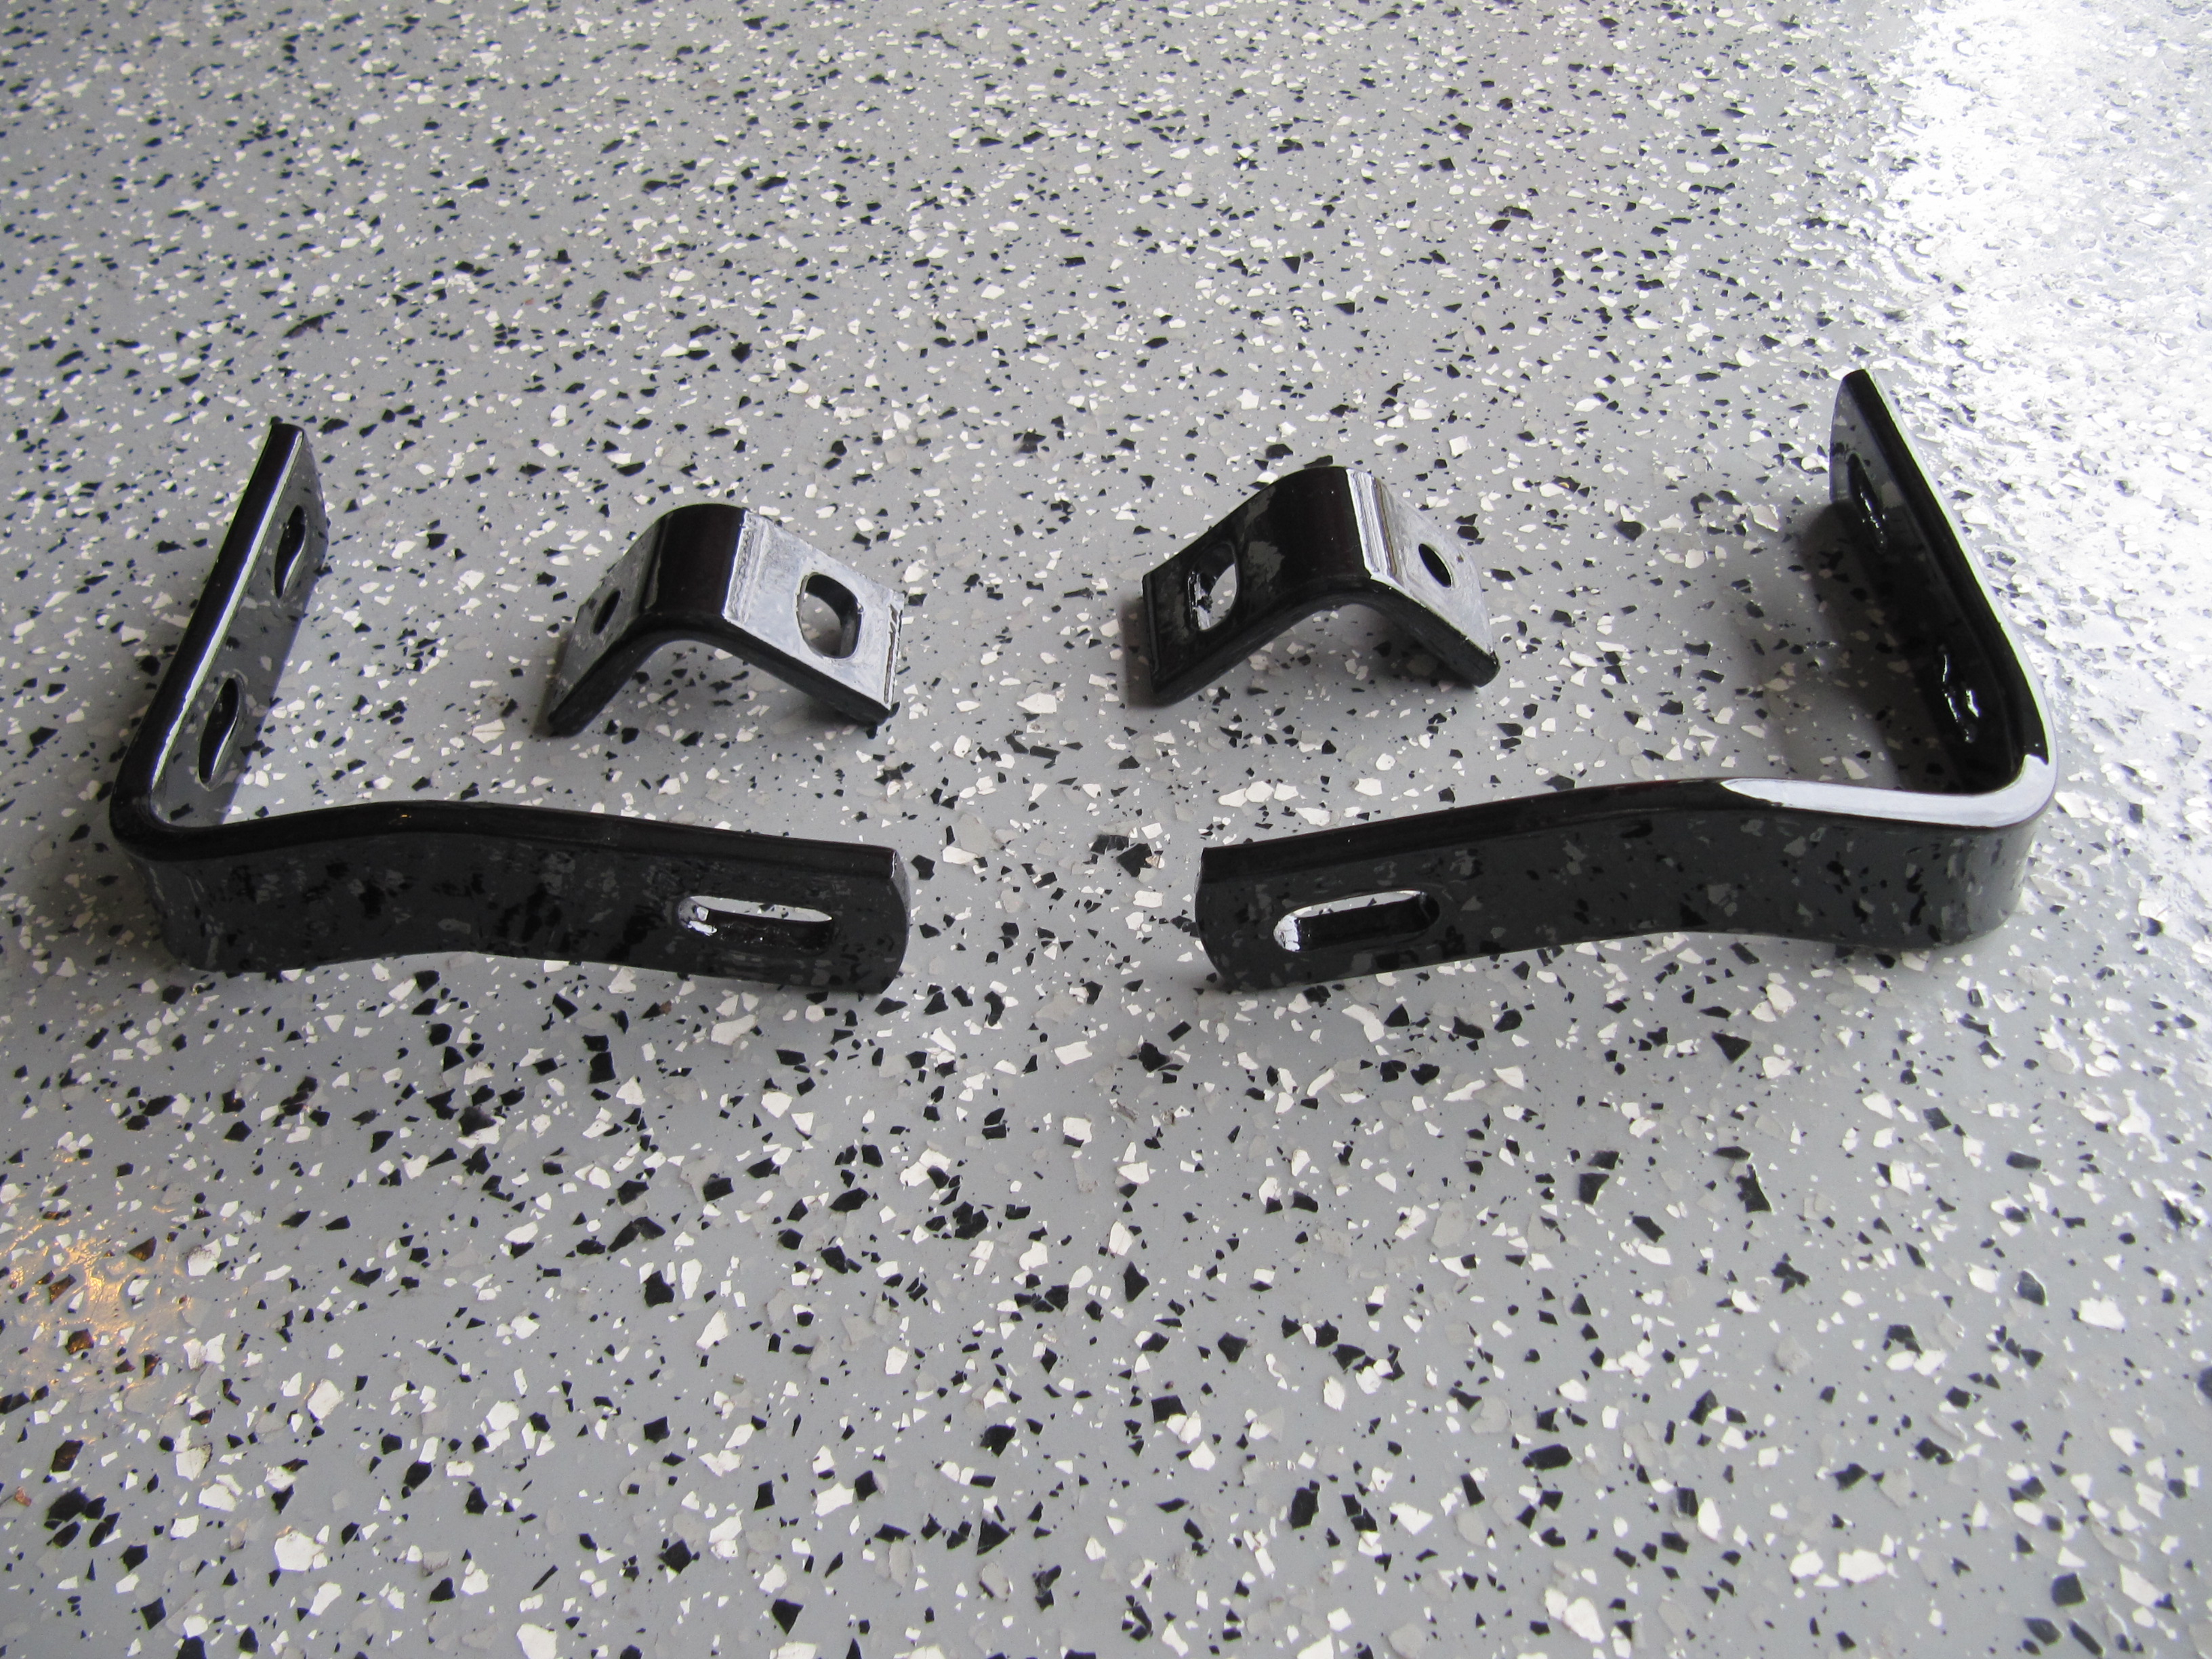
Outer Bumper Brackets with Angle Brackets
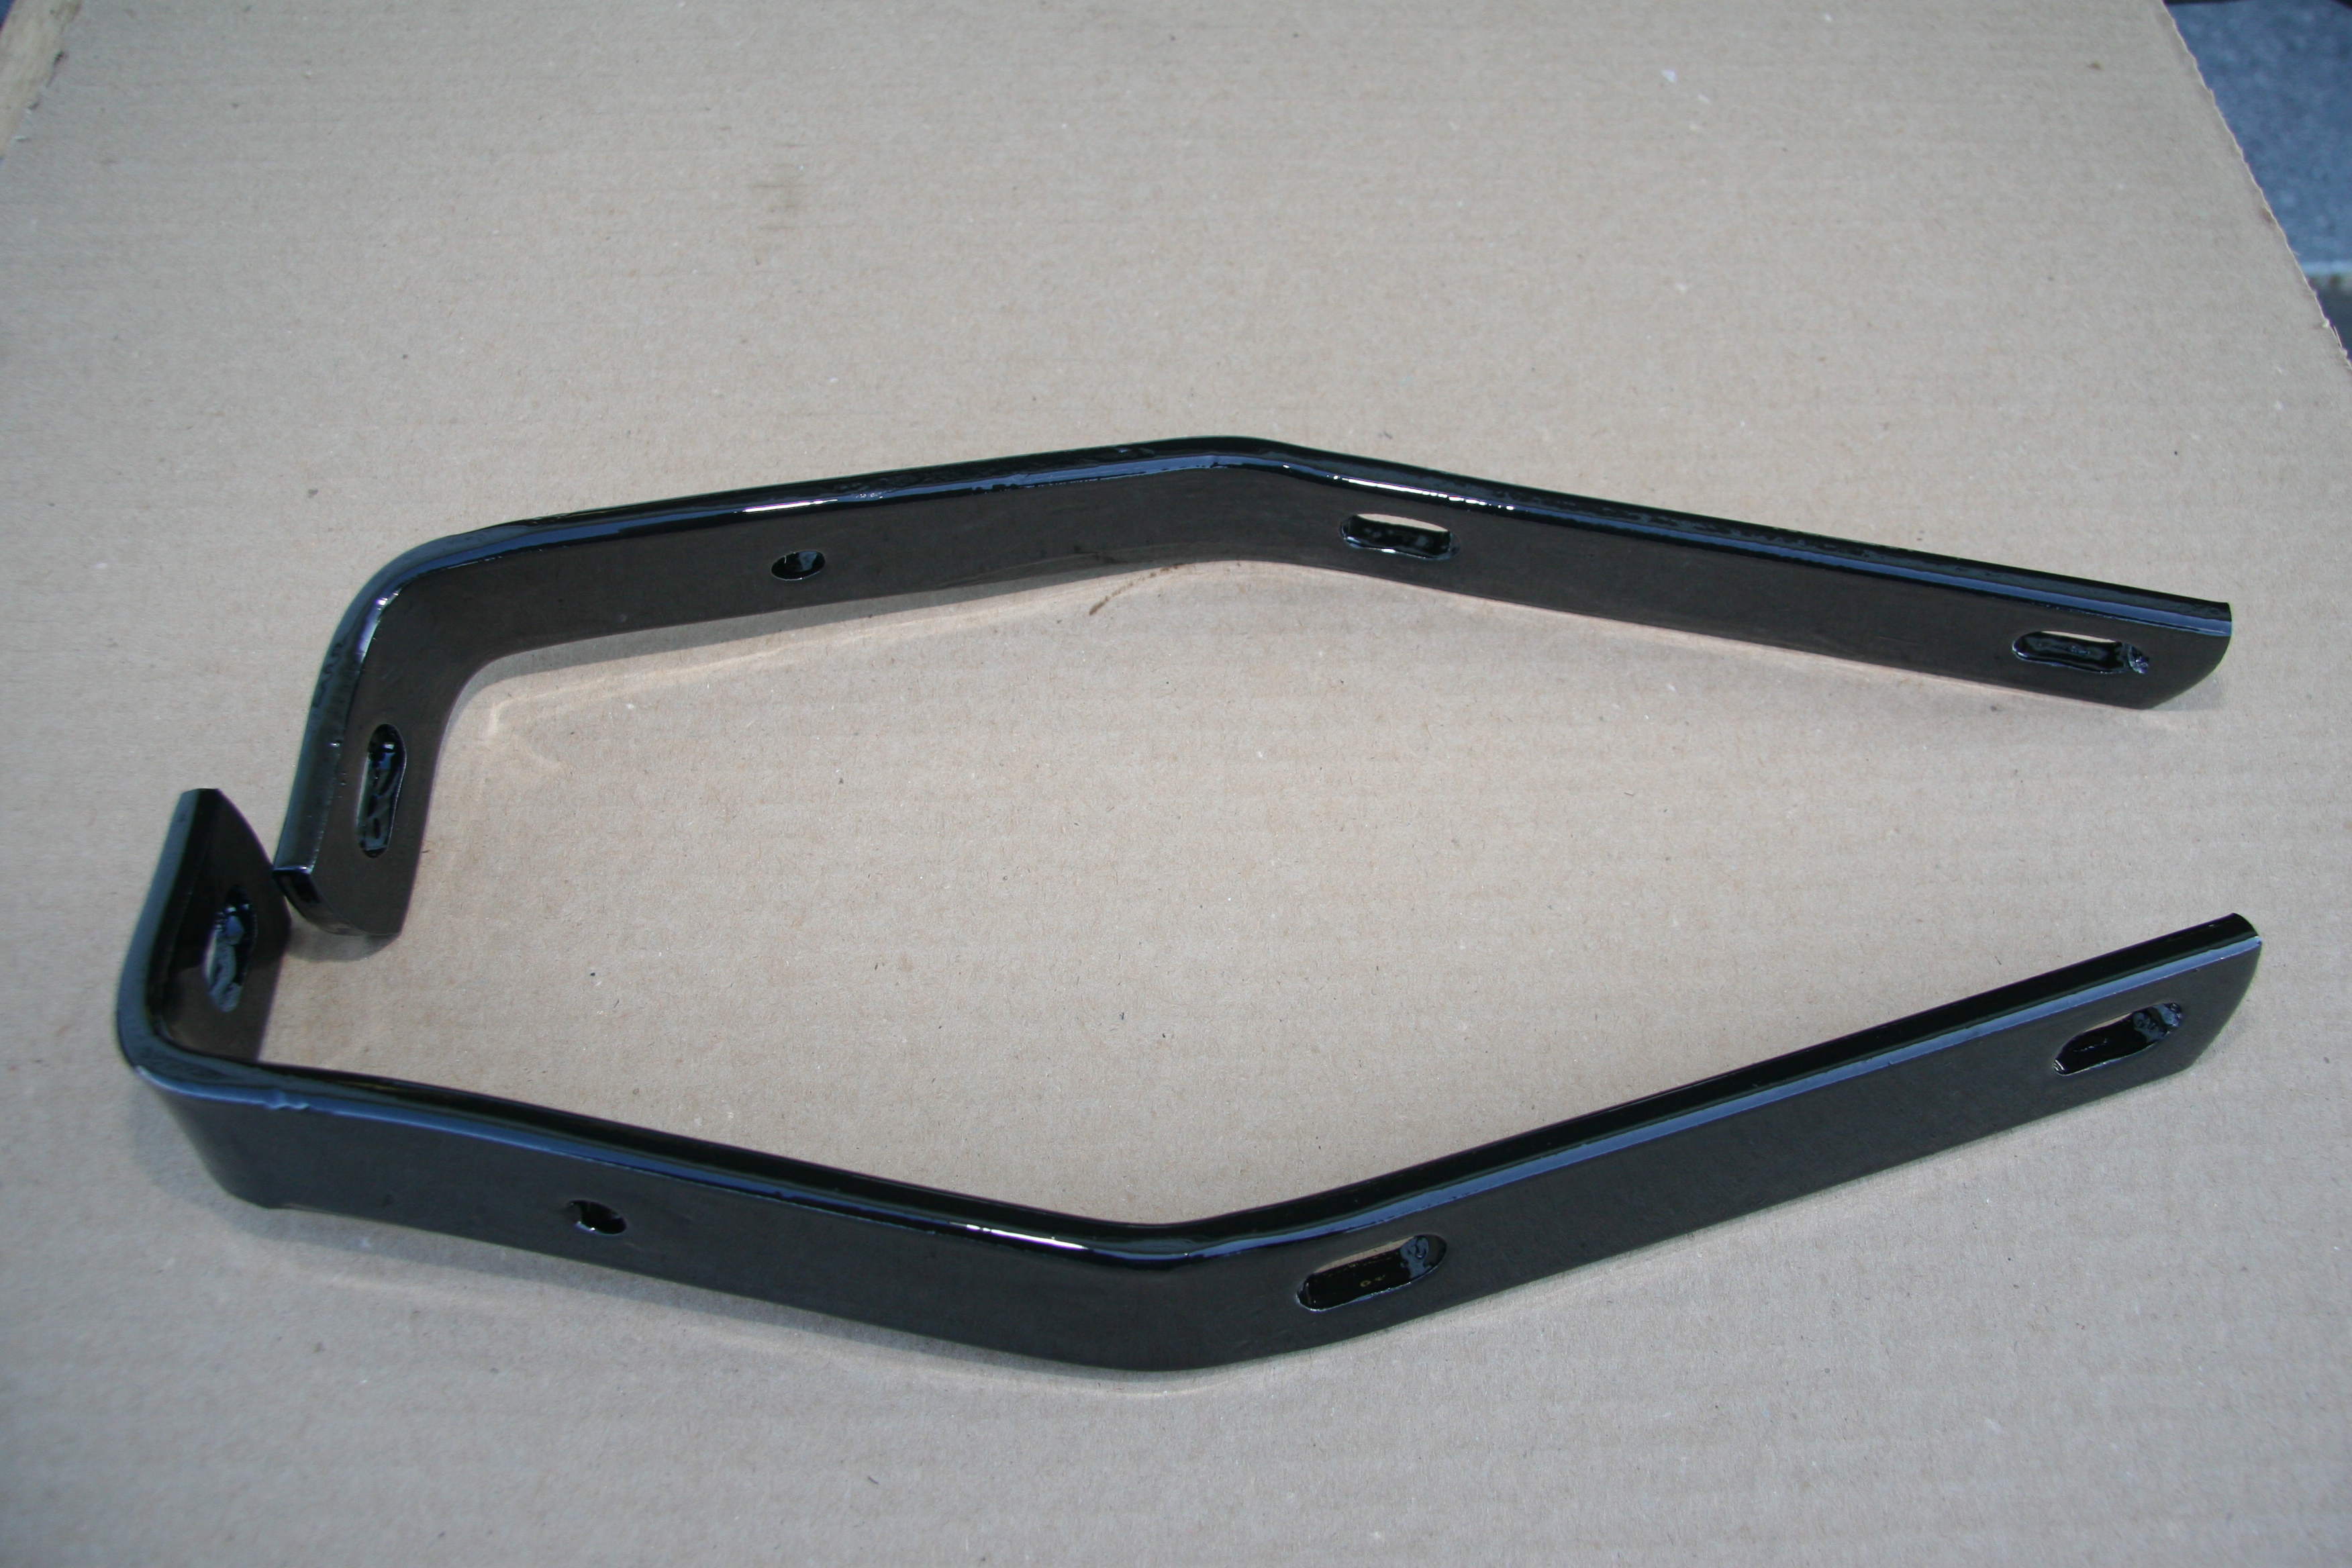
Front Bumper to Body Inner Brackets
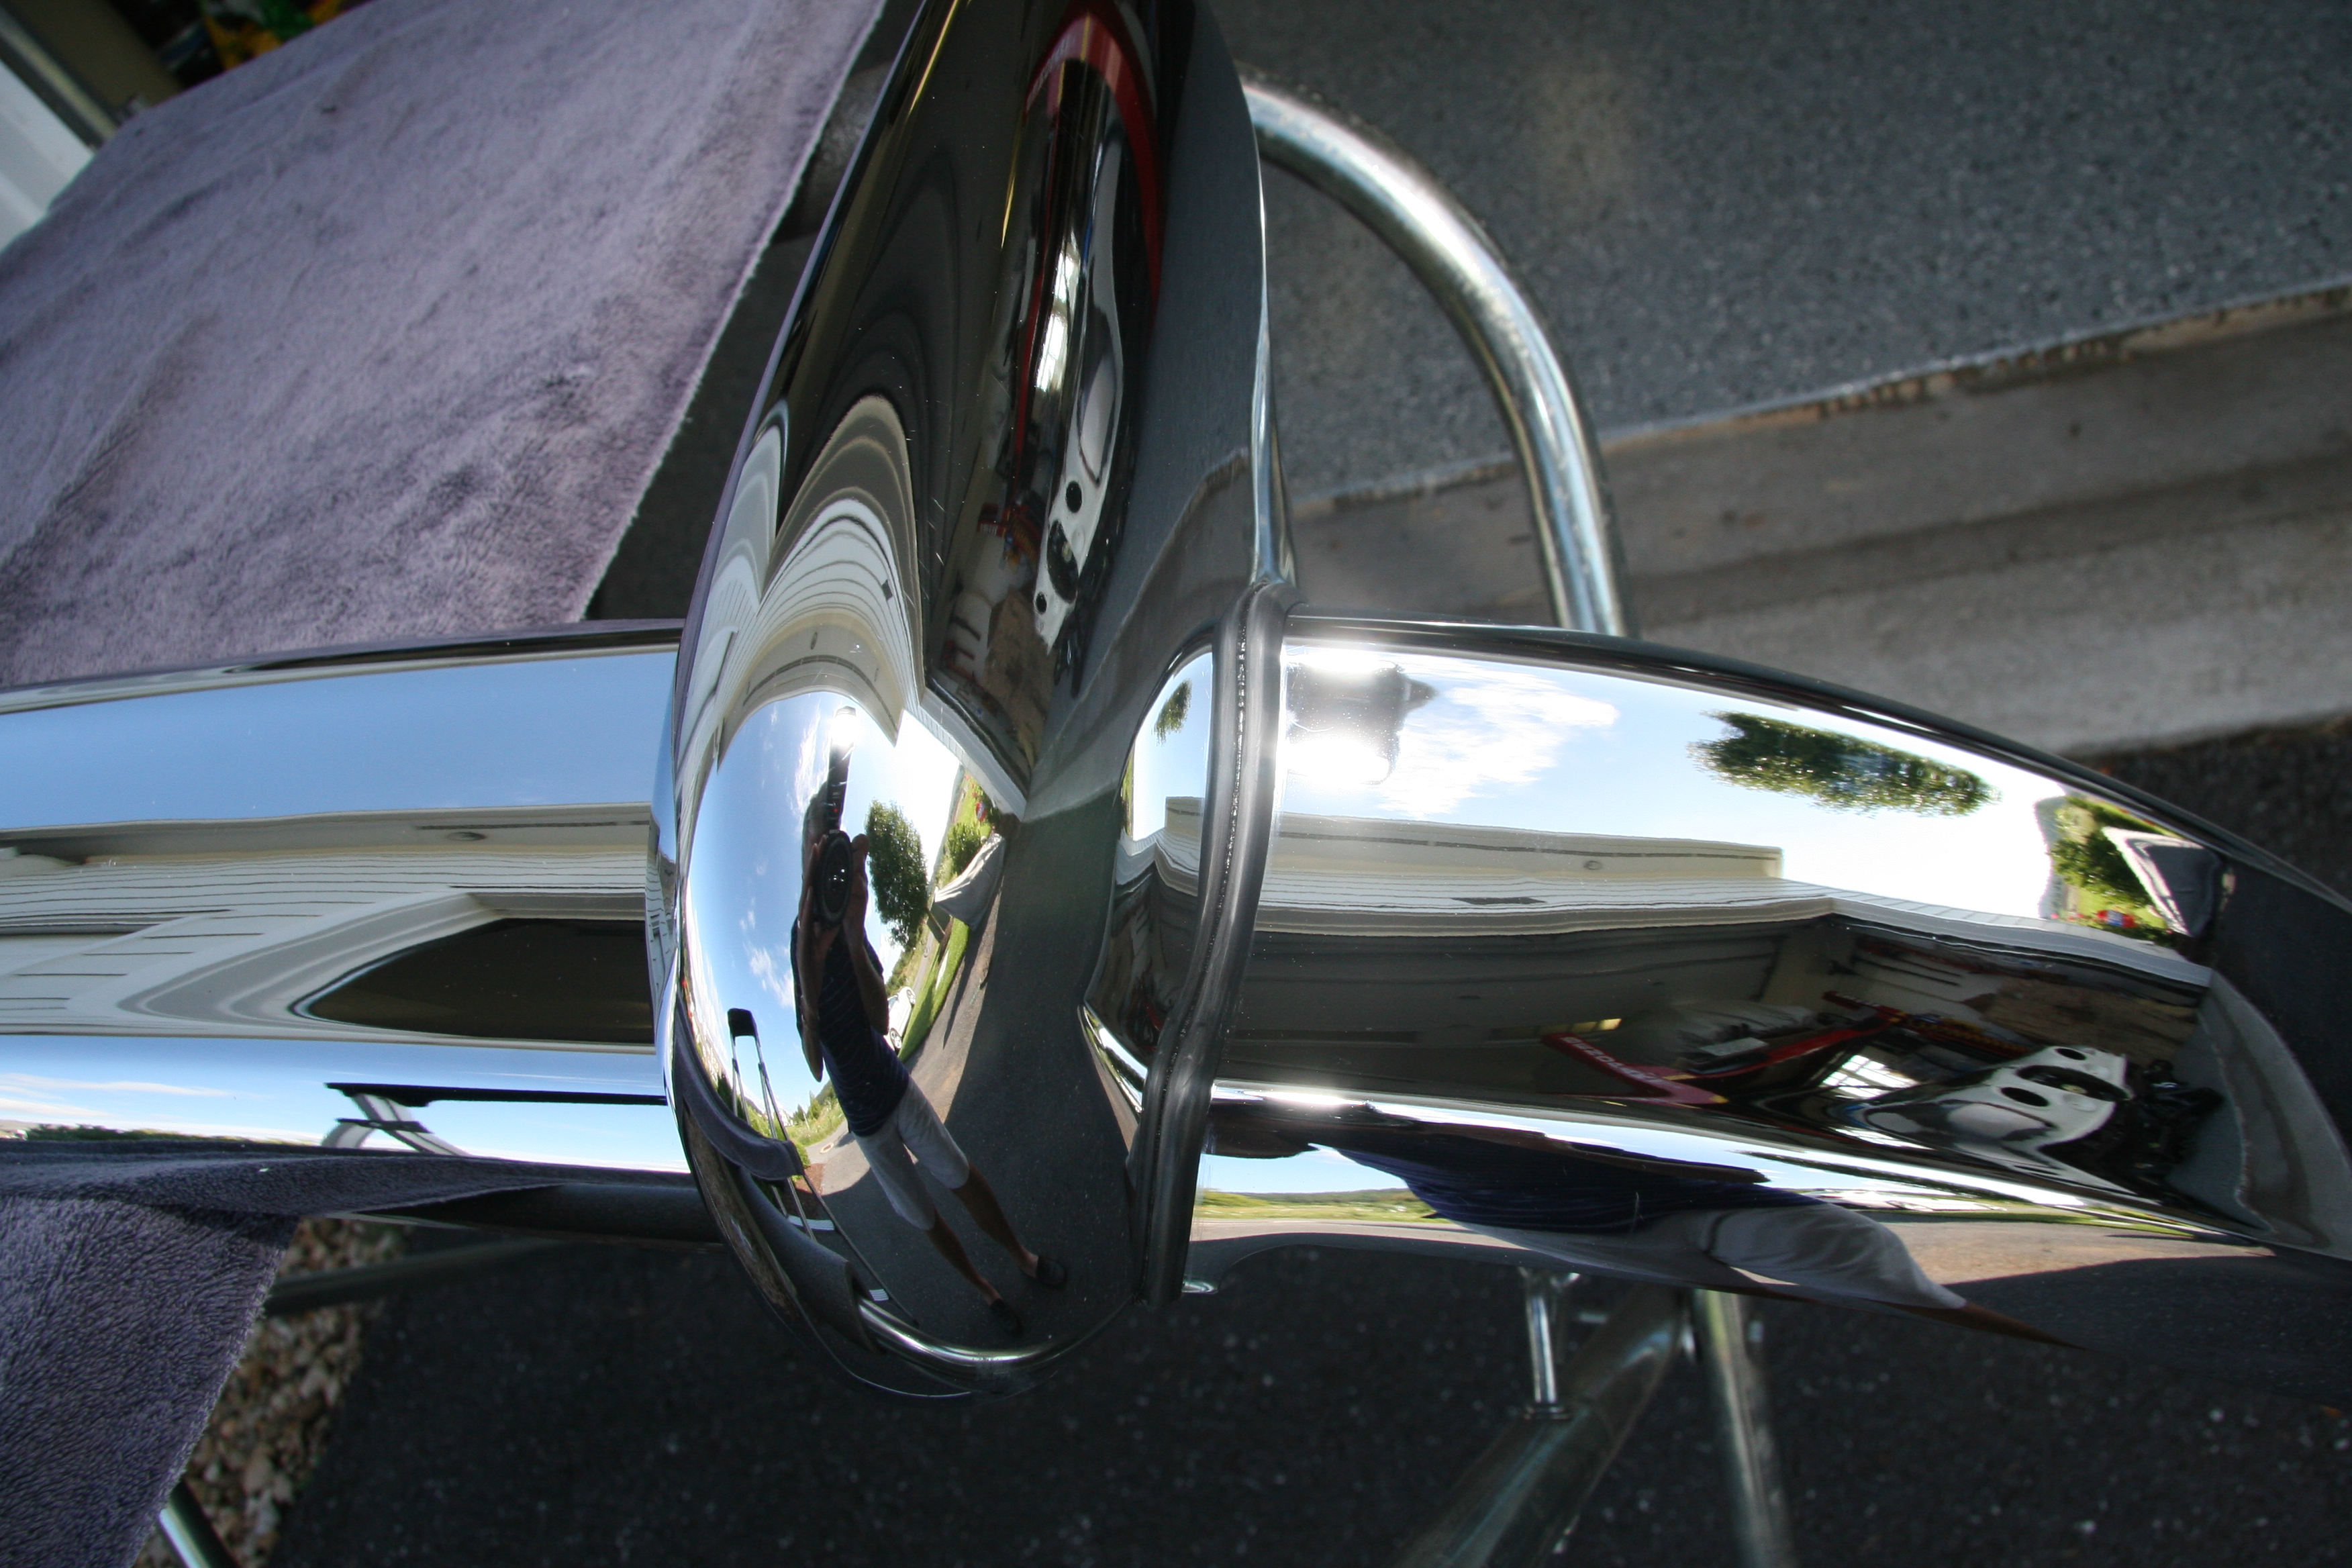
The bumpers were straightened and chromed. The over riders had some small dents. They were repaired and chromed as well. I painted the back side of the over riders with silver POR-15 rust treatment/paint. The overriders were mounted to the bumper with a special 3/8″- 16 round head bolt that fits through a rectangular opening in the over rider bracket and is secured with a spire nut. I used new fasteners. Each over rider had a rubber beading seal one each vertical side. These were glued to the over rider with 3M black trim adhesive and then the over rider was bolted to the bumper. 3M Adhesive Cleaner was used to remove excessive black adhesive from the seals.
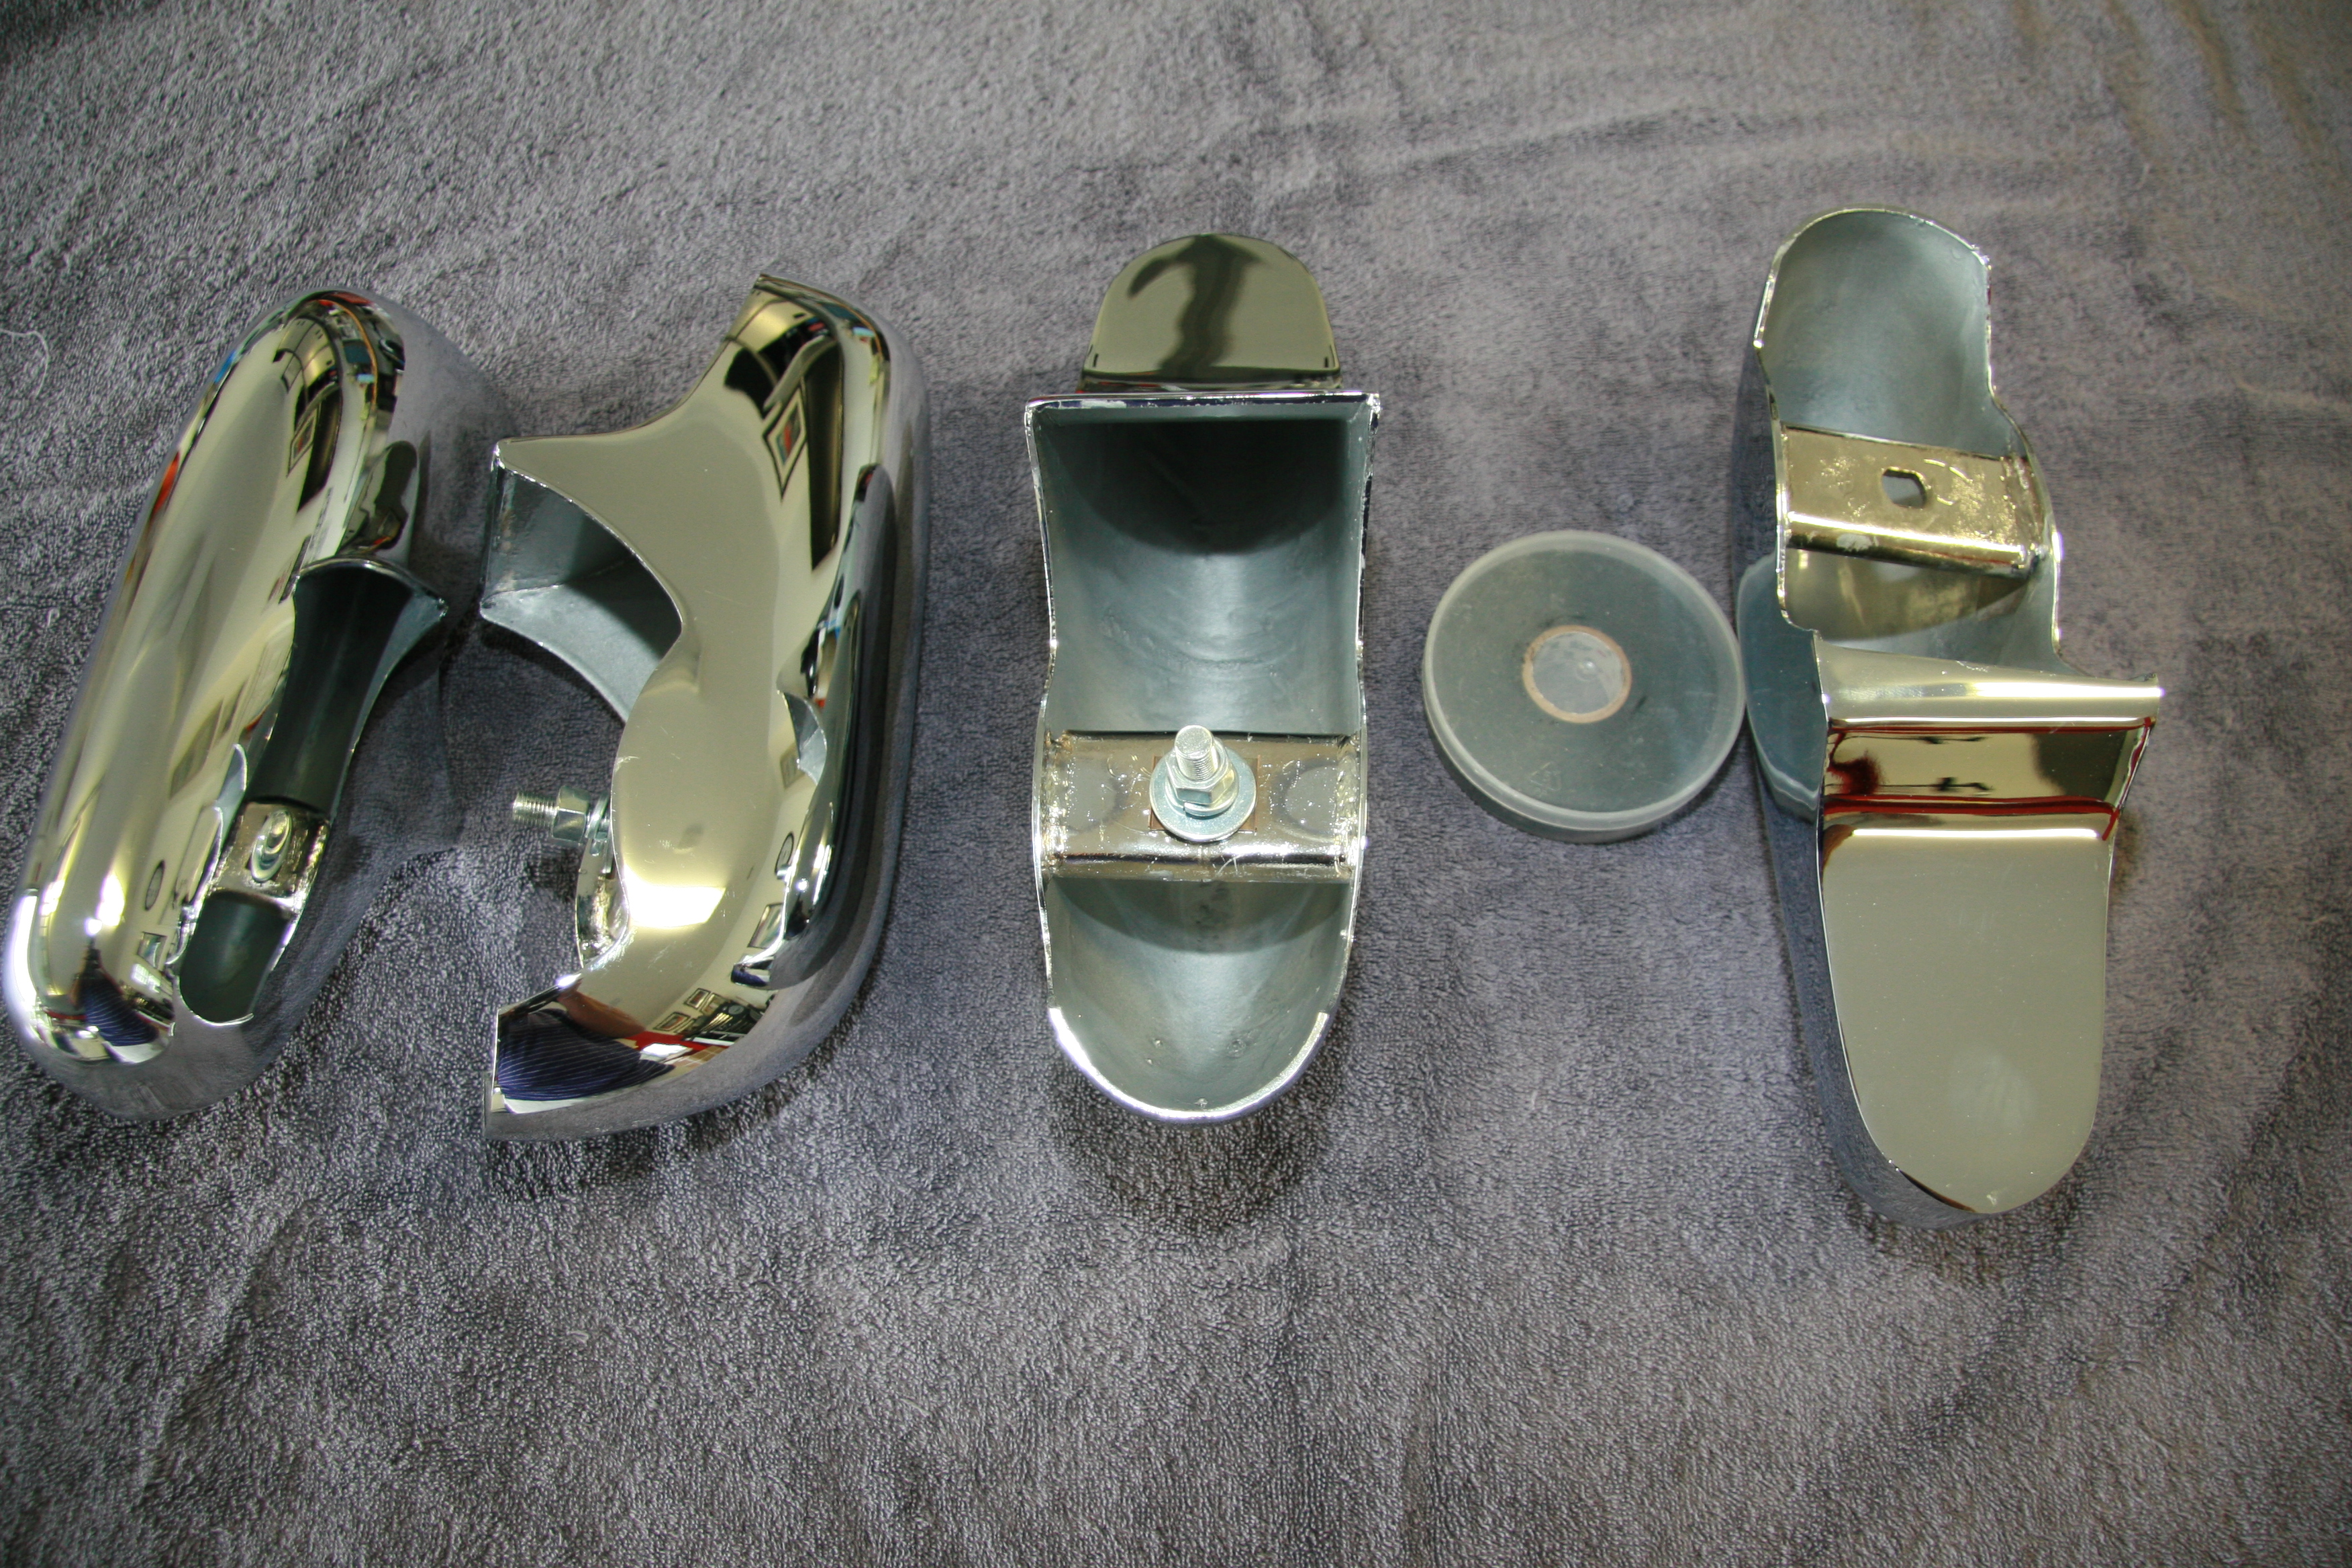 Front and Rear Over Riders with POR15 Paint
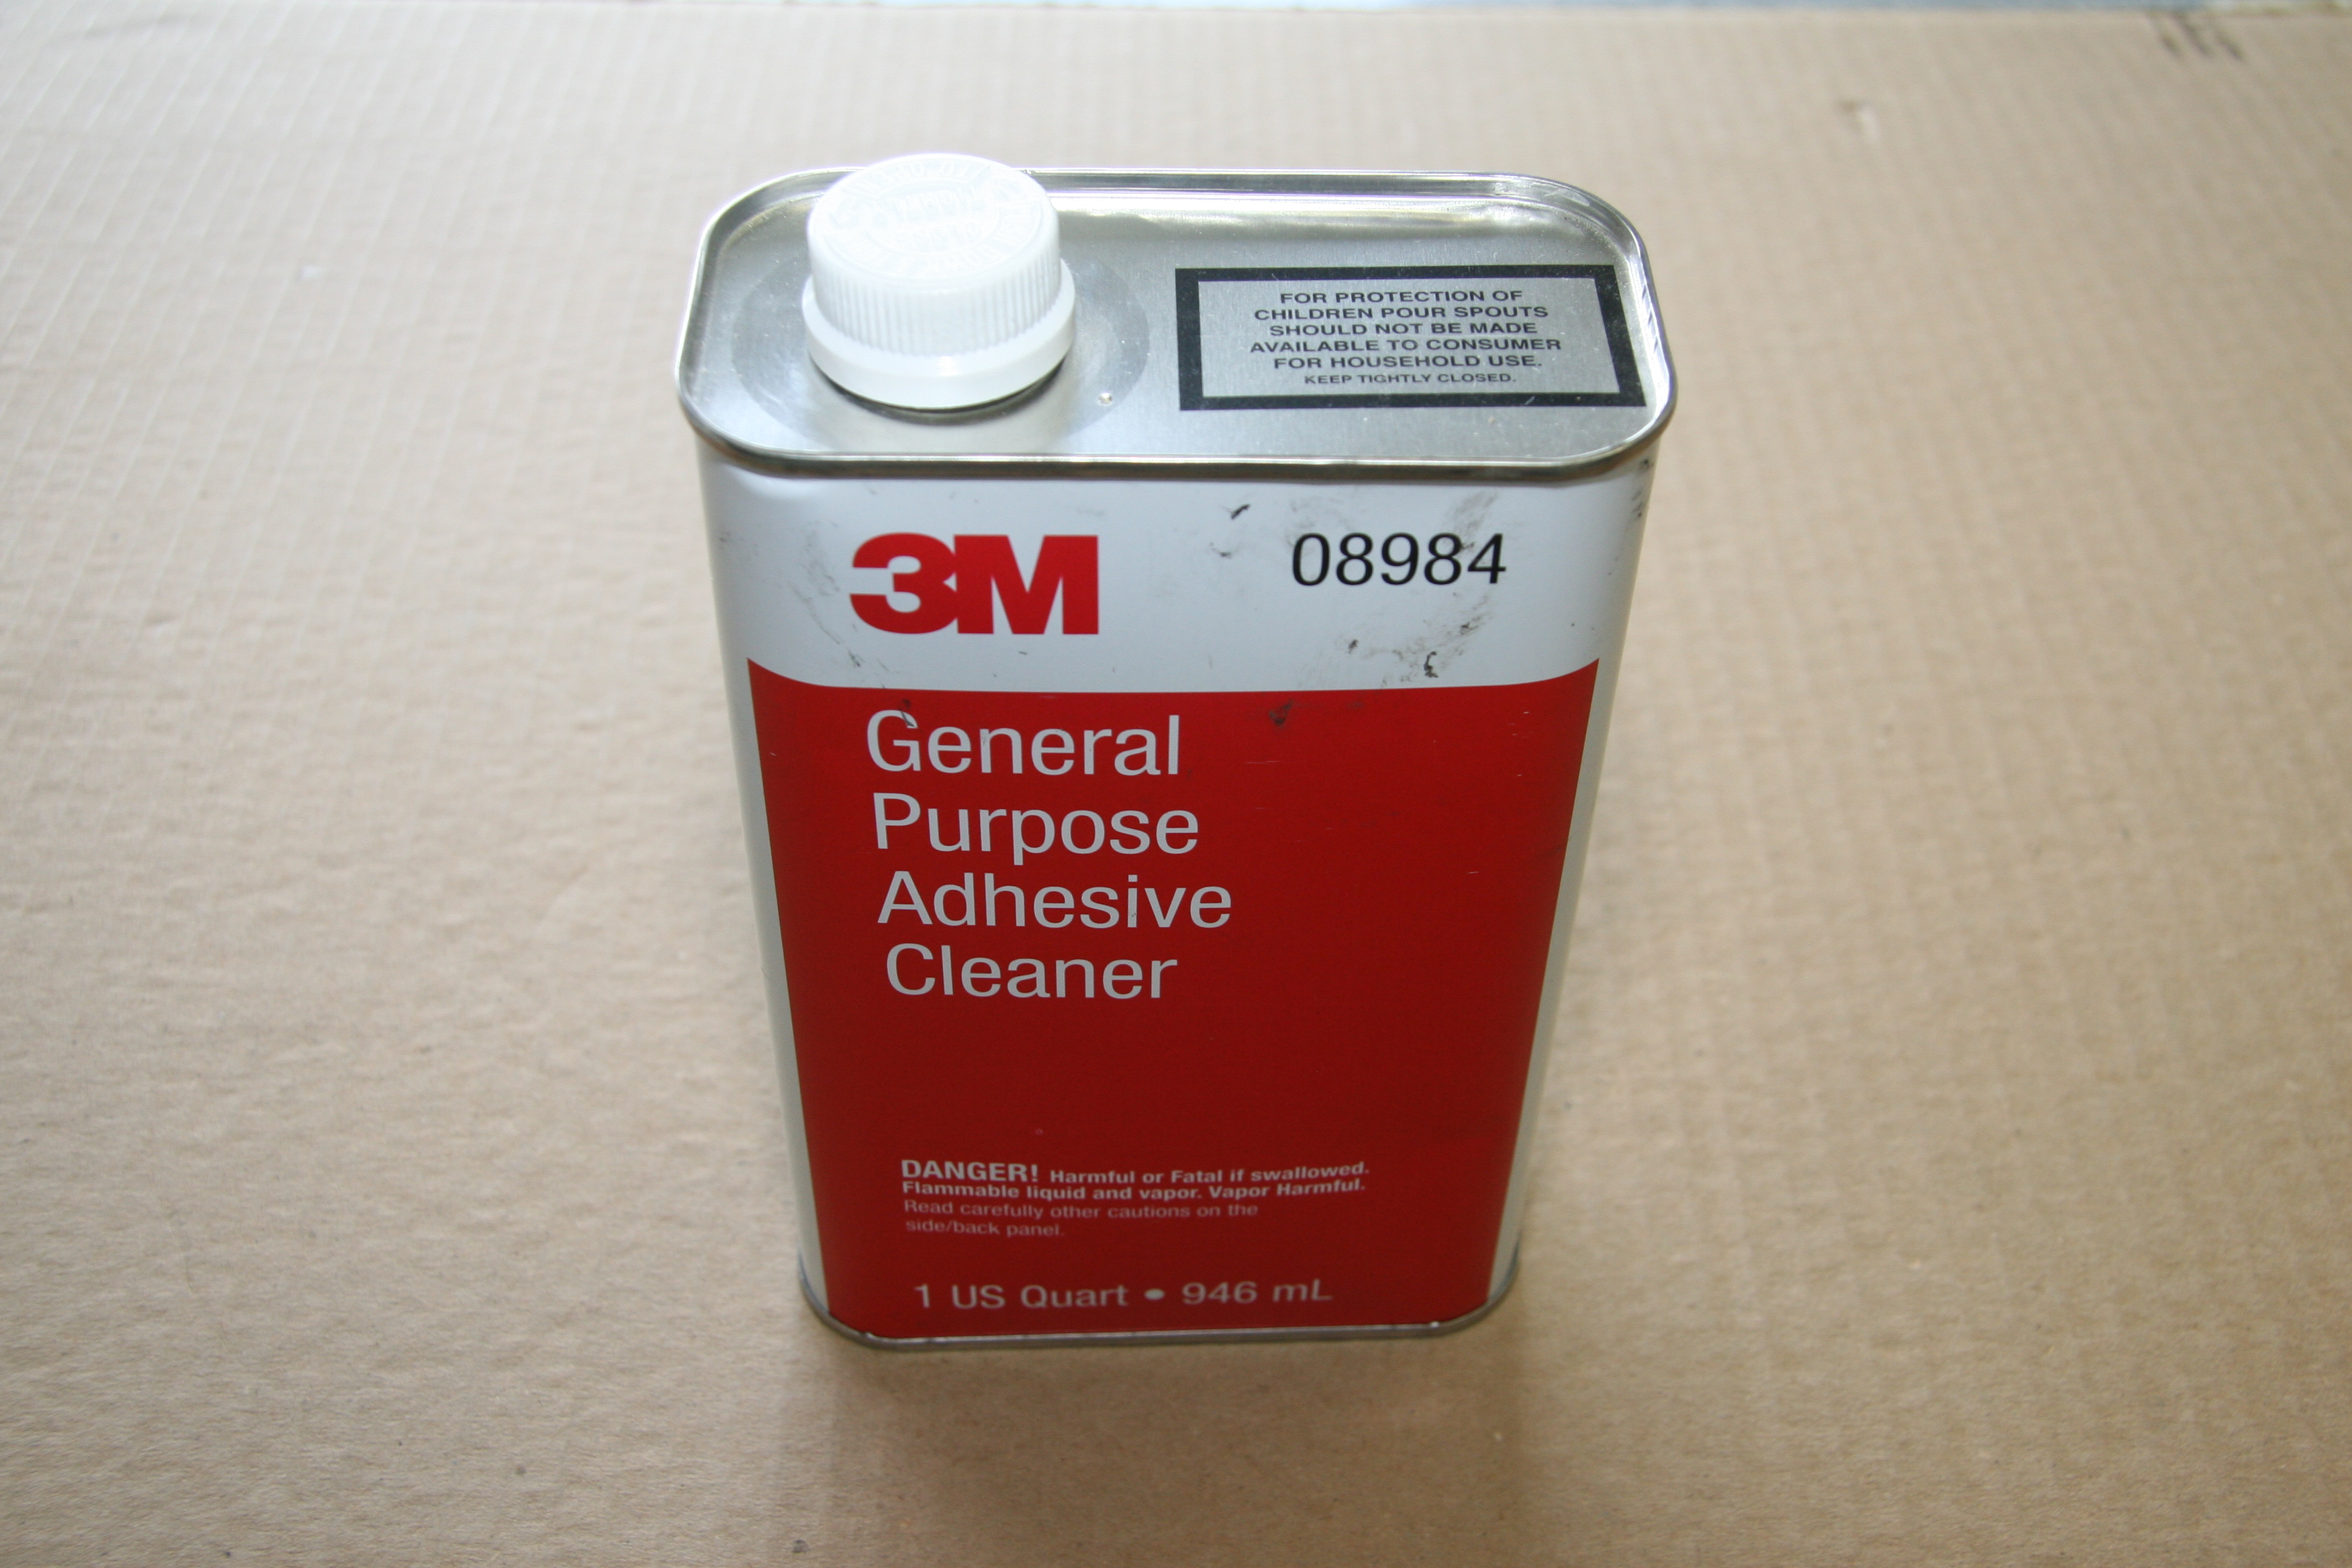
3M Adhesive Remover

Front Bumper with Over Rider and Rubber Seals
I then assembled the front bumper mounting brackets to the bumper. All new bolts, and washers were used:

Front Bumper with all Mounting Brackets and Hardware
Front Bumper with all Mounting Brackets and Hardware

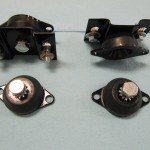
Side Mounting Brackets

RH side Mounting Brackets
Rear Bumper and Mounts
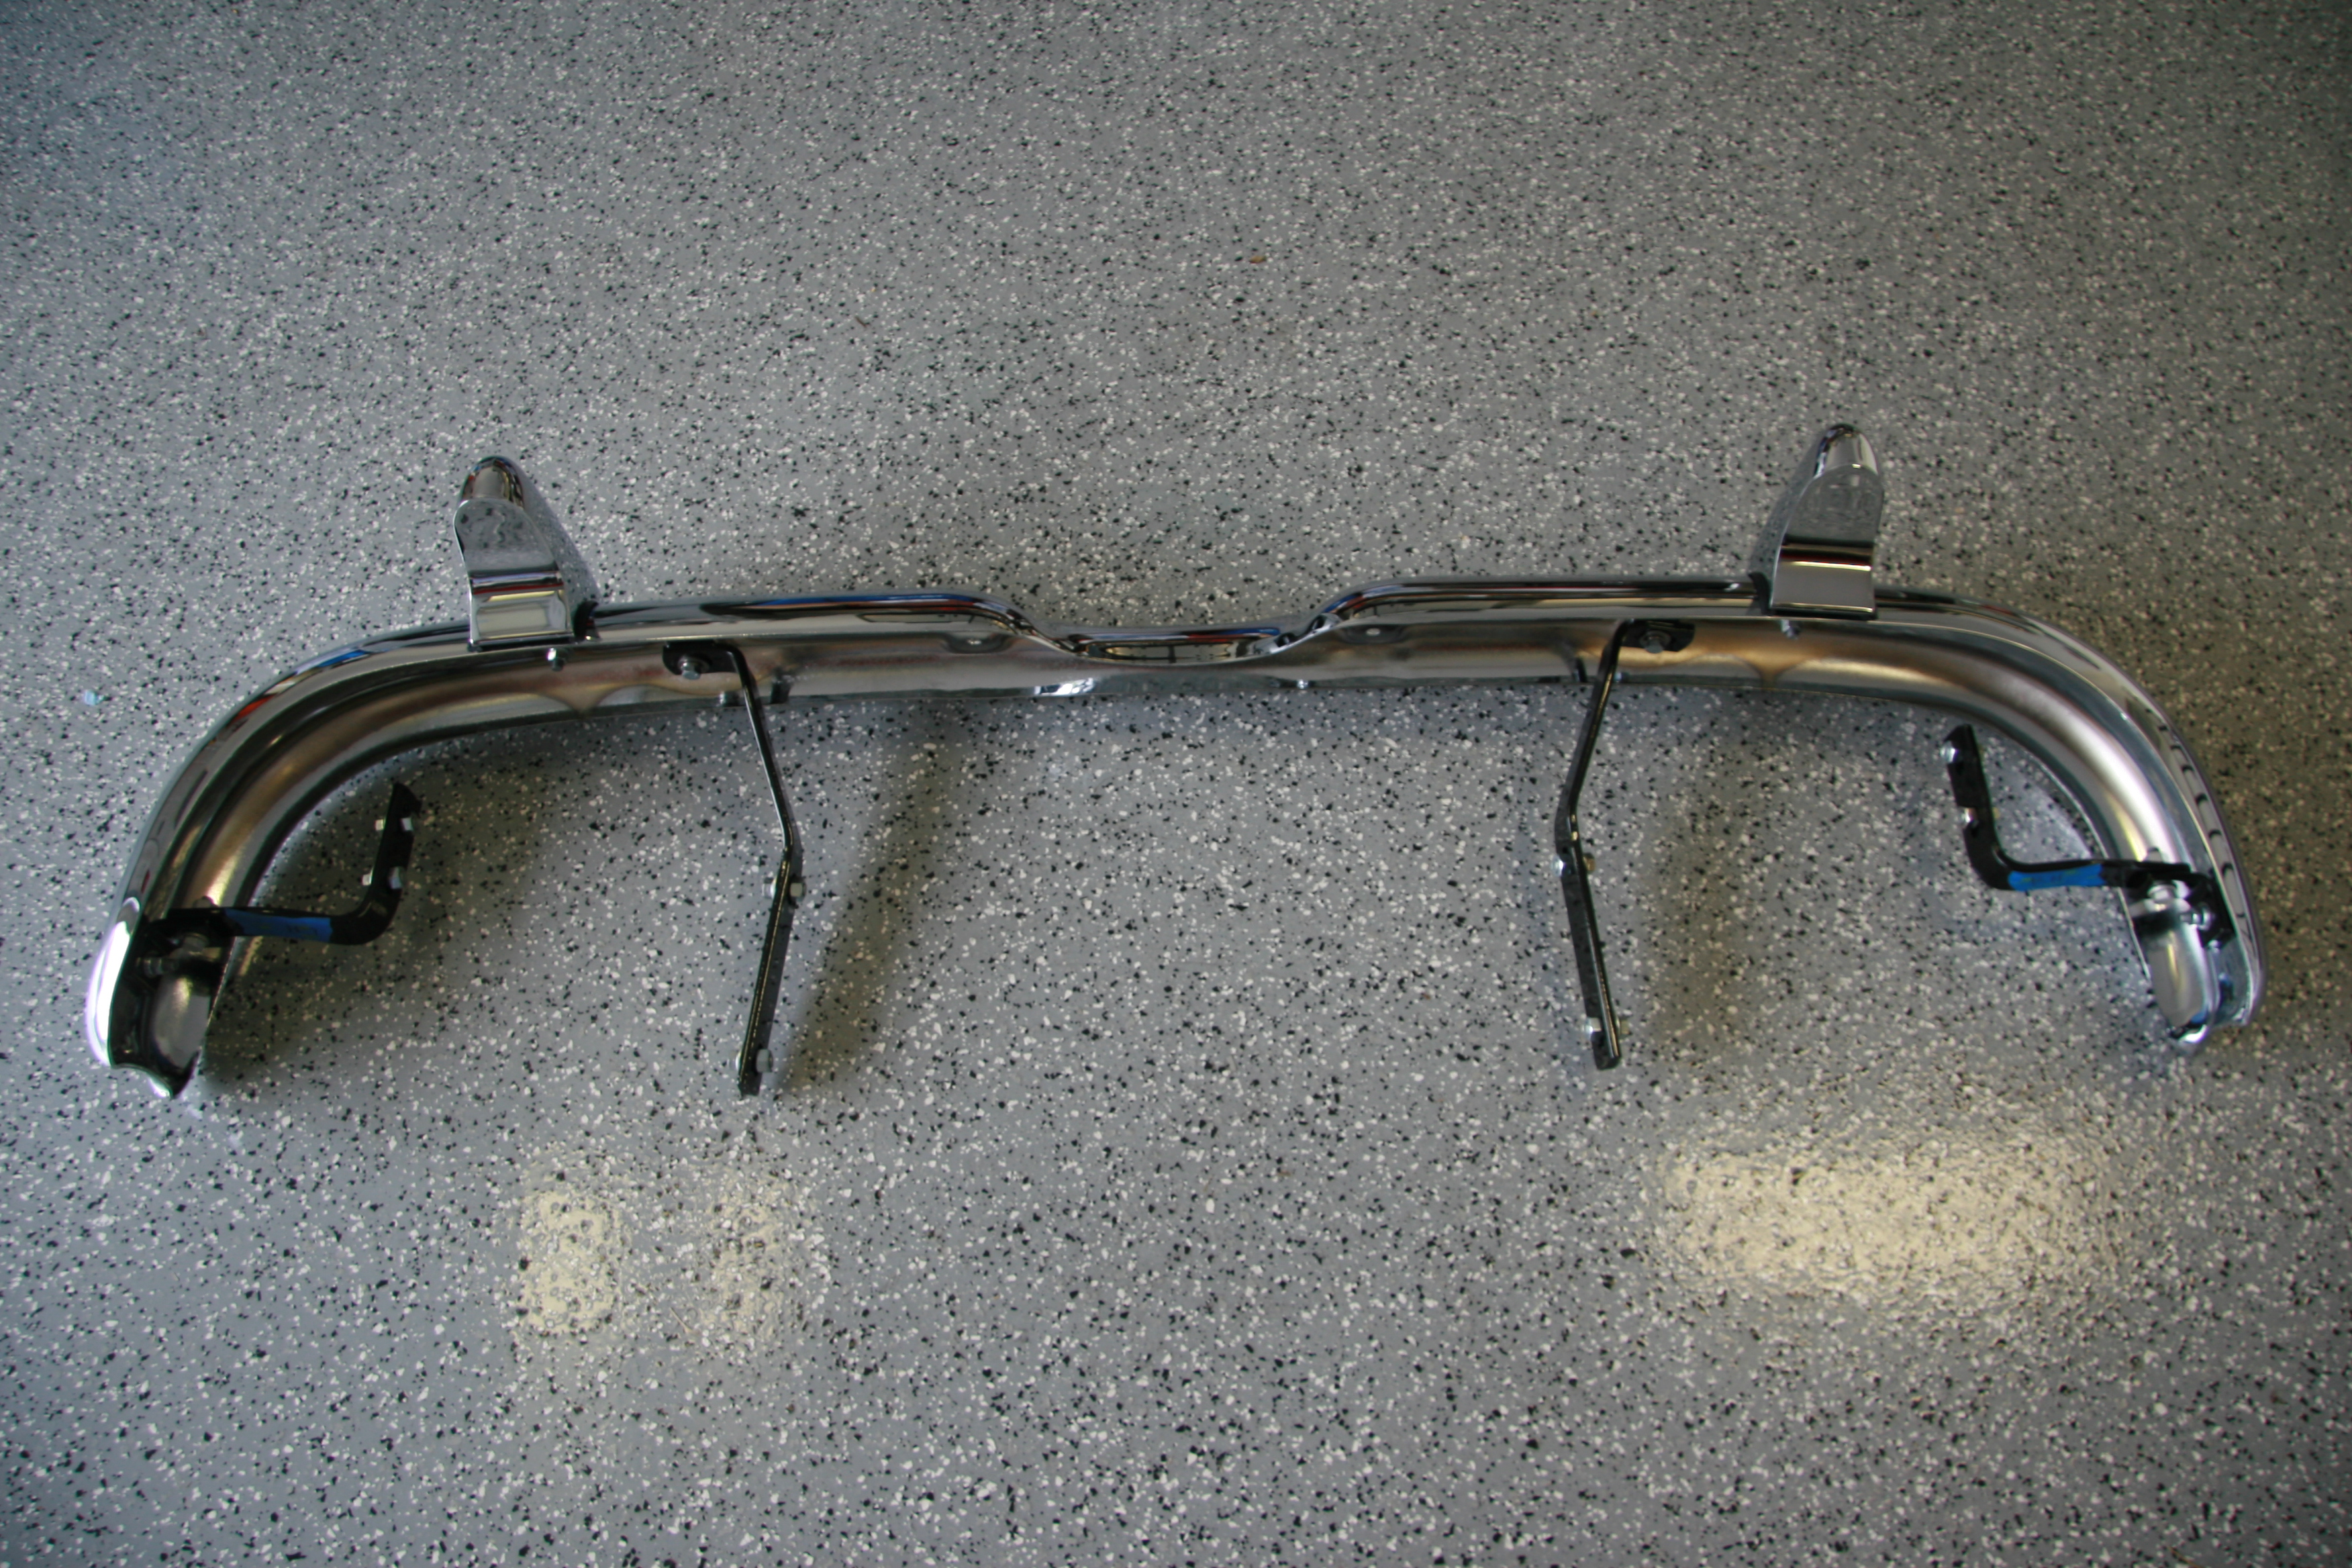
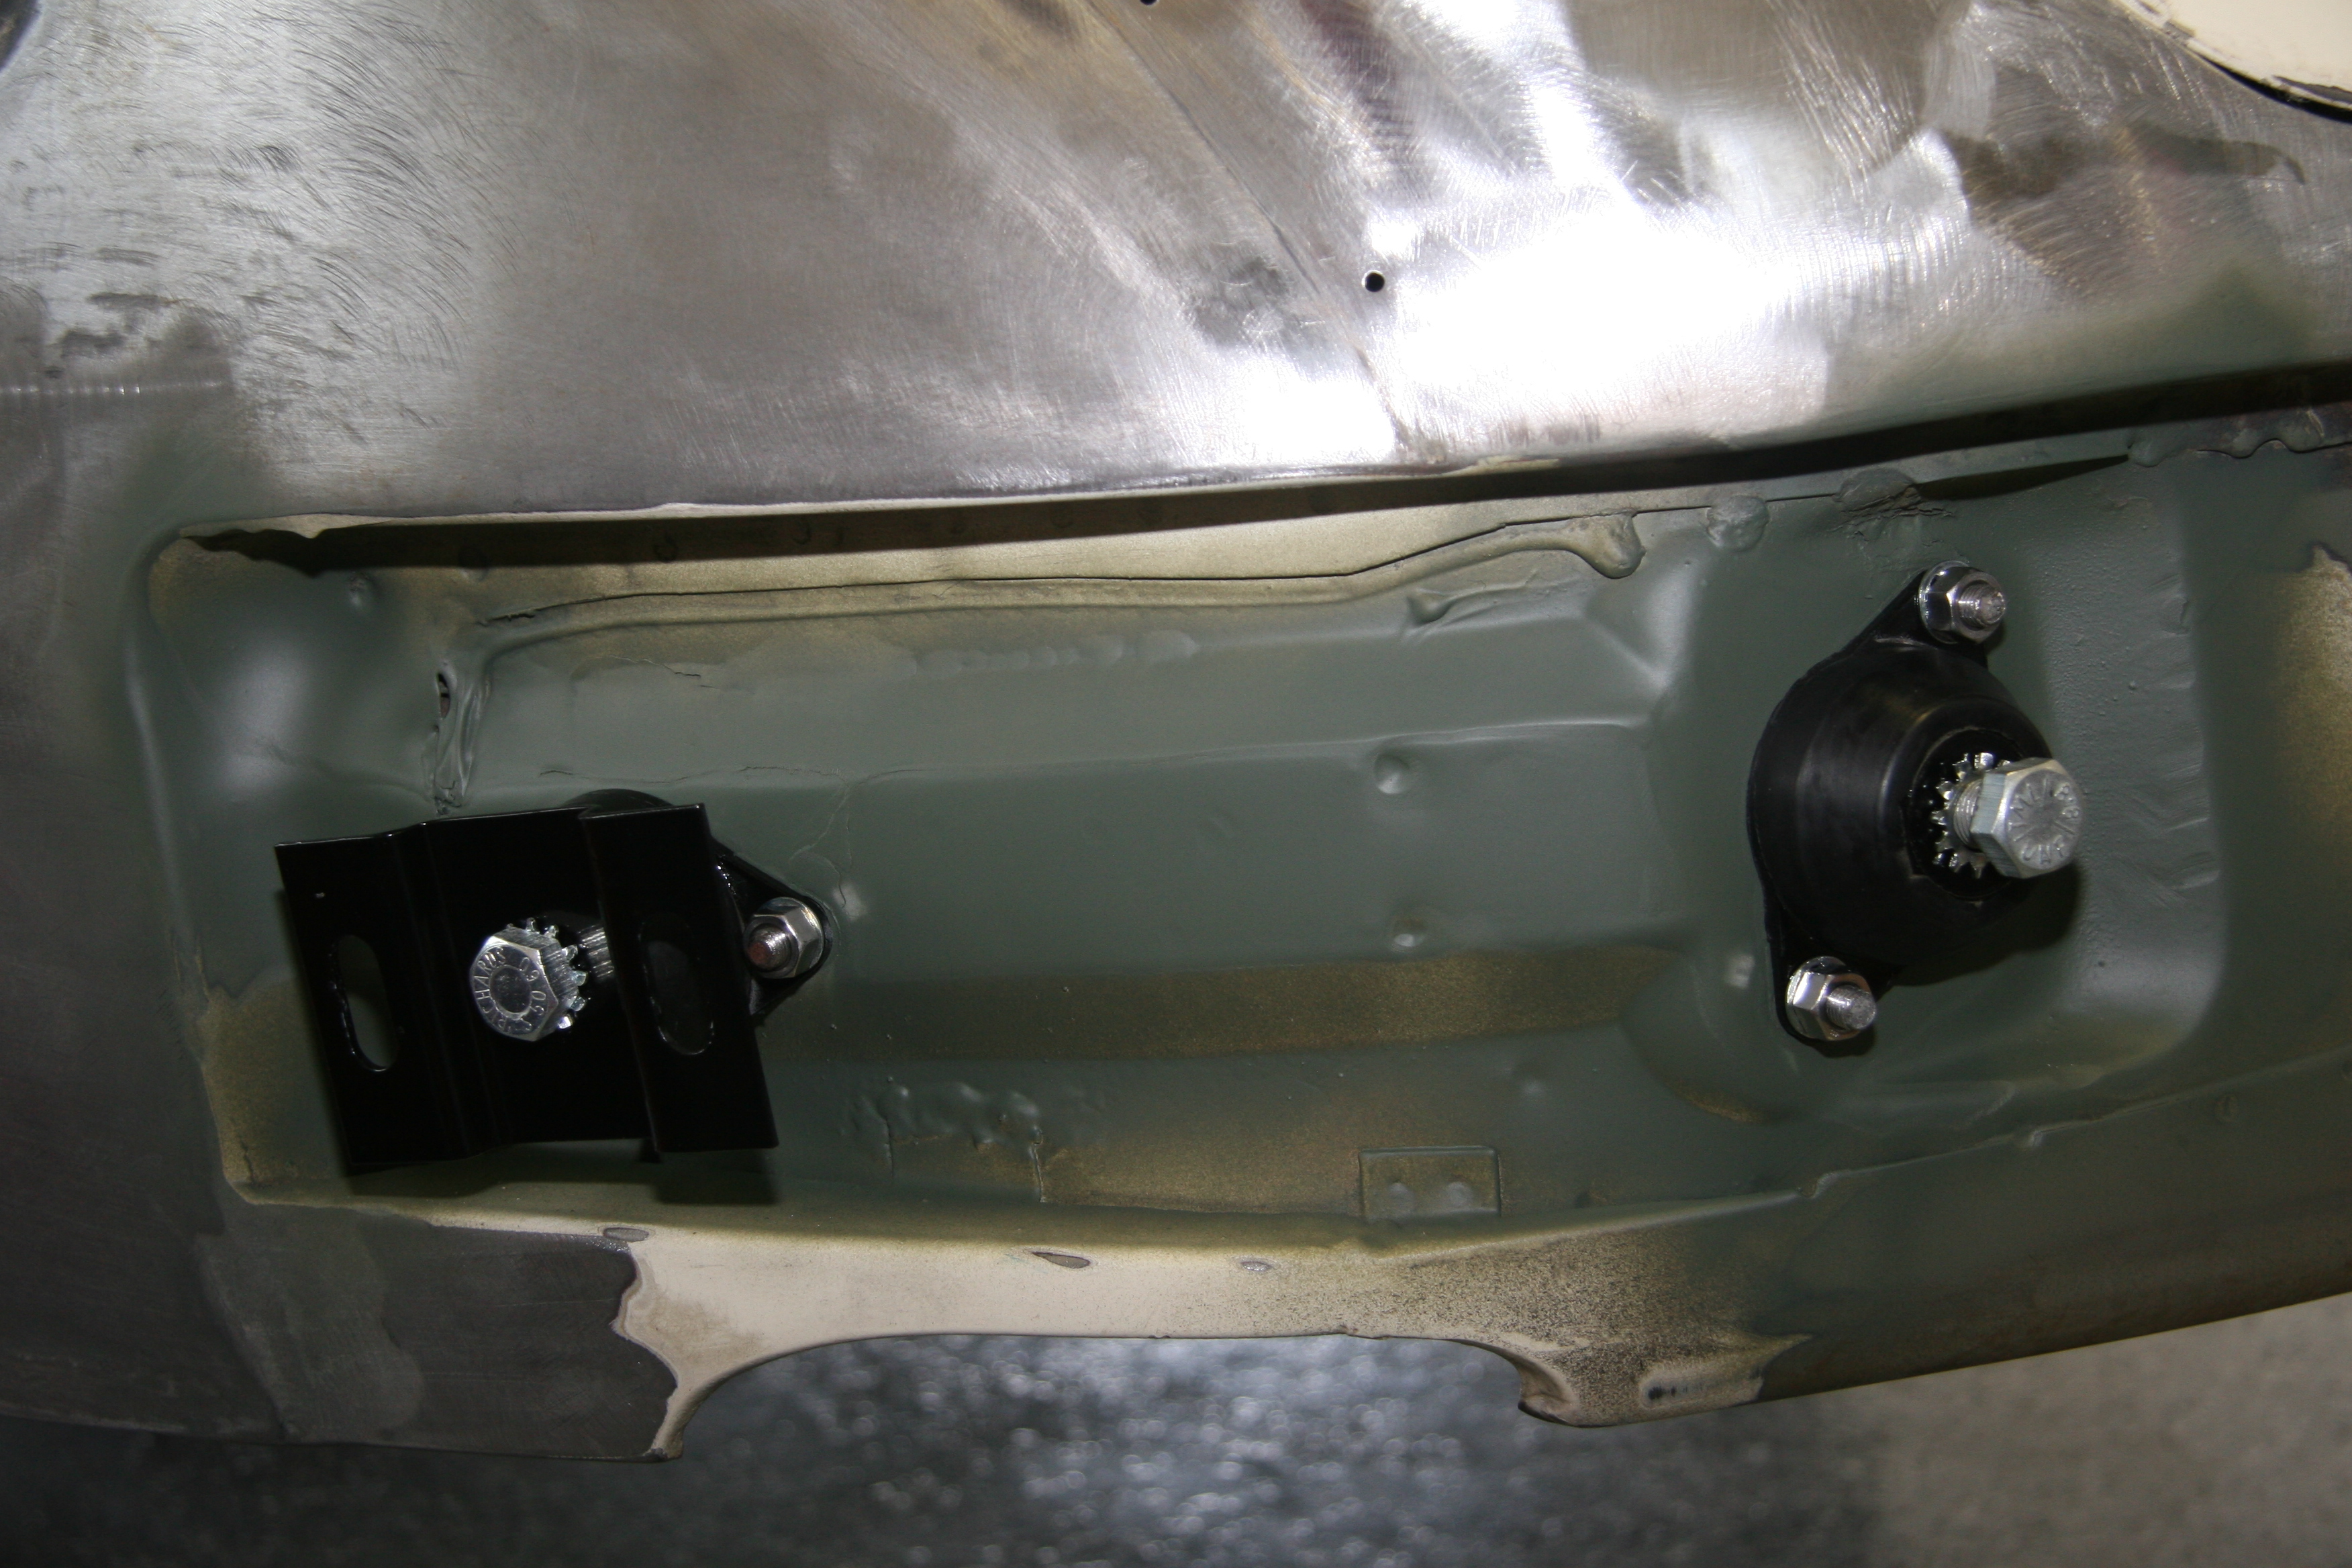
I ordered two new brackets, for outer mounting of rear bumper with new fasteners and four rubber bumper mounts. These came with exposed unpainted metal so I primed and painted them to avoid rust in the future.

Rear Bumper Mounts
Rear Over Rider Rubber Beading

Rear Bumper with Over Riders and Rubber Beading Installed
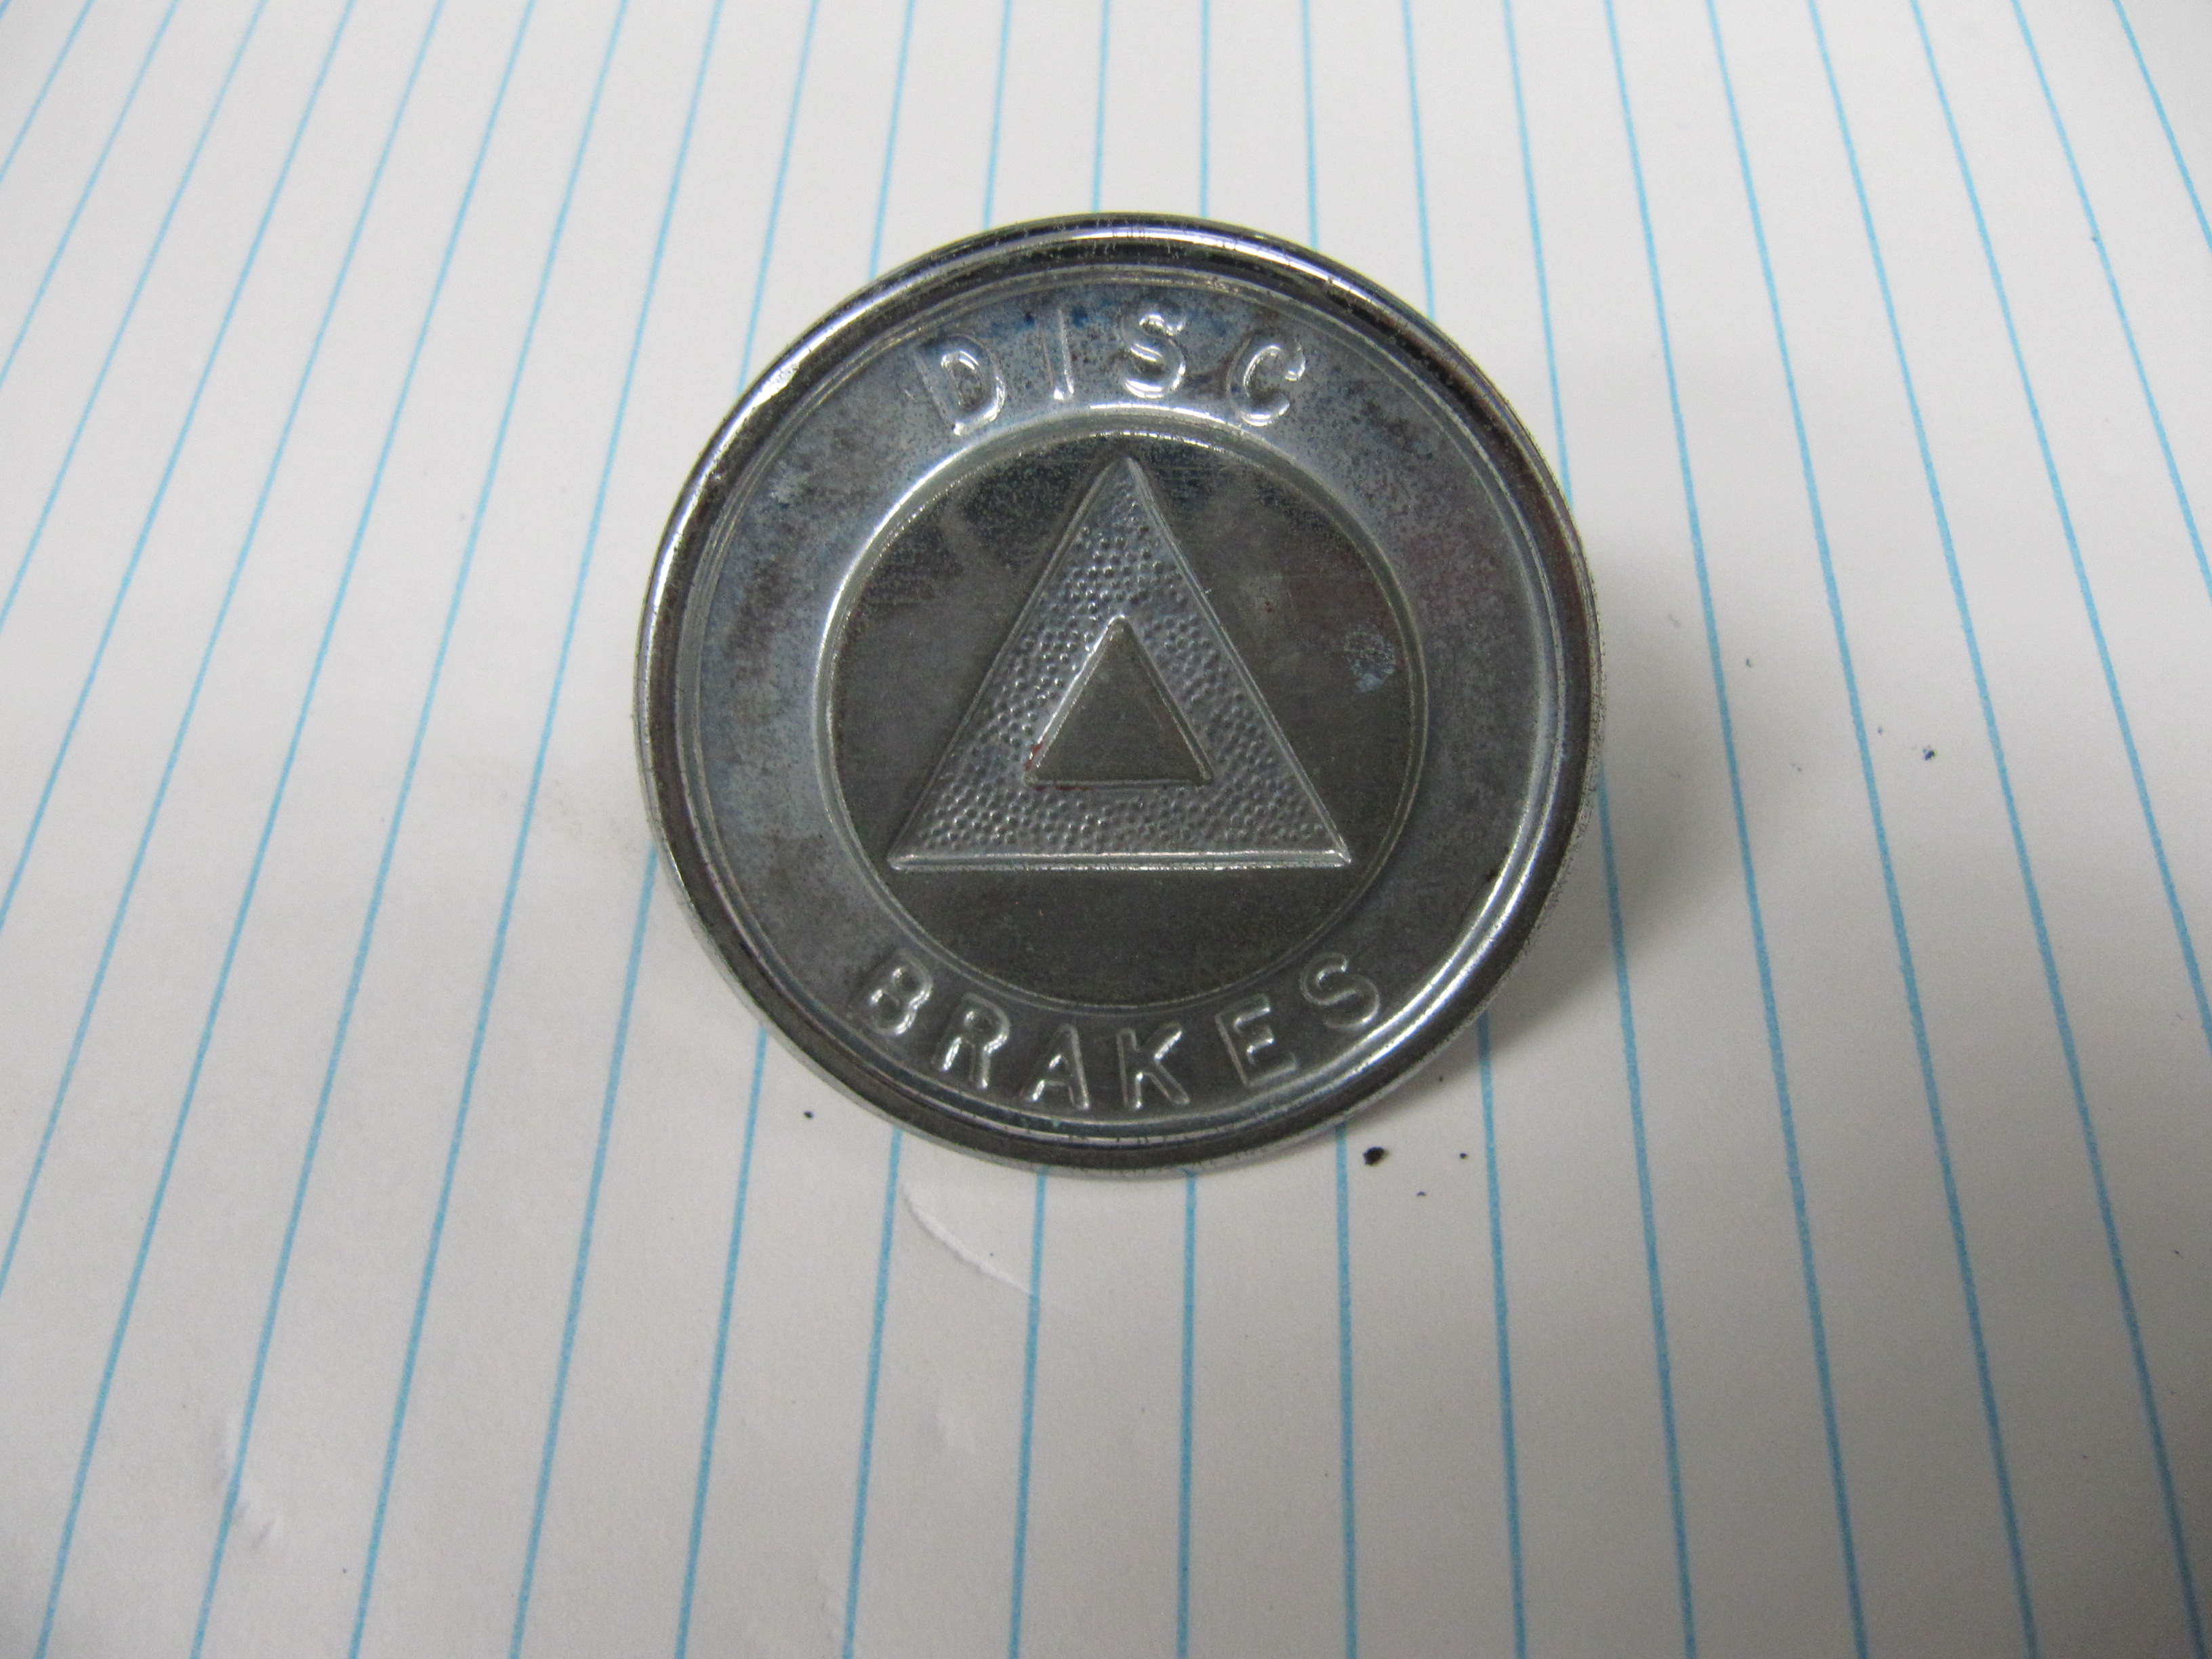
Rear Bumper Disc Brake Emblem
A round emblem is located in the center of the rear bumper signifying the four wheel disc brakes which was quite unusual at the time. I had the emblem rechromed and I painted the Triangle and the letters red as was original.
Rear Bumper Disc Brake Emblem
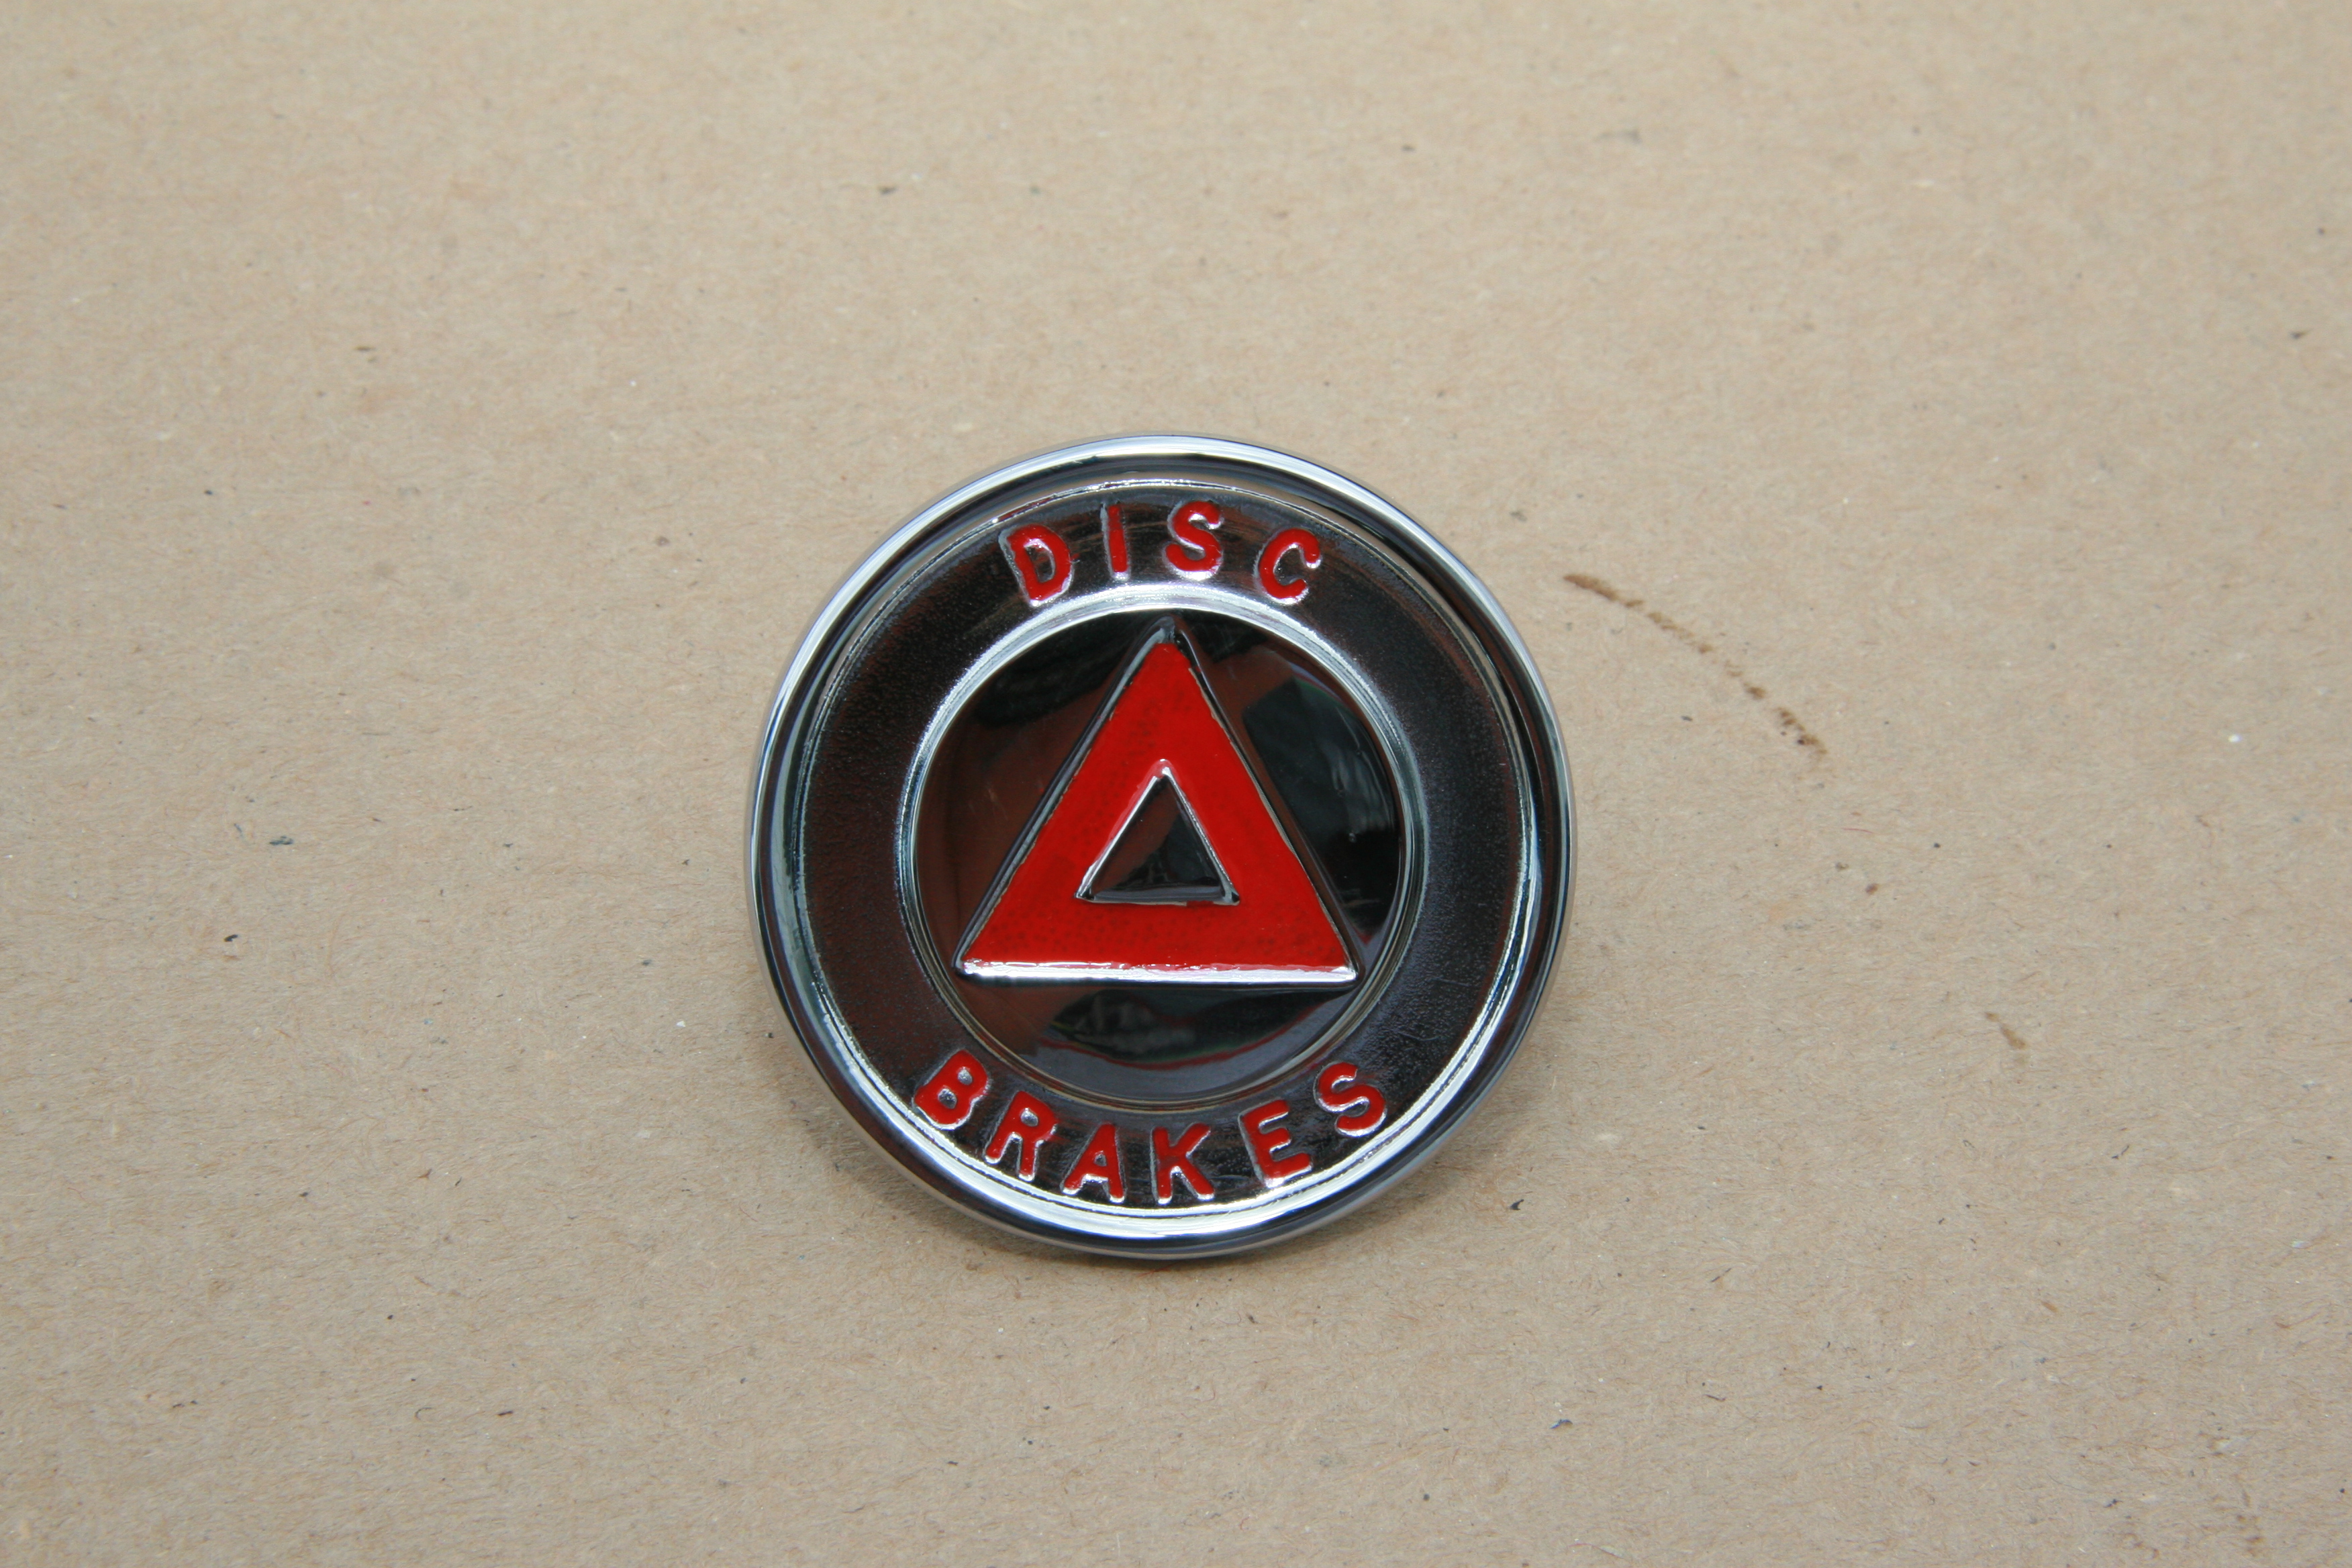
Painted Disc Brake Emblem for Rear Bumper
The Emblem is curved to fit the curvature of the rear bumper and is mounted with a flat and shake proof washer and nut:
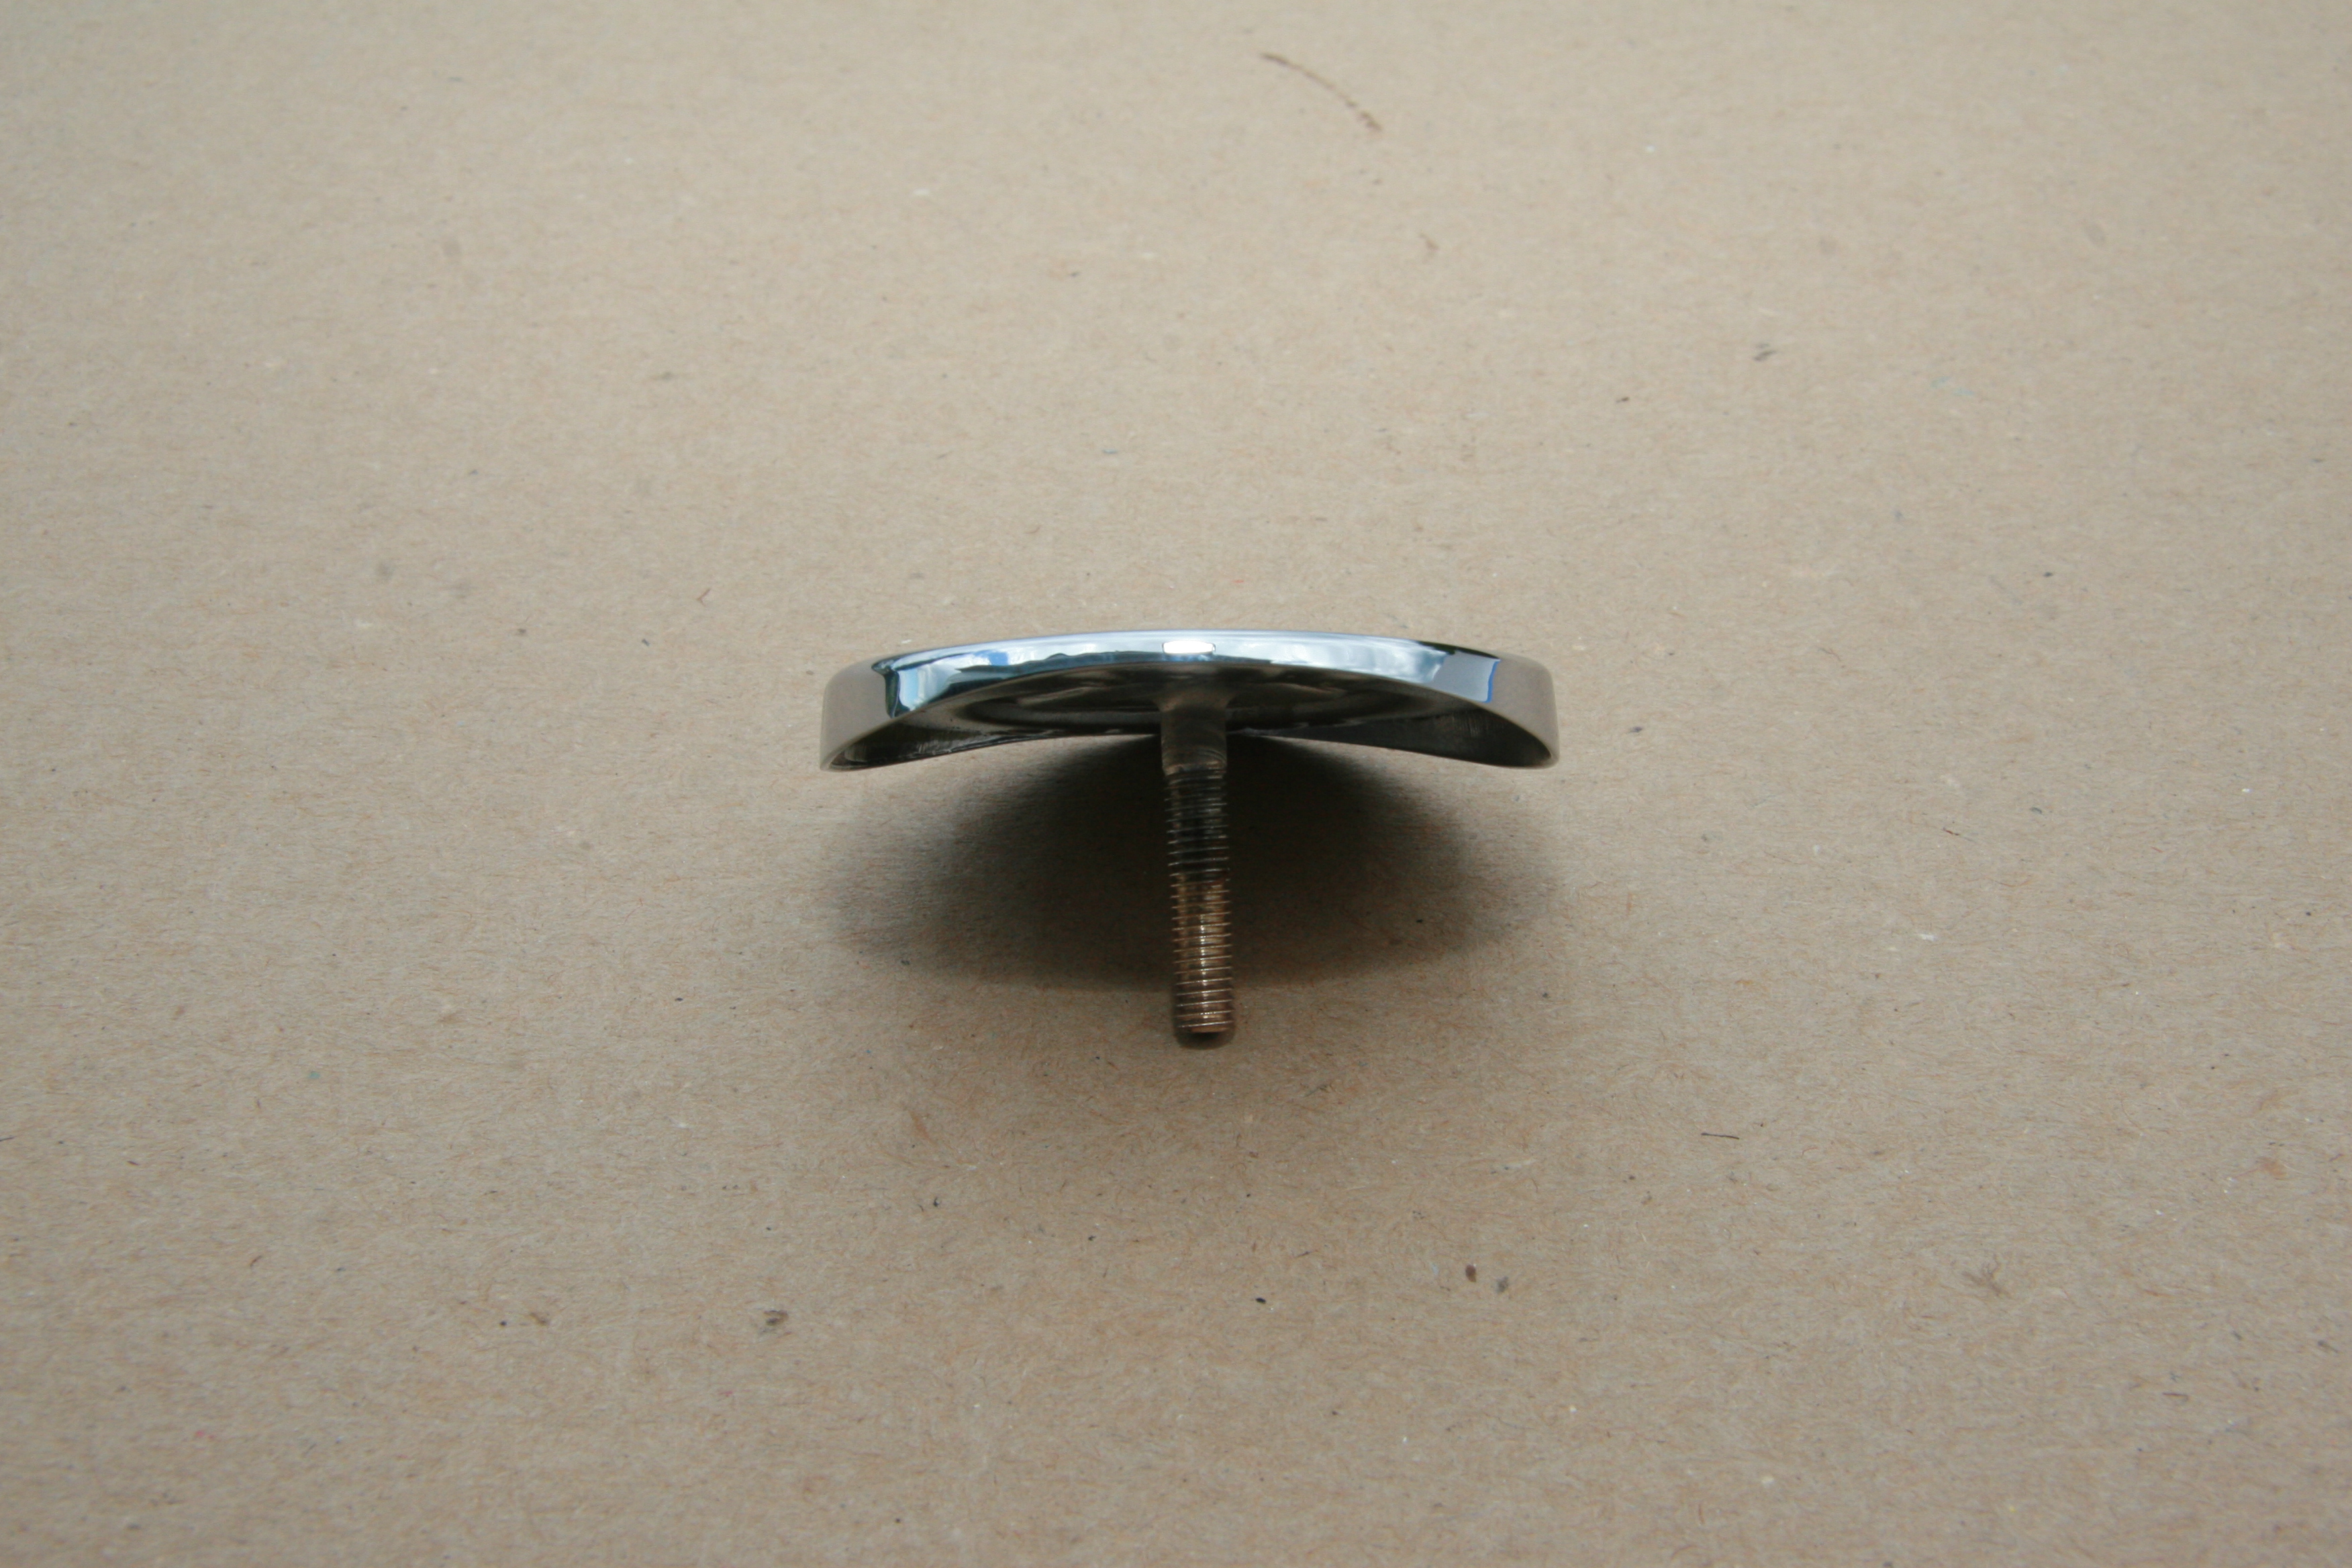
Disc Brake Emblem for Rear Bumper
Trial Fitting Rear Bumper
I cleaned the surfaces around the rear bumper mounts, painted the area with primer and installed the bumper mounts so that the bumper could be checked for fit and alignment. This would typically be done BEFORE chroming but circumstances prevented the normal process from occurring. All new bumper mounts and fasteners were used.
Your bumpers are truly beautiful. I just finished taking the brackets off my bumpers; one on the end bolts that is supposed to hold on the slot in the bumper didn’t, so I had to cut it off.
Thanks, Eric!
Lin
Yes they look great! Blimey, getting that rear bumper on requires a reward at the end. I have a special bent spanner somewhere, I hope I can find it again when the time comes.
Thanks, Phil. Final fitting still ahead of me. I don’t look forward to the task.
Lin
Your attention to details is plain fantastic. I notice that even the brackets are shiny, with an even and perfect surface. Are you applying the POR-15 by brush or by spraying?
Thanks, Anders! The POR 15 is brushed on. If Done well it smooths naturally and looks like a spray job!
Lin
Just found your blog. sorry you have sold the MK2, but could you tell me where you sourced the rear bumper brackets?
Hi Mark,
The bumper brackets are original to the car.
Lin
Mark, I am sorry. I missed that you said Rear. They were sourced from SNG Barratt BD9925.
Lin