Doors and Windows
Door Hinges
I decided against removing the hinge pins to “restore” the hinges. All the hinges were free moving but nice and tight with no discernible excess play. The door side of the hinge is aluminum while the body pillar side of the hinge is unpainted steel. It appeared that the hinges were painted while mounted on the car.
I removed the paint with paint remover, painted the bare metal side of the hinge with silver POR-15 (since I was leaving the hinges assembled, I could not zinc or cad plate the bare metal pieces), greased the hinges and tried them all for good fit with new bolts and screws sourced from SNG Barratt.
All of the adjustment in the door hinges is on the door side mounting. The hinges are fixed in place by captive nuts in the “A” and “B/C” pillars.
The hinges are now ready for assembly to the car when the time comes.
Door Check Arm Assemblies
Each door has a check arm with a rubber buffer. The rubber buffer or stop is not available from the typical sources so I search for a suitable replacement material to use. I was unable to find anything that had the fabric rubber combination in the original stops. I media blasted each check arm and will have them zinc plated.
I ended up purchasing a 1/2″ thick Neoprene pad from Grainger and cut out the stops with a 1 1/8″ hole saw in my drill. Then using a 3/8″ and 5/8″ chisels I cut out the rectangular opening in each rubber stop. I will coat the circumference of the rubber with black silicone to provide some protection from moisture. I tried the stops on the check arms and installed one of the rear door check arms with the stop in a door. Everything seems to work well. Hopefully the new neoprene stops will hold up.
I am not yet at the point where I am ready to install door seals; however, I came across some photos and installation instructions on the Jag-Lovers web site that may prove helpful later. This is a link to the page:
http://www.jag-lovers.org/snaps/snap_view.php3?id=1354948688
Door Hinge Shims
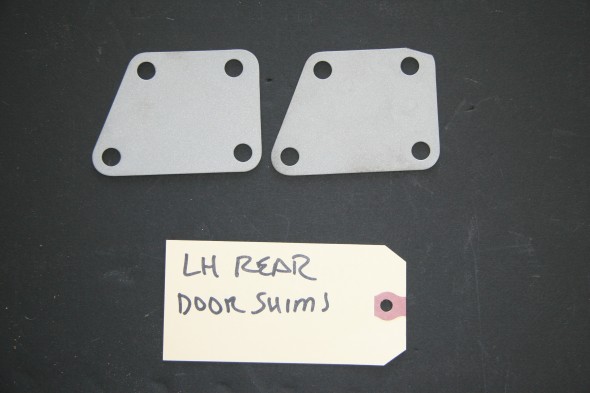
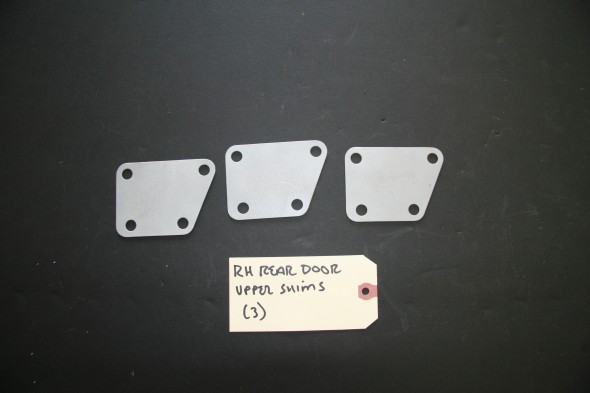
The rear doors had hinge shims on the upper hinges. The LH with two shims and the RH with three. I media blasted the hinges and will then zinc plate them. All of the shims were the same thickness.
Installing the Mk2 Doors
I knew from other car restorations that door mounting is never fun, nor easy. I decided that I would practice mounting the MK2 doors a couple of times before doing the real thing after fresh paint had been applied!
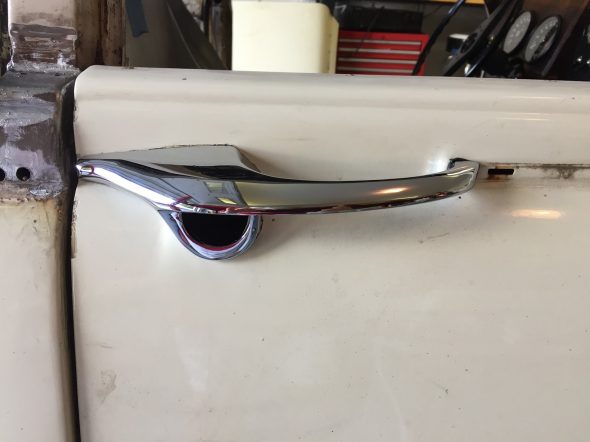
First, I installed the exterior door handles on each door, because these become impossible or nearly impossible to access once the windows and there frames go into place. Additionally, this gives the person holding the door for mounting something comfortable and convenient to grasp while holding the door. Each handle has two #10-32 mounting studs with a flat washer, shakeproof washer and nut. The front of the handles had what appeared to be leather or fiber pads between the handle and the door when I removed them from the car. I replaced these with neoprene pads that I cut to shape. Once finally mounted, these can be cut to shape with a sharp razor knife.
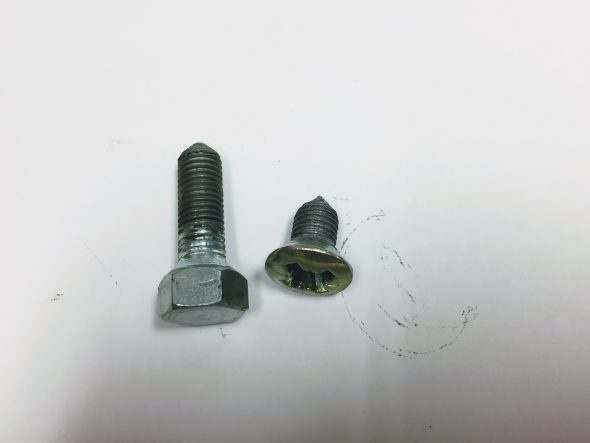
After wrestling with the door installation quite a bit, I finally concluded that the best approach is to first, bolt the hinges to the doors with the bolts barely started in the captured threaded plates. Then lift the doors to the car ( a second person, or a special purpose jack designed for the job, is particularly helpful here!) and then start the pozi-drive screws through the hinges into the “A” pillar or “B/C” pillar. Again, everything its barely started, nothing tightened. After all of the pozi-drive screws are mounted, it is then time to install the 5/16″-24 x 1″ hex head bolts through the center of the hinges into the pillars. The front door hinges also have the two 5/16″-24 interior lights switches that need to be started and these are located in the center of the lower hinges.
After all of the fasteners are started, it is then a matter of tightening the screws and bolts until they start to “hold” the door, but with adjustment (movement) still possible. Door gaps can then be manually sorted until you end up with what you want. This is a slow process requiring patience. I did all of this without the lock strikers installed. To simulate where the rear shut lines should be I rolled up some tape and then taped it to the door jam to buffer the closing of the door – the job that the seals will ultimately do.
Once the doors are where you want them, the door strikers can be installed. On my car, each of the door strikers had a shim. The strikers have quite a bit of adjustment and like the doors require a fair amount of “fiddling” until you end up with a door closure that you are happy with. More information about the door handles and locks can be found in this post: https://valvechatter.com/?p=6027
Window Regulator Installation
The front and rear regulators are different designs but the same procedures for installation apply. I found it easiest to compress (by turning the winding crank) the mechanism to its smallest size. Insert the mechanism into the door and then crank the winder the other direction to spread the regulator and align it with its mounting holes in the door. One can then loosely start the mounting screws to support the mechanism in the door. This process is best demonstrated in a video. The is the installation in a rear door of the Jag.
It is a fairly easy process once you get the hang of it.
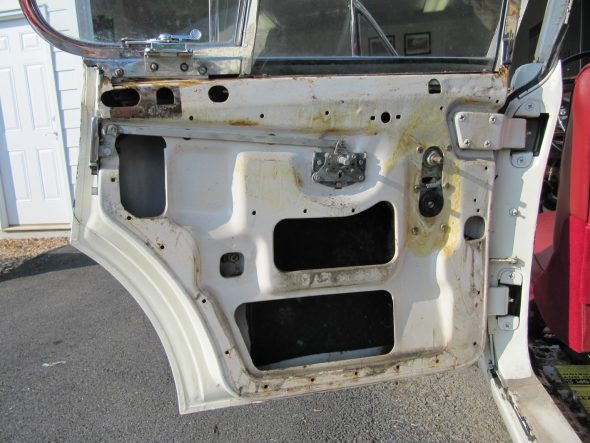
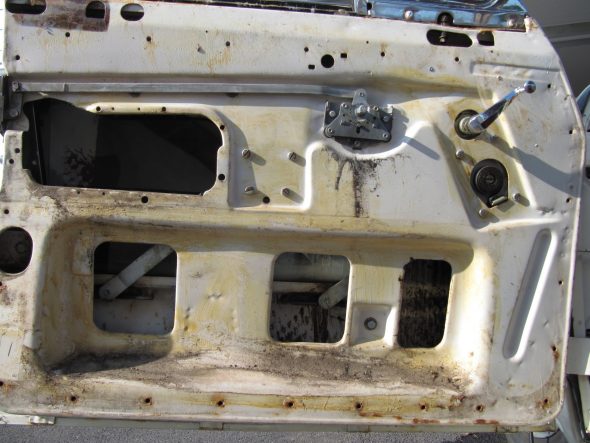
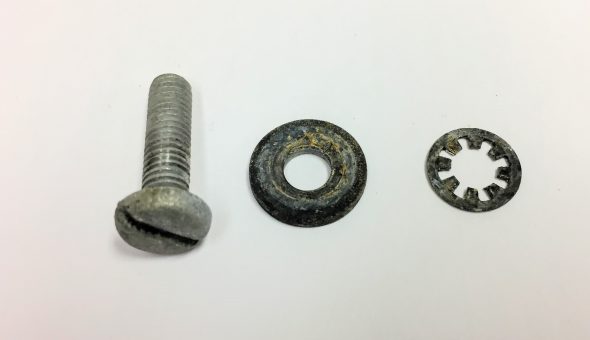
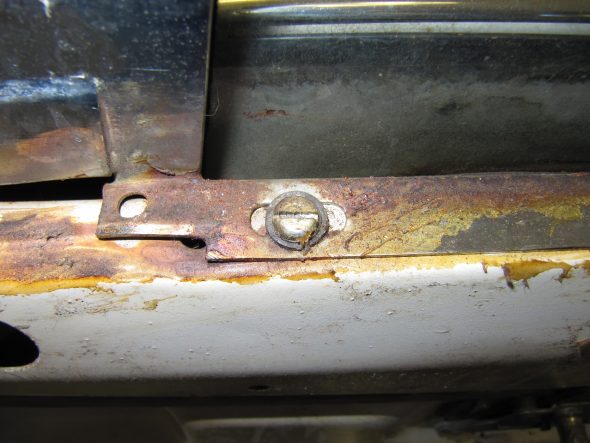
As shown in the video, and in the image below, the rear door regulator mounts with six slotted 1/4″-28 x 5/16″ pan head machine screws.
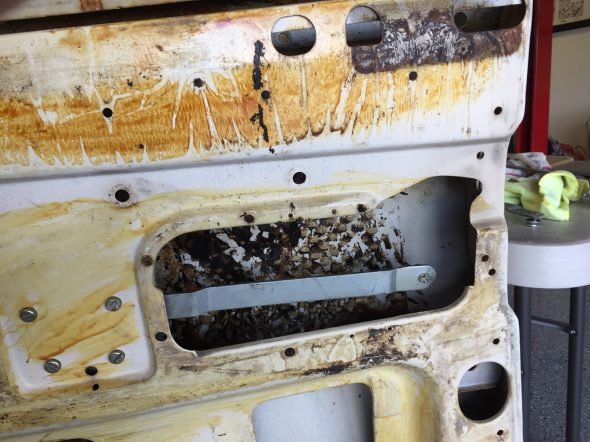
While the front door regulator mounts with four slotted 1/4″-28 x 5/16″ pan head machine screws as seen in the image below:
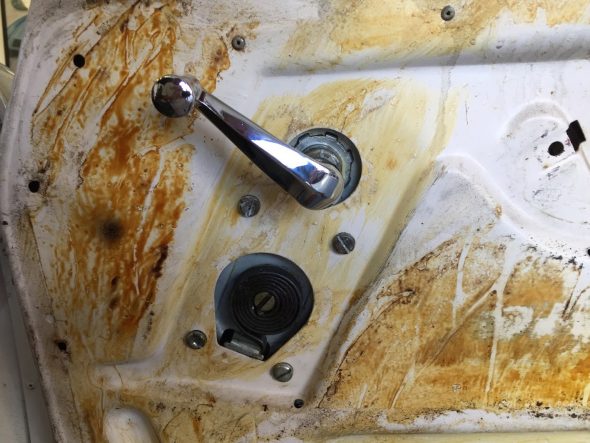
And, the spring/crank end of the regulator on the front door also mounts with four slotted 1/4″-28 x 5/16″ pan head machine screws:
Installing Window Glass and the Window Frame
Before the window frames are installed, the four clips securing the weatherstripping to the interior side of the outside edge of each door need to be pushed onto the door. The image below shows the clips when I removed the window frames from the car:
This image shows a section of the the weatherstripping in place and secured to the mounting clip:
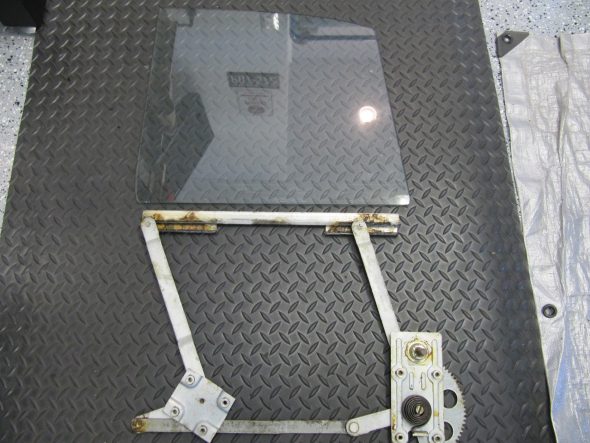
The image below shows a front window glass with the regulator “wheels” in the window channels
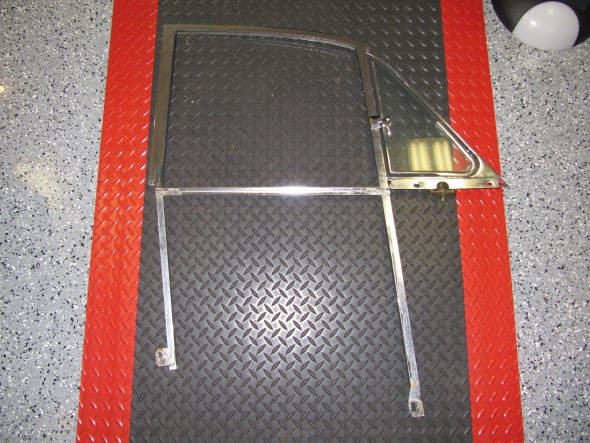
The image below shows a front window frame with the lower mounting points on the legs of the frame:
This process is also best described with a short video:
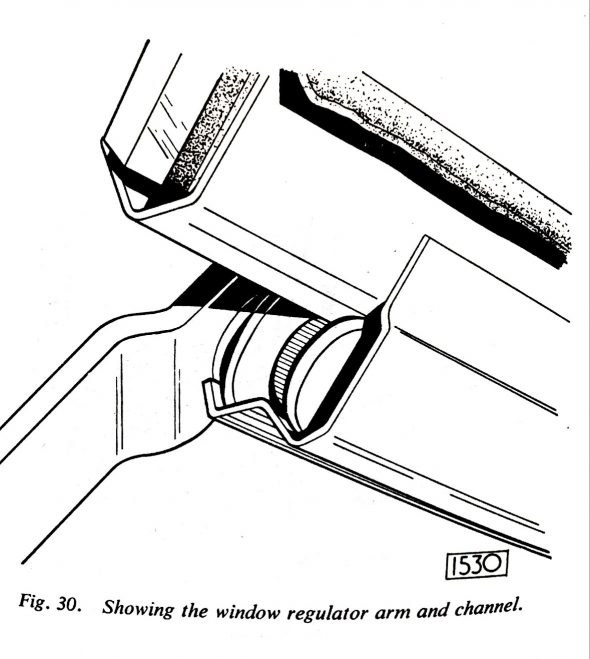
With the front window the procedure is the same except that the tracks are initially in front of the regulator rollers and one pushes the window rearward to advance it onto the rollers. This graphic shows the window frame sliding into the regulator:
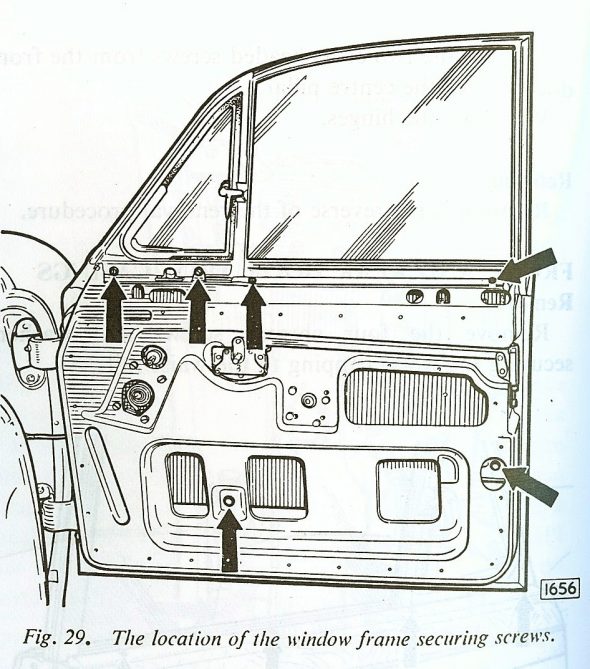
The Service Manual has a nice graphic illustration that shows the window frame securing points once you have the frame positioned in the door.
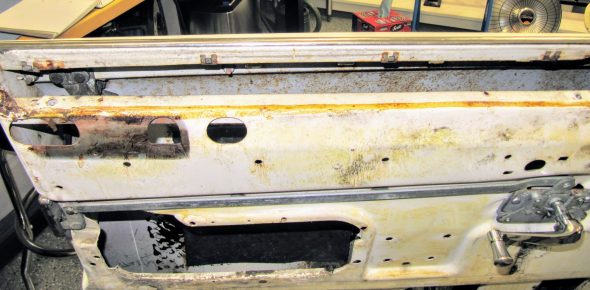
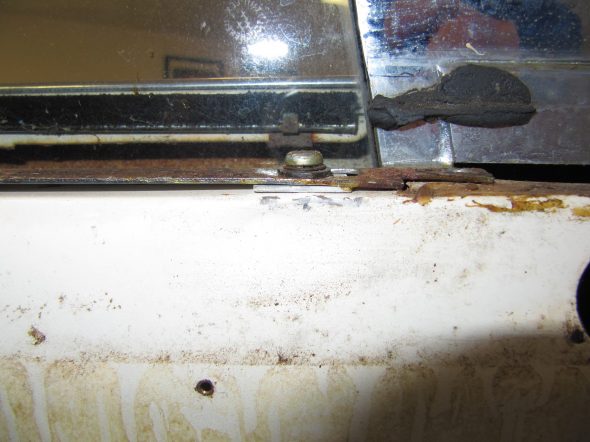
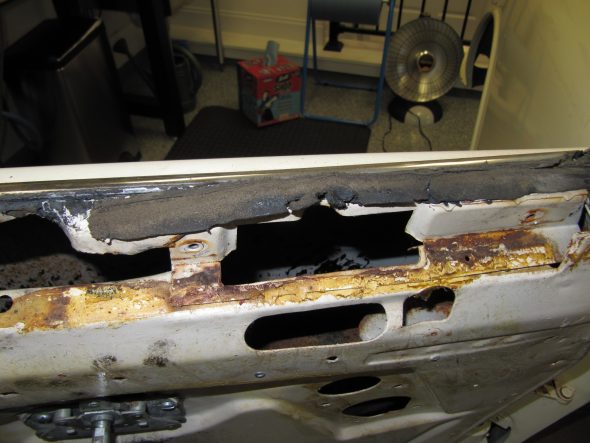
Before the window frames are secured to the doors, the Service Manual indicates that a layer of sealing compound should be placed on the door frame just below the front and rear ventilators. I refer to this material as dum-dum made by 3-M. I will use a home made rubber gasket probably combined with dum-dum to help seal the area and keep water out. This is an example of what I found upon taking the window frames out of the car:
Each of the four door window frames is secured at the top of the door with four slotted #10-32 x 3/4″ pointed pan head machine screws. The mounting points for the rear doors are slightly different than the front doors as shown in the graphic, but all doors use the same number of screws. The window frames can also slightly slide rearward or forward for proper fitment. These screws should be loosely fitted to the door and window frame, but not tightened yet.
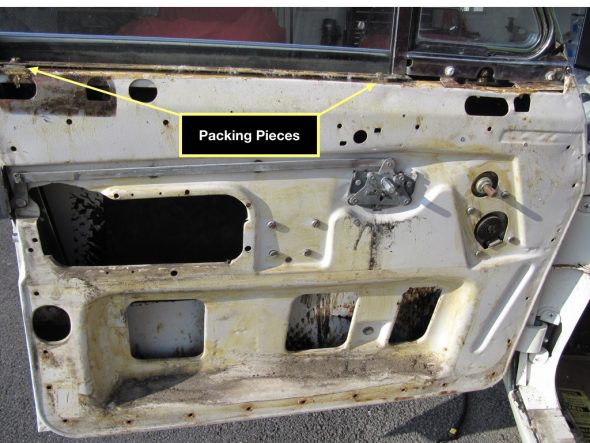
The height of the window frame is adjusted with the insertion of special shims, or packing pieces as they are called in the Service Manual, as needed. On my car, two sizes of shims were used.
LH Front Door – Rear of window used one packing piece; the front of the window used two packing pieces of different sizes.
RH Front Door – Rear of window used two packing pieces of the same size; the front of the window used two packing pieces of different sizes.
LH Rear Door – Rear of window used one packing piece; the front of the window used one packing piece.
RH Rear Door – Rear of window used one packing piece; the front of the window used one packing piece.
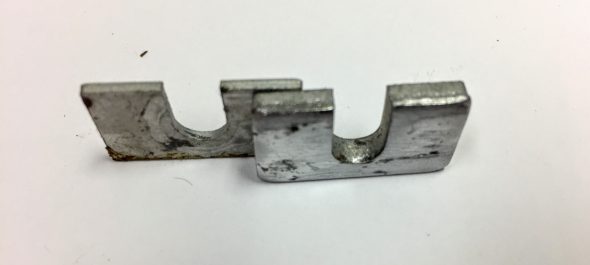
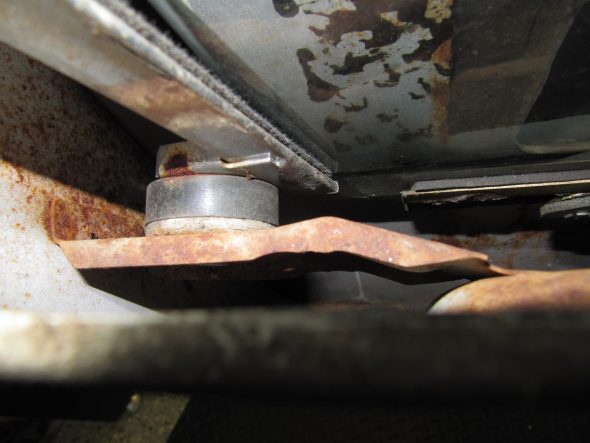
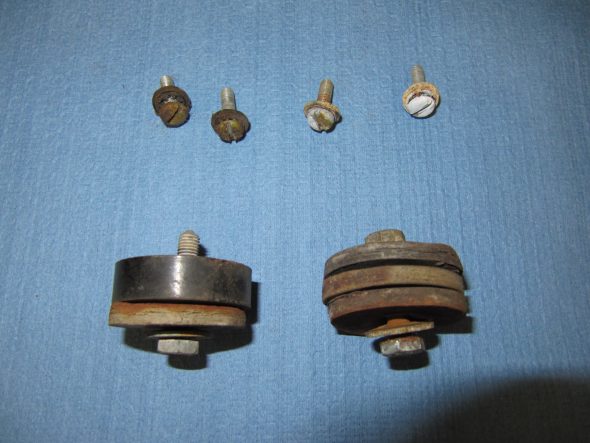
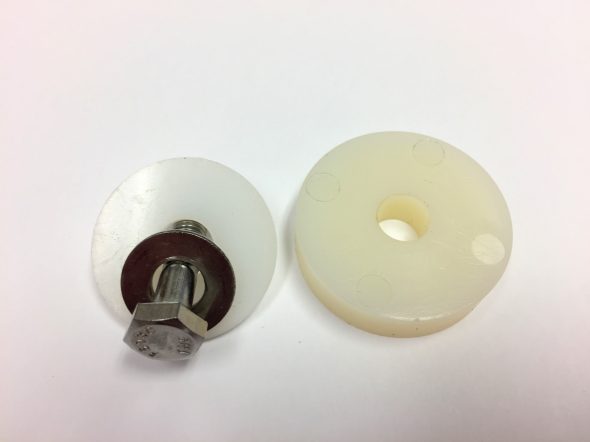
Once the window frame height seems to be right, the two lower securing points are fastened with a single 1/4″-28 x 1-1/4″ hex head bolt with a serrated washer and plain washers. Originally wooden discs or “packing pieces” were used at the lower leg fastening points to tilt the top of the window frame inward toward the rubber door seal. My car actually had a combination of wood and some hard rubber packing pieces. My wooden packing pieces were deteriorated and I will be using 1-1/2″ diameter nylon spacers with 1/4″ diameter center holes as replacements.
Once the window frame is in the proper position front to back ( “The window frame should clear the front screen pillar by 1/16”), the Service Manual instructs that the window frame post lower mount, with its packing pieces, farthest away from the door hinges should be tightened first. Then refit and tighten the front lower mounting point. Finally tighten the four pan head screws at the window frame top mounting points.
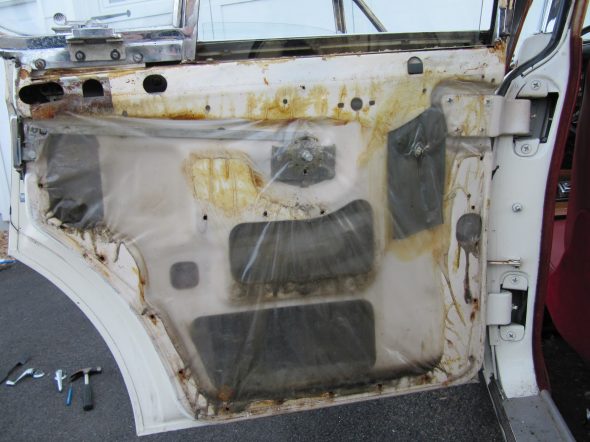
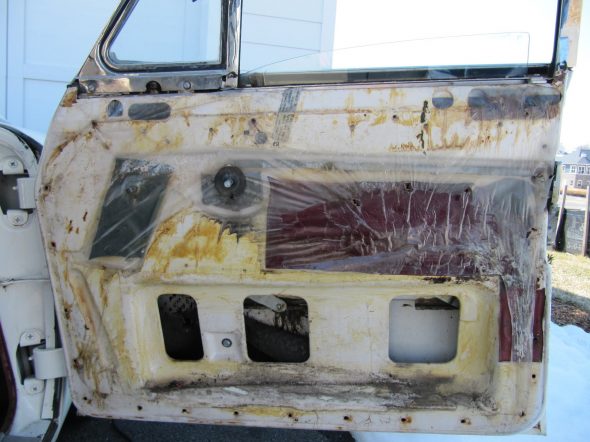
After the regulators, window glasses, window frames, weather stripping, and sealants are installed and the frames are properly adjusted the next to last step of the process will be to reinstall vinyl around the doors moving parts and to apply plastic sheeting to keep water inside the door and not in the interior! These photos show the original application:
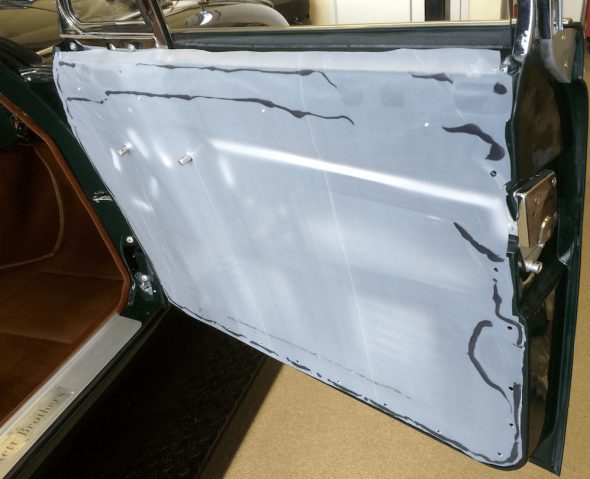
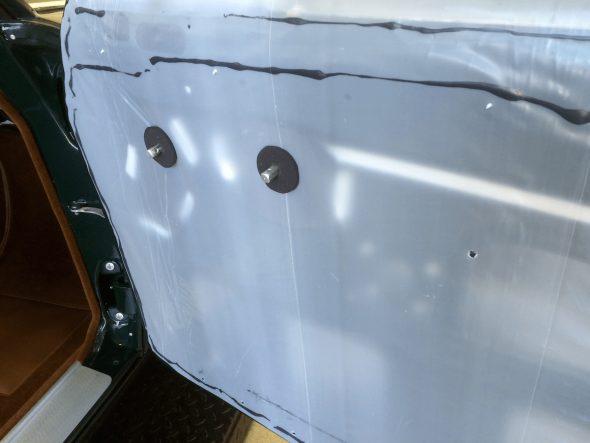
Eric Kriss provided an excellent explanation of this process on his Jaguar MK2 Restoration site. http://fairislepress.com/WP/?p=10706 He suggests that Jaguar placed the vinyl protectors to keep the window and door lock mechanism from fouling the plastic sheet. As Eric did, I will make some new ones using the old as patterns and glue them to the doors. Eric used a 4 mil plastic sheet with 3M 08621 Window-Weld 5/16″ Round Ribbon Sealer to fix the plastic sheets to the doors. Having used this material before I know that it is pliable, very sticky and reversible. Eric applied the ribbon sealer to the door and then pressed the plastic sheet to it using a rubber roller. I will do the same. This is a photo taken from Eric’s site:
The next step is to install the foam rubber cushions that fit to the window cranks and door handles before the casings go on. Again, this photo is from Eric’s site.
Finally, it is a matter of installing the door trim casings and the window crank handles and the door handles.
I will post more about this later. But for now I just want to record that it looks like I will need about 75″ of window channel track felt for each of the rear door windows and about 80″ for each of the front door windows.
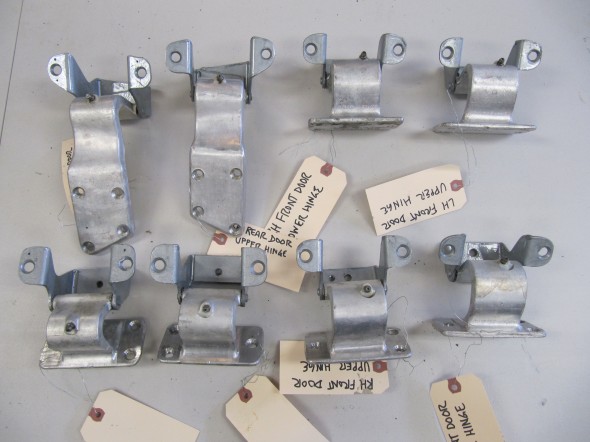
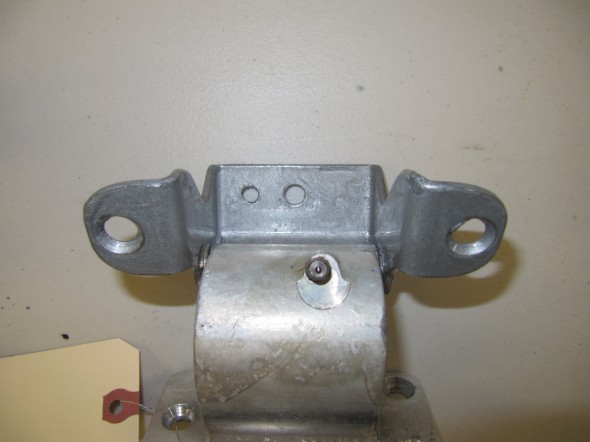
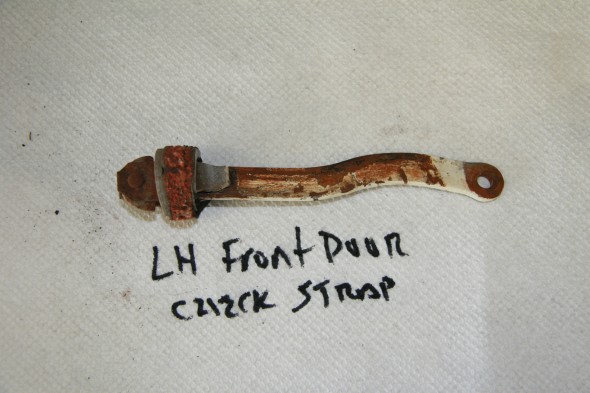
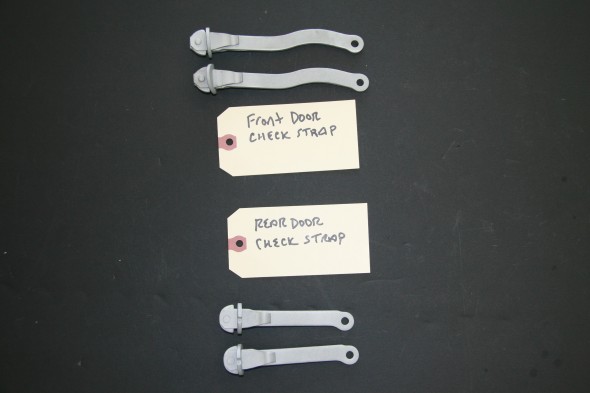
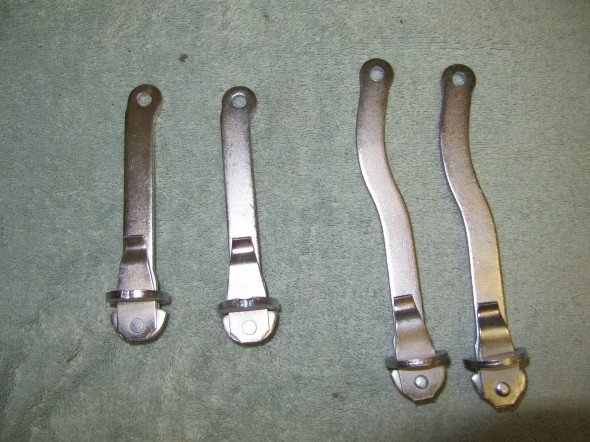
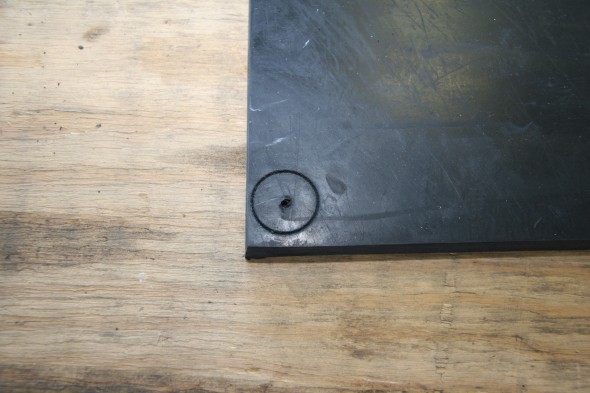
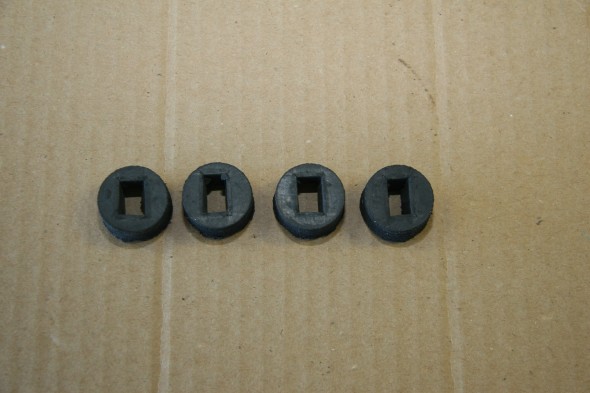
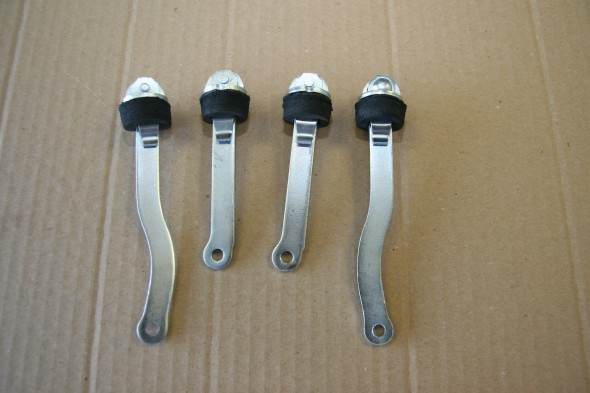
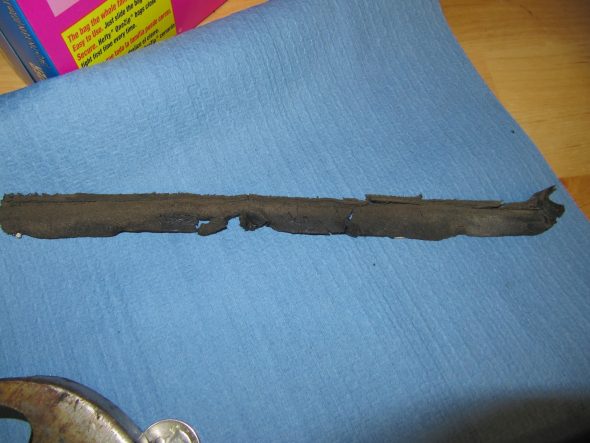
while replacing the rubber boots or stops on the Front and Rear Door Check Arms with Neoprene Rubber Stops.
l shorten the arm by redrilling the pin hole 1/8 inch closer to the centre, so as not to allow the door to be opened more.
l did this as my doors appeared to by very close to the front mud guards.
stopping the possibility of marking the guard, in the end it made very little difference to the doors ack.
another point worth pointing out is the plastic lining between the inside of the doors and the door cards, this plastic lining stops 99.9% of moisture effecting the card.
oh while l’m at it l’ll mention l instated universal electric window winders, via ebay on the front doors with switching located on the centre consol.
all items required come in the kit.
the other thing l did with the doors was to install central locking, it appears to work quite well.
Good idea on shortening the check arm travel. i will take a look at that.
Lin
Hi Rod Wilson
Can you precise which power window Equipment you chose ? Electric Life ??
Thanks
Pascal
(MK2 3.4 in progress)