
We have yet to decide if the heater will be retained in the restored car. Living in southern Florida makes the heater unnecessary, so we may just carefully store the blower and heater box with matrix away for safe keeping to be used at a later date. So, we removed the heater blower and documented the heater blower wiring.

The Old Fuel Pump Mounting Bracket Removed
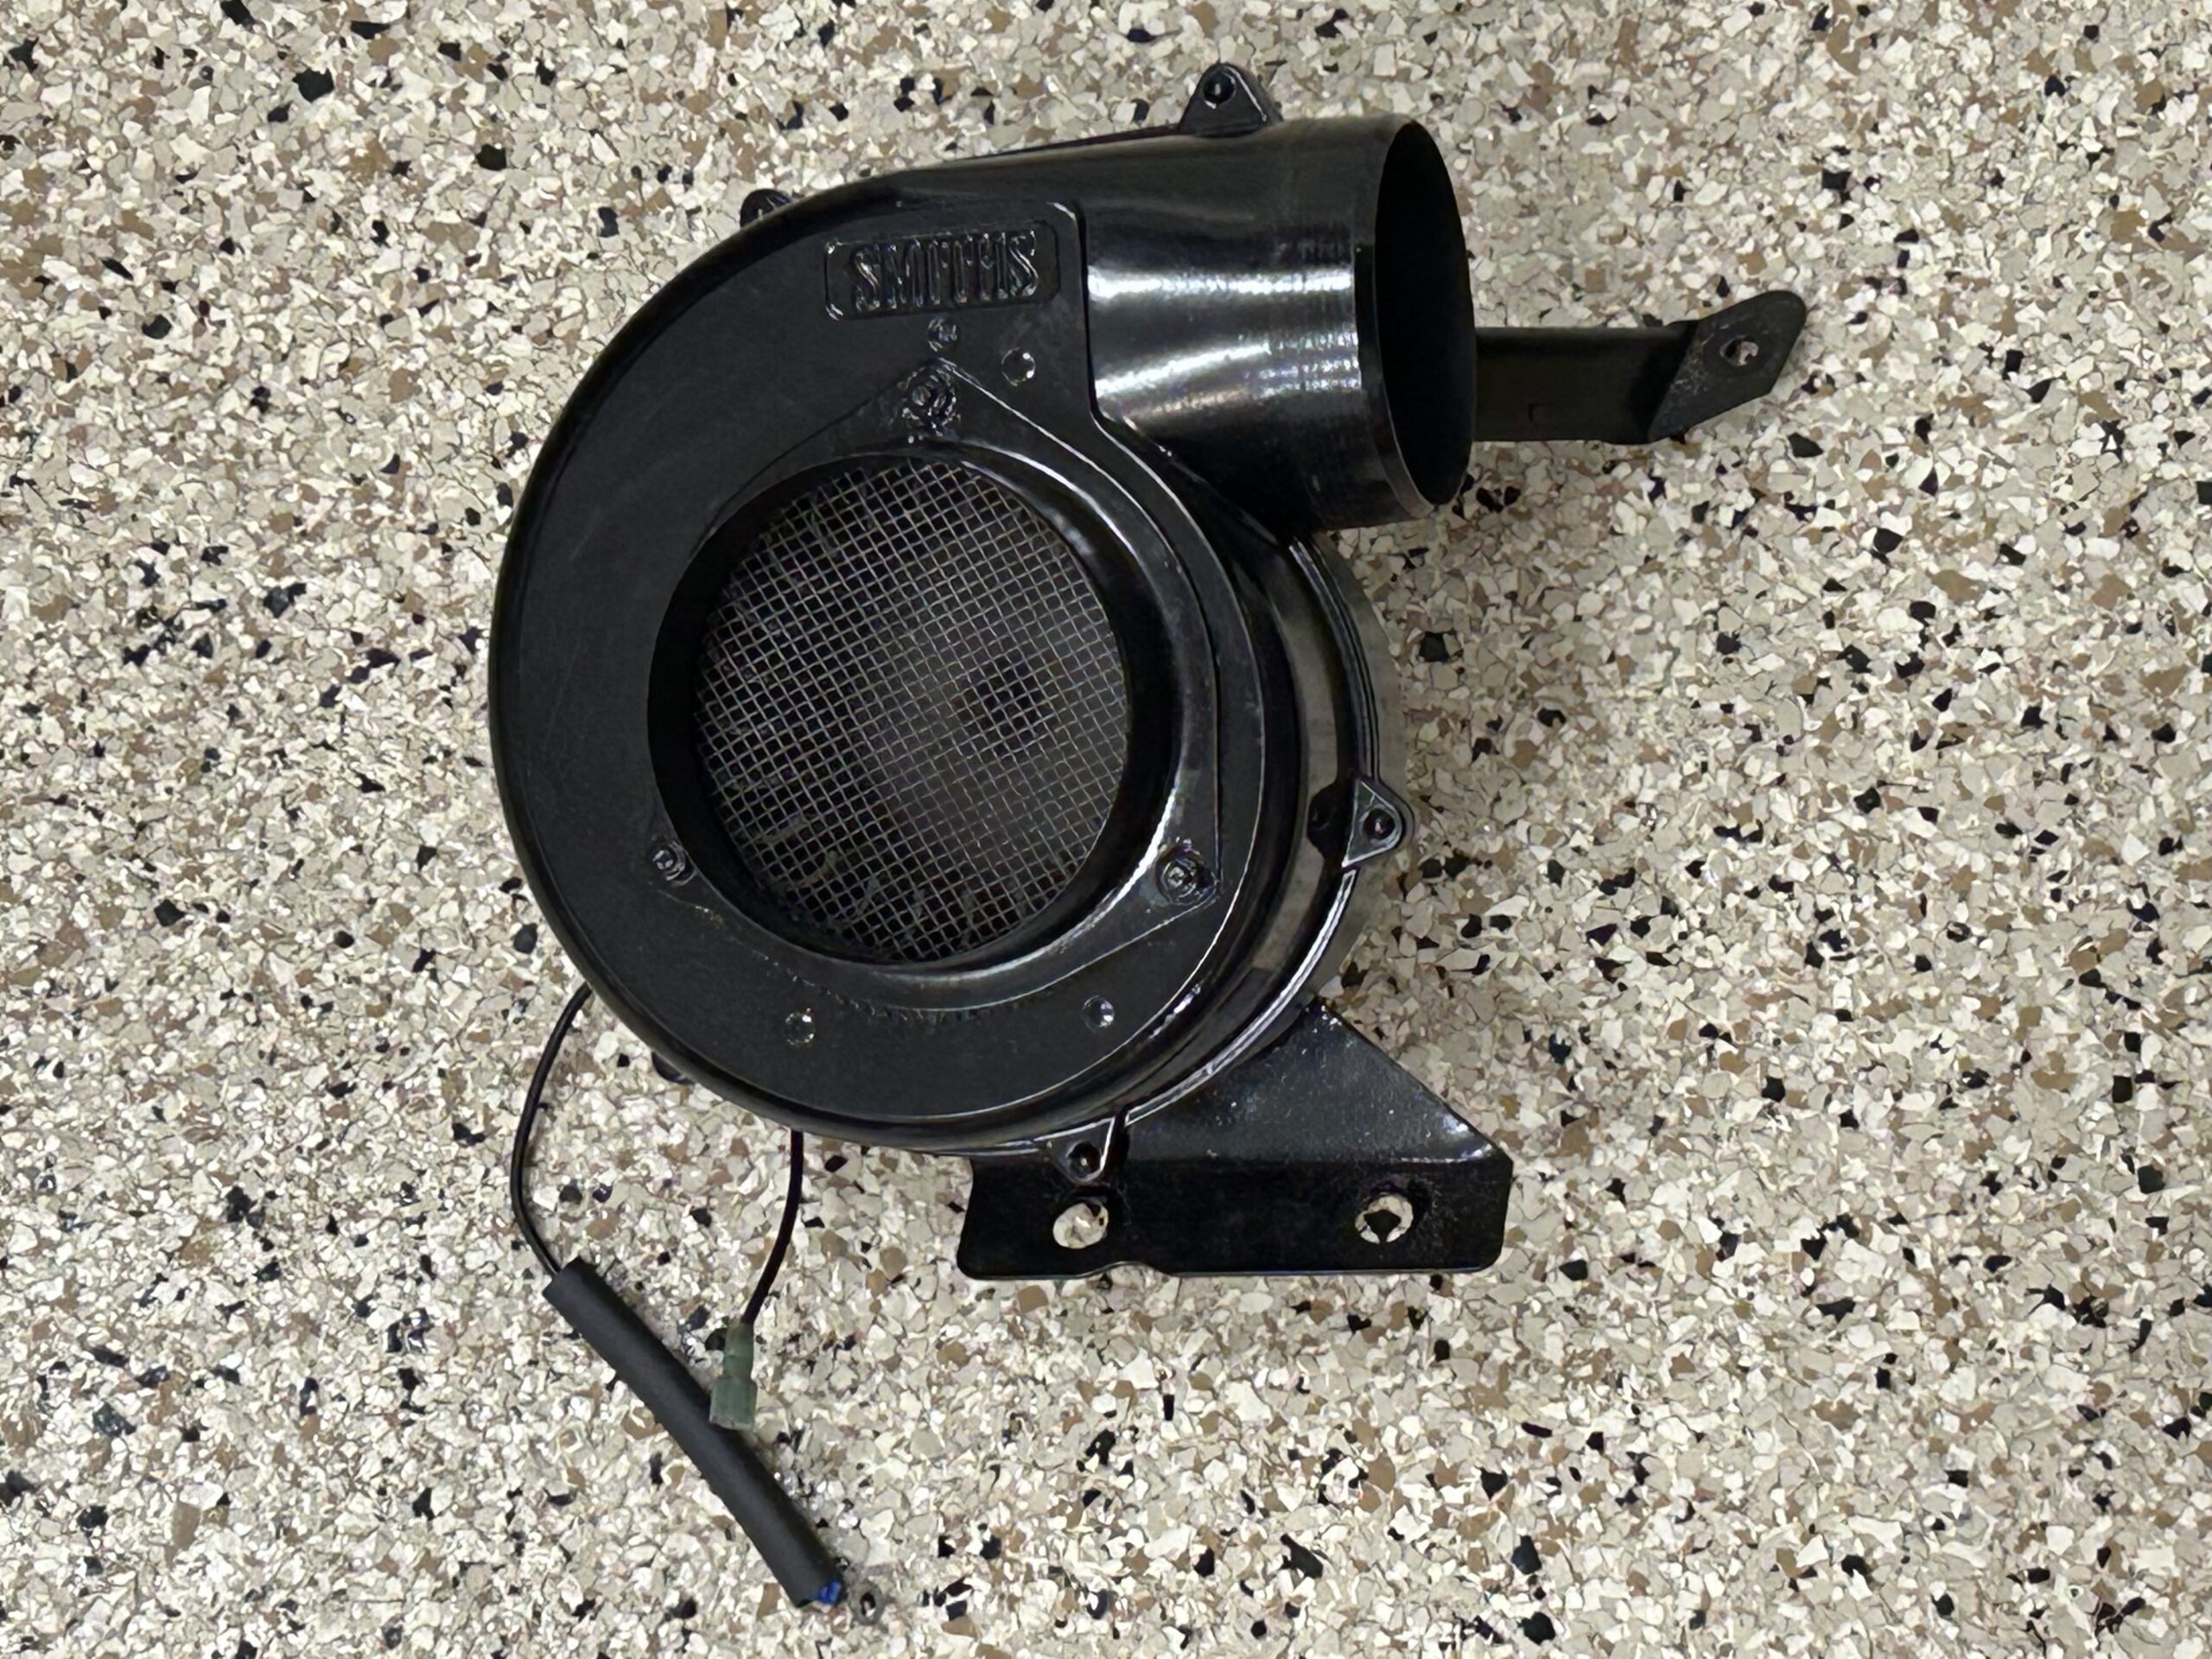
Smiths Heater Blower Removed
The heater air-flow control cable is disconnected and the dash heater control switch is described in the accompanying video.

Heater and Fresh Air Control Cable
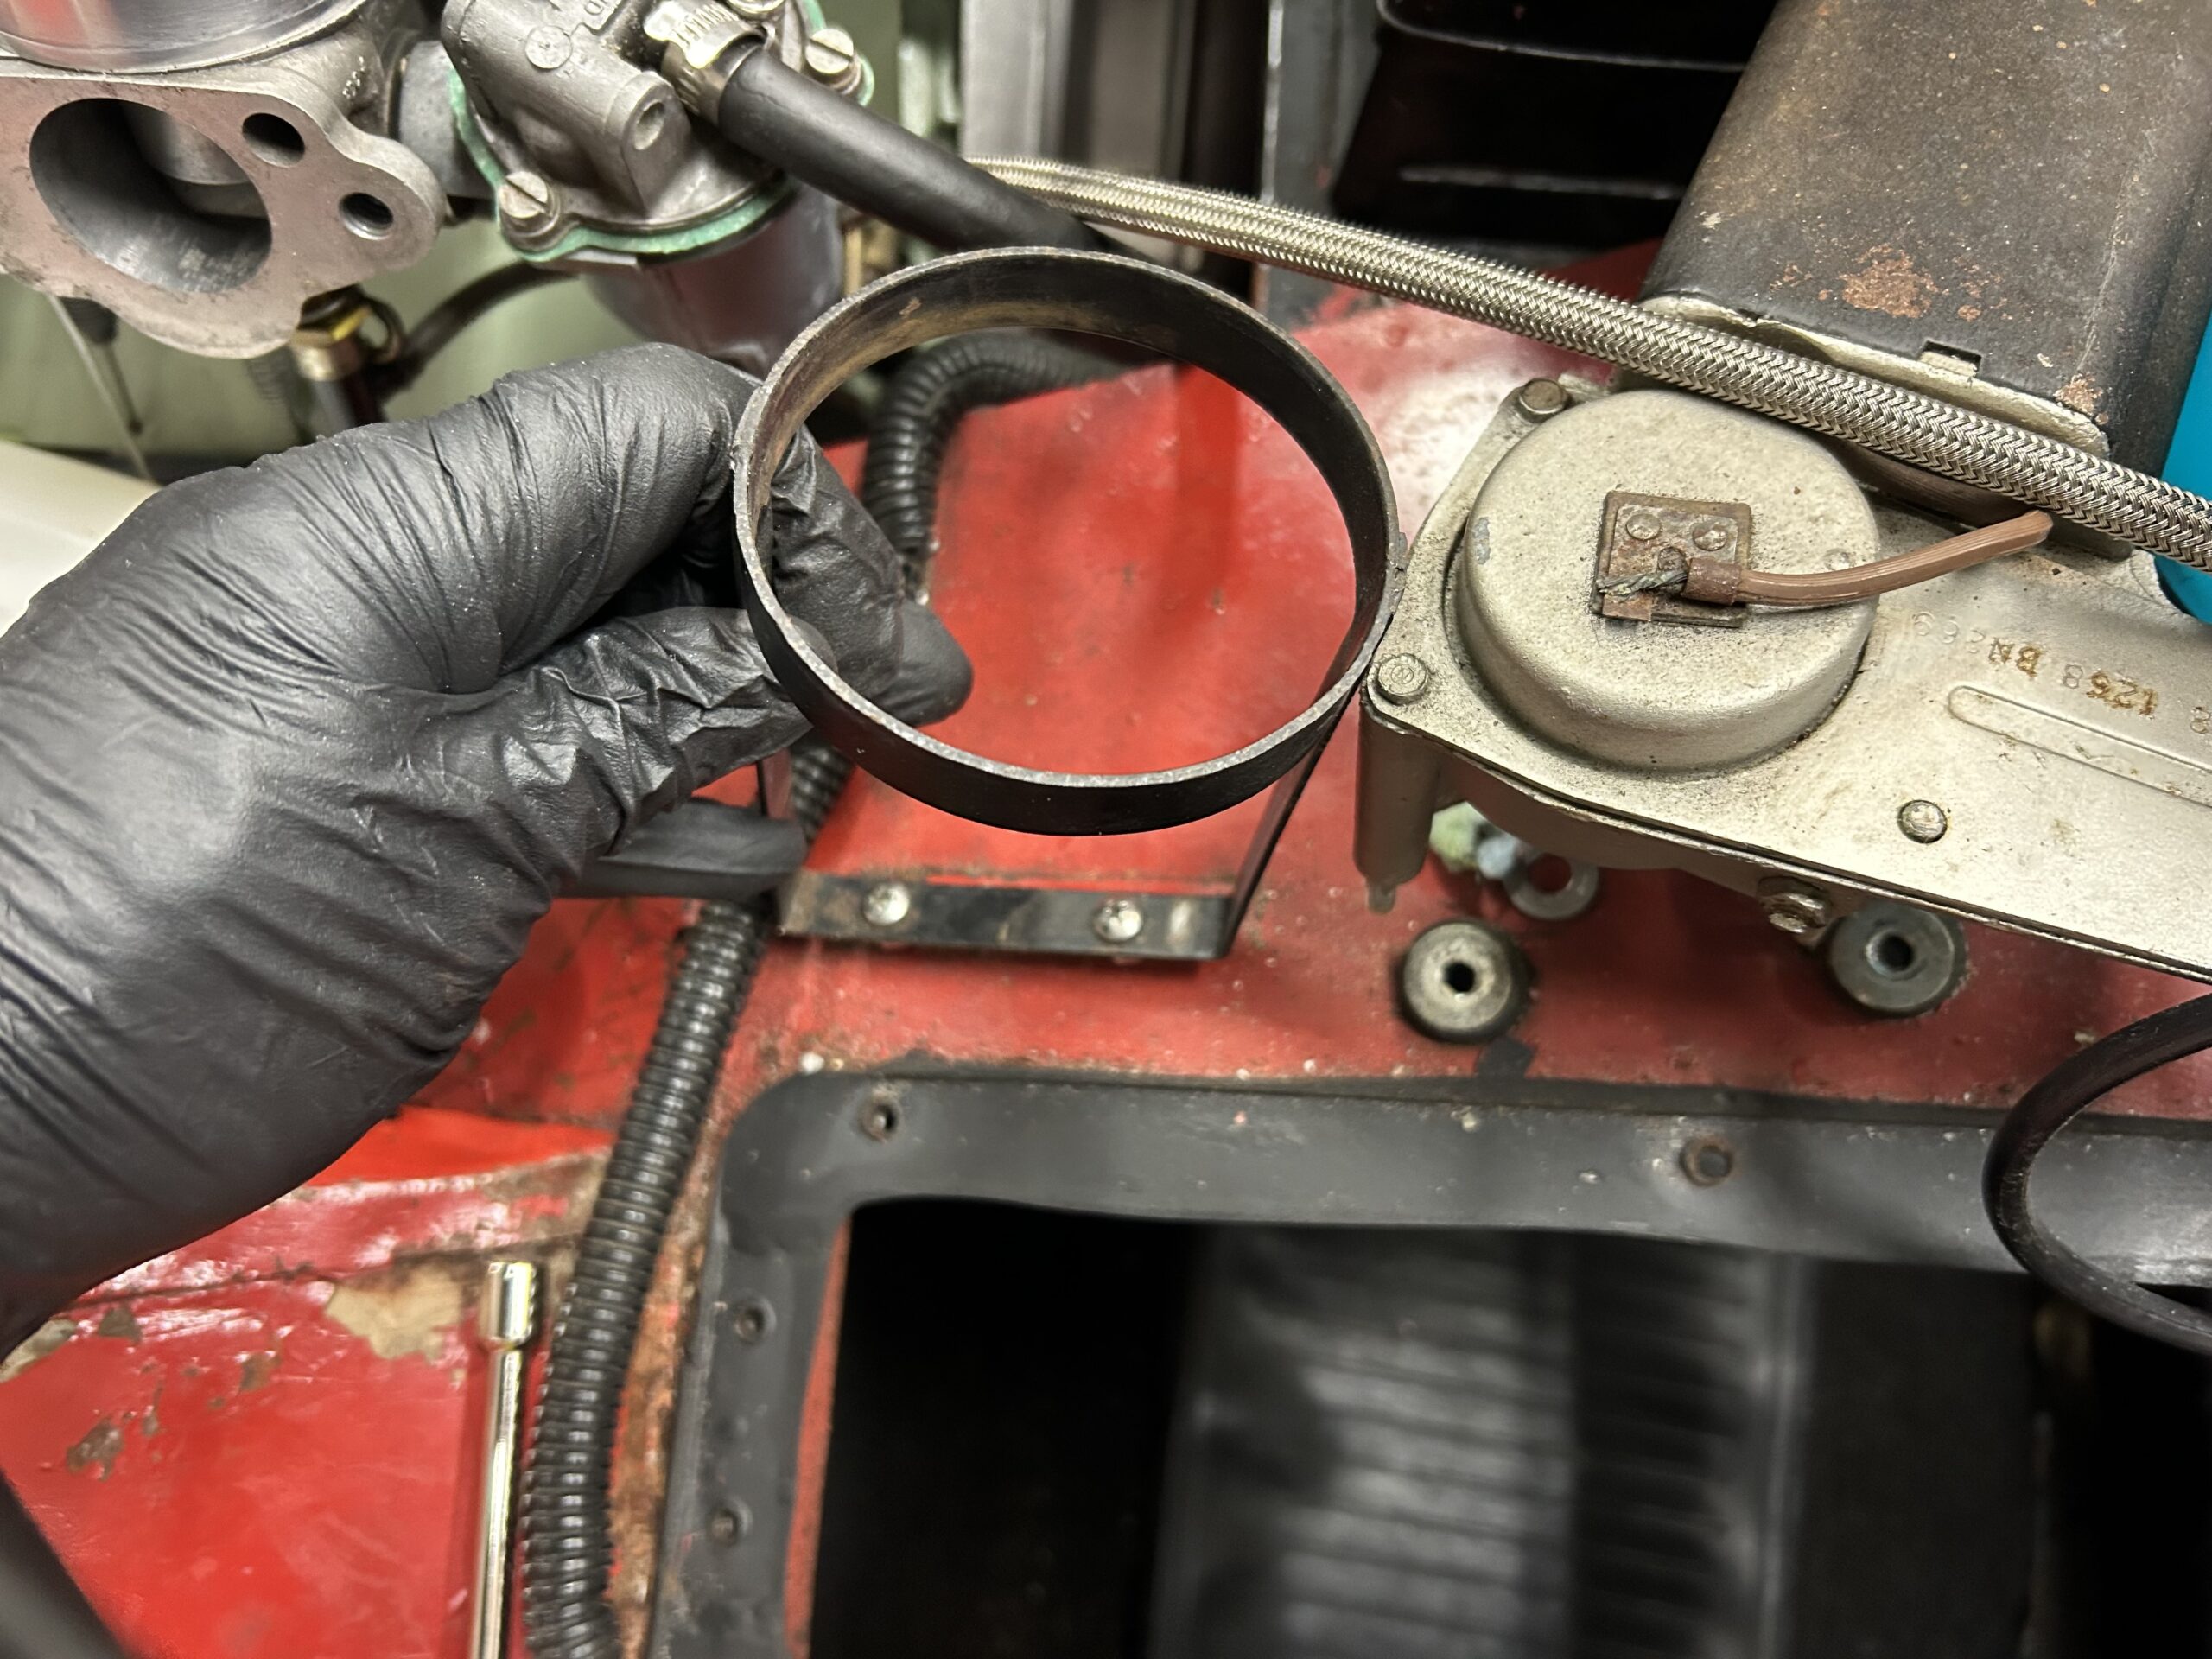
Since the SU fuel pump has been relocated to the rear of the car, the “under bonnet” fuel pump bracket is removed.
The Old Fuel Pump Mounting Bracket Removed

Fuel Pump Bracket
We won’t be needing the brake lights so the pressure switch wiring is documented and disconnected.
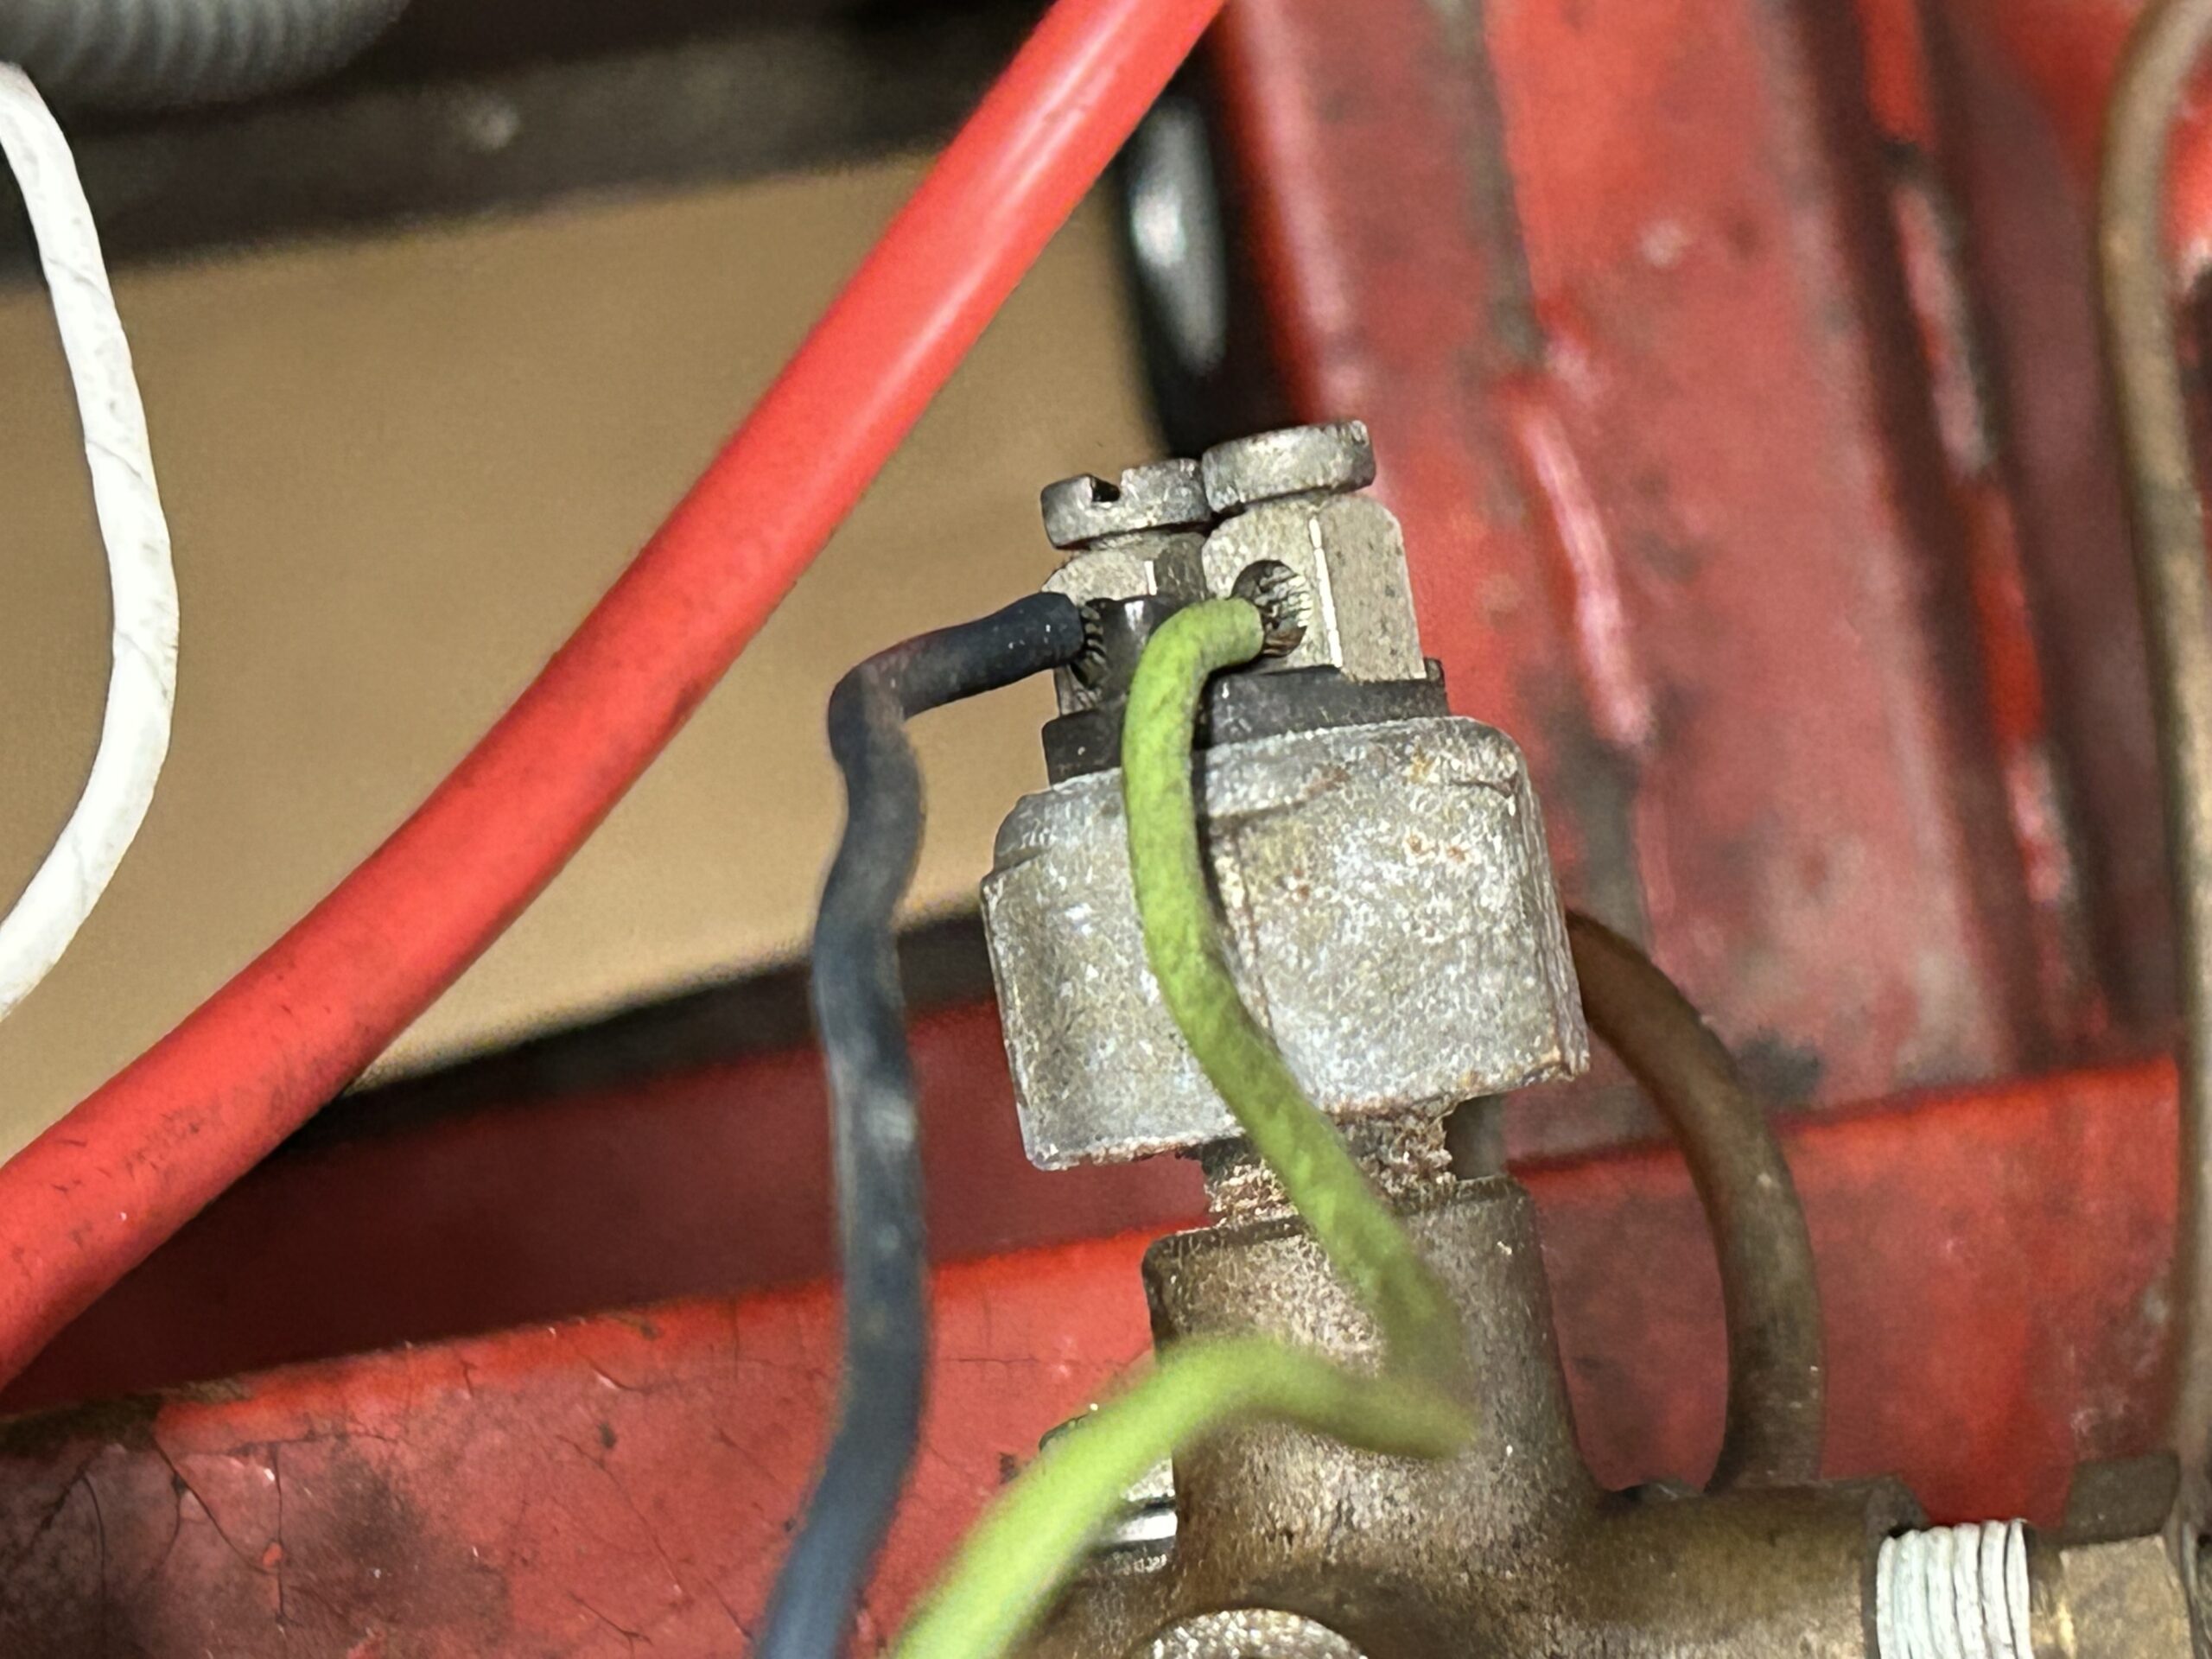
Brake Pressure Switch Wiring
The wiper motor mounts are loosened to allow a slight shifting of the motor to make it a bit easier to install the new “Sebring-type” pedal box and finally, the washer bottle with its bracket are removed.
Windscreen Washer Bottle and Bracket Removed
The Episode Thirty-one video shows the actions related to the items above:
https://vimeo.com/795889672/fc43b0721c
The following steps are addressed in the video:
0:24 – Heater Blower removal
1:00 – Heater Blower wiring
1:35 – Fuel Pump bracket removal
1:48 – Wiring harness to the front of the car
2:14 – Heater control switch and air flow control cable removal
3:15 – Brake pressure switch and wiring
3:55 – Wiper motor mounts
4:15 – Washer bottle and bracket removal