Some time ago I installed velocity stacks, also sometimes known as ram pipes, on my HD8 carbs and for filtration I was using foam air socks from ITG. While these seem to work effectively, I was just never real excited about using foam and I wanted a filtration method that was also a bit more esthetically pleasing. After some searching, I came across PJ Motorsports in Oregon.
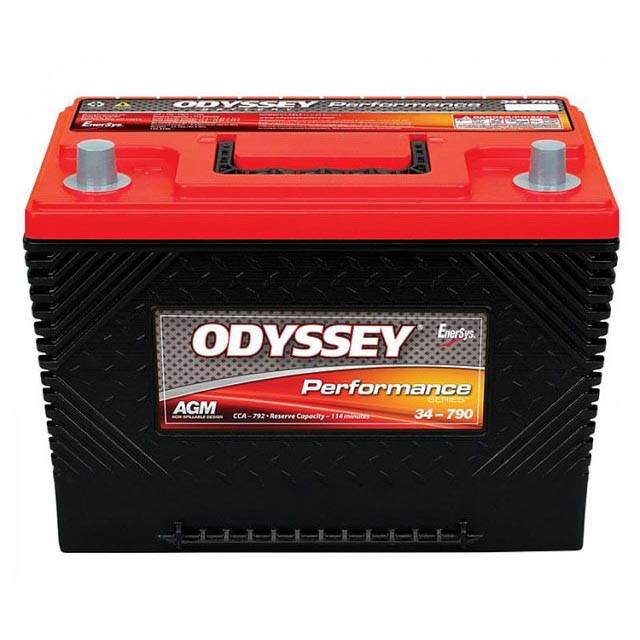
The filter ring is semi-polished aluminum made of .063 aluminum and 3/4″ tall. Their filters use three layers of filtration screens. The first screen is 18×14 mesh; the second is 70 mesh Stainless fabric and the third is 18×14 mesh. Their website states, “We try to filter your airflow without allowing particles through, at the same time trying NOT to deprive the air to the velocity stacks.
Their filters are not made specifically for rimmed velocity stacks like mine from AH Spares, but I was able to order extra ring clips that secure the filter material in the rim and after mounting the filters to the velocity stacks I pressed in the ring clip to secure the stack to the filter rim. I then applied some Loctite 581 Flange Sealant to help keep things together. After two trial runs of over fifty miles, the assembly seems to be secure.

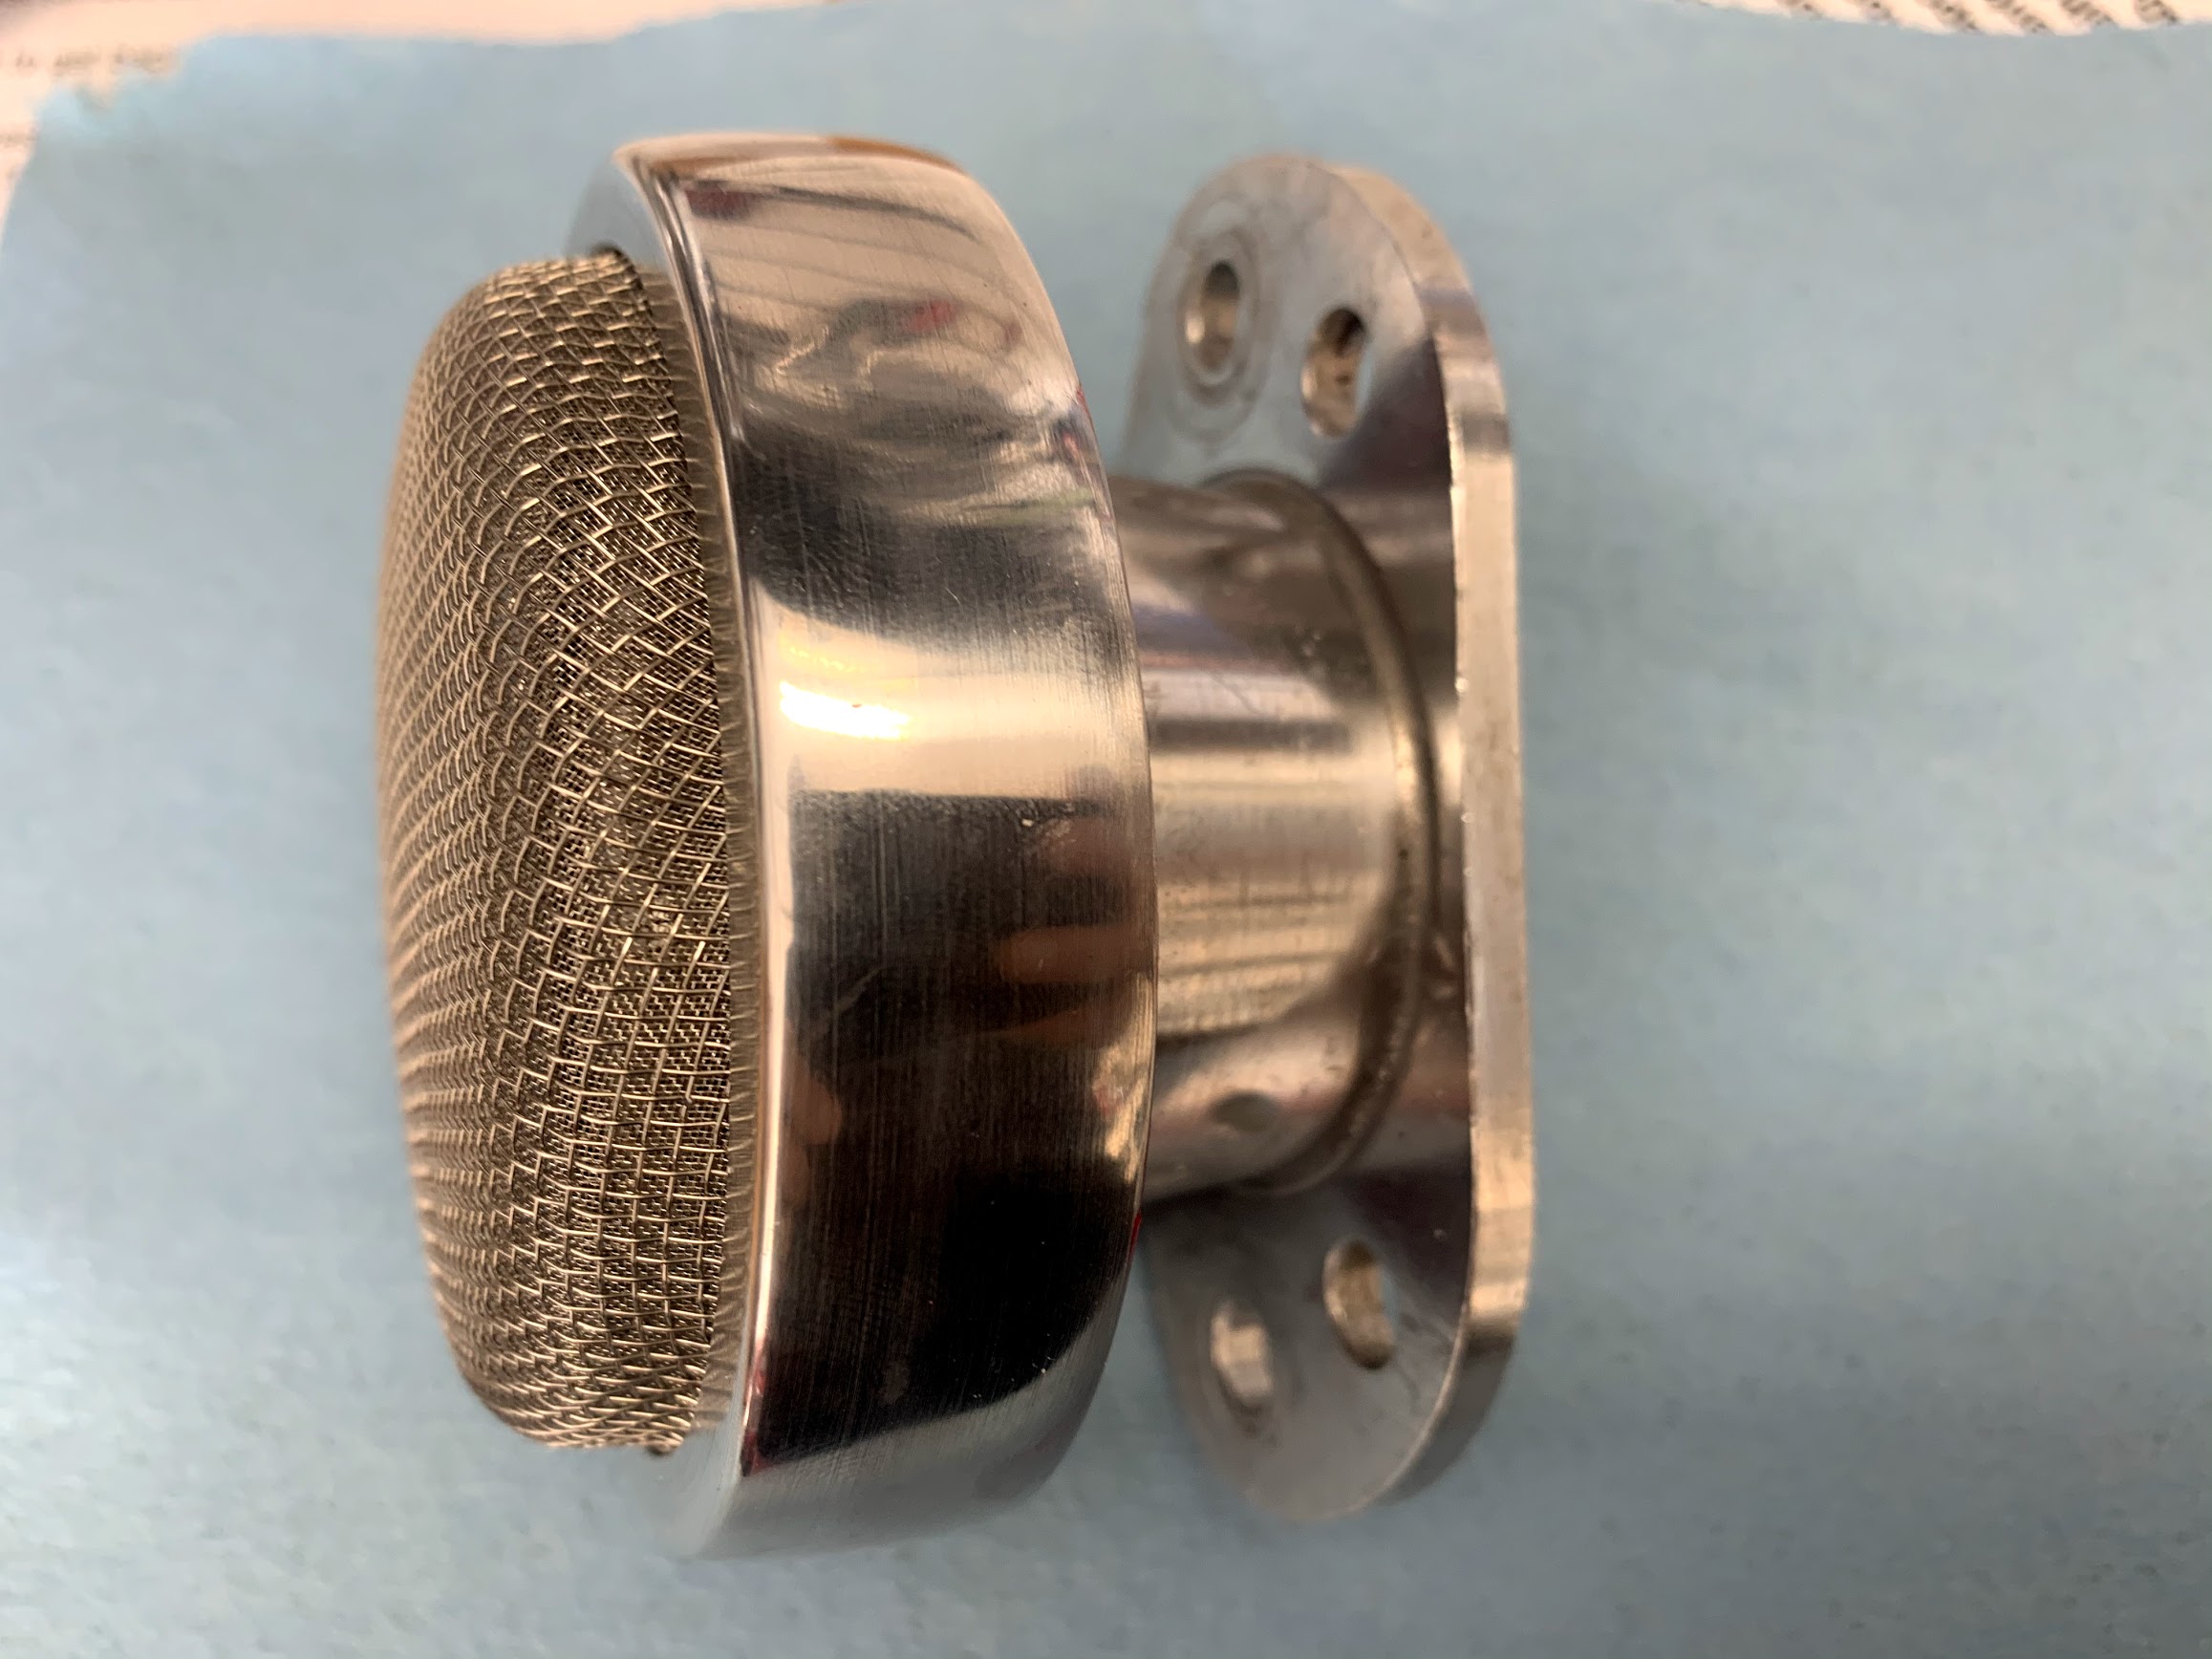
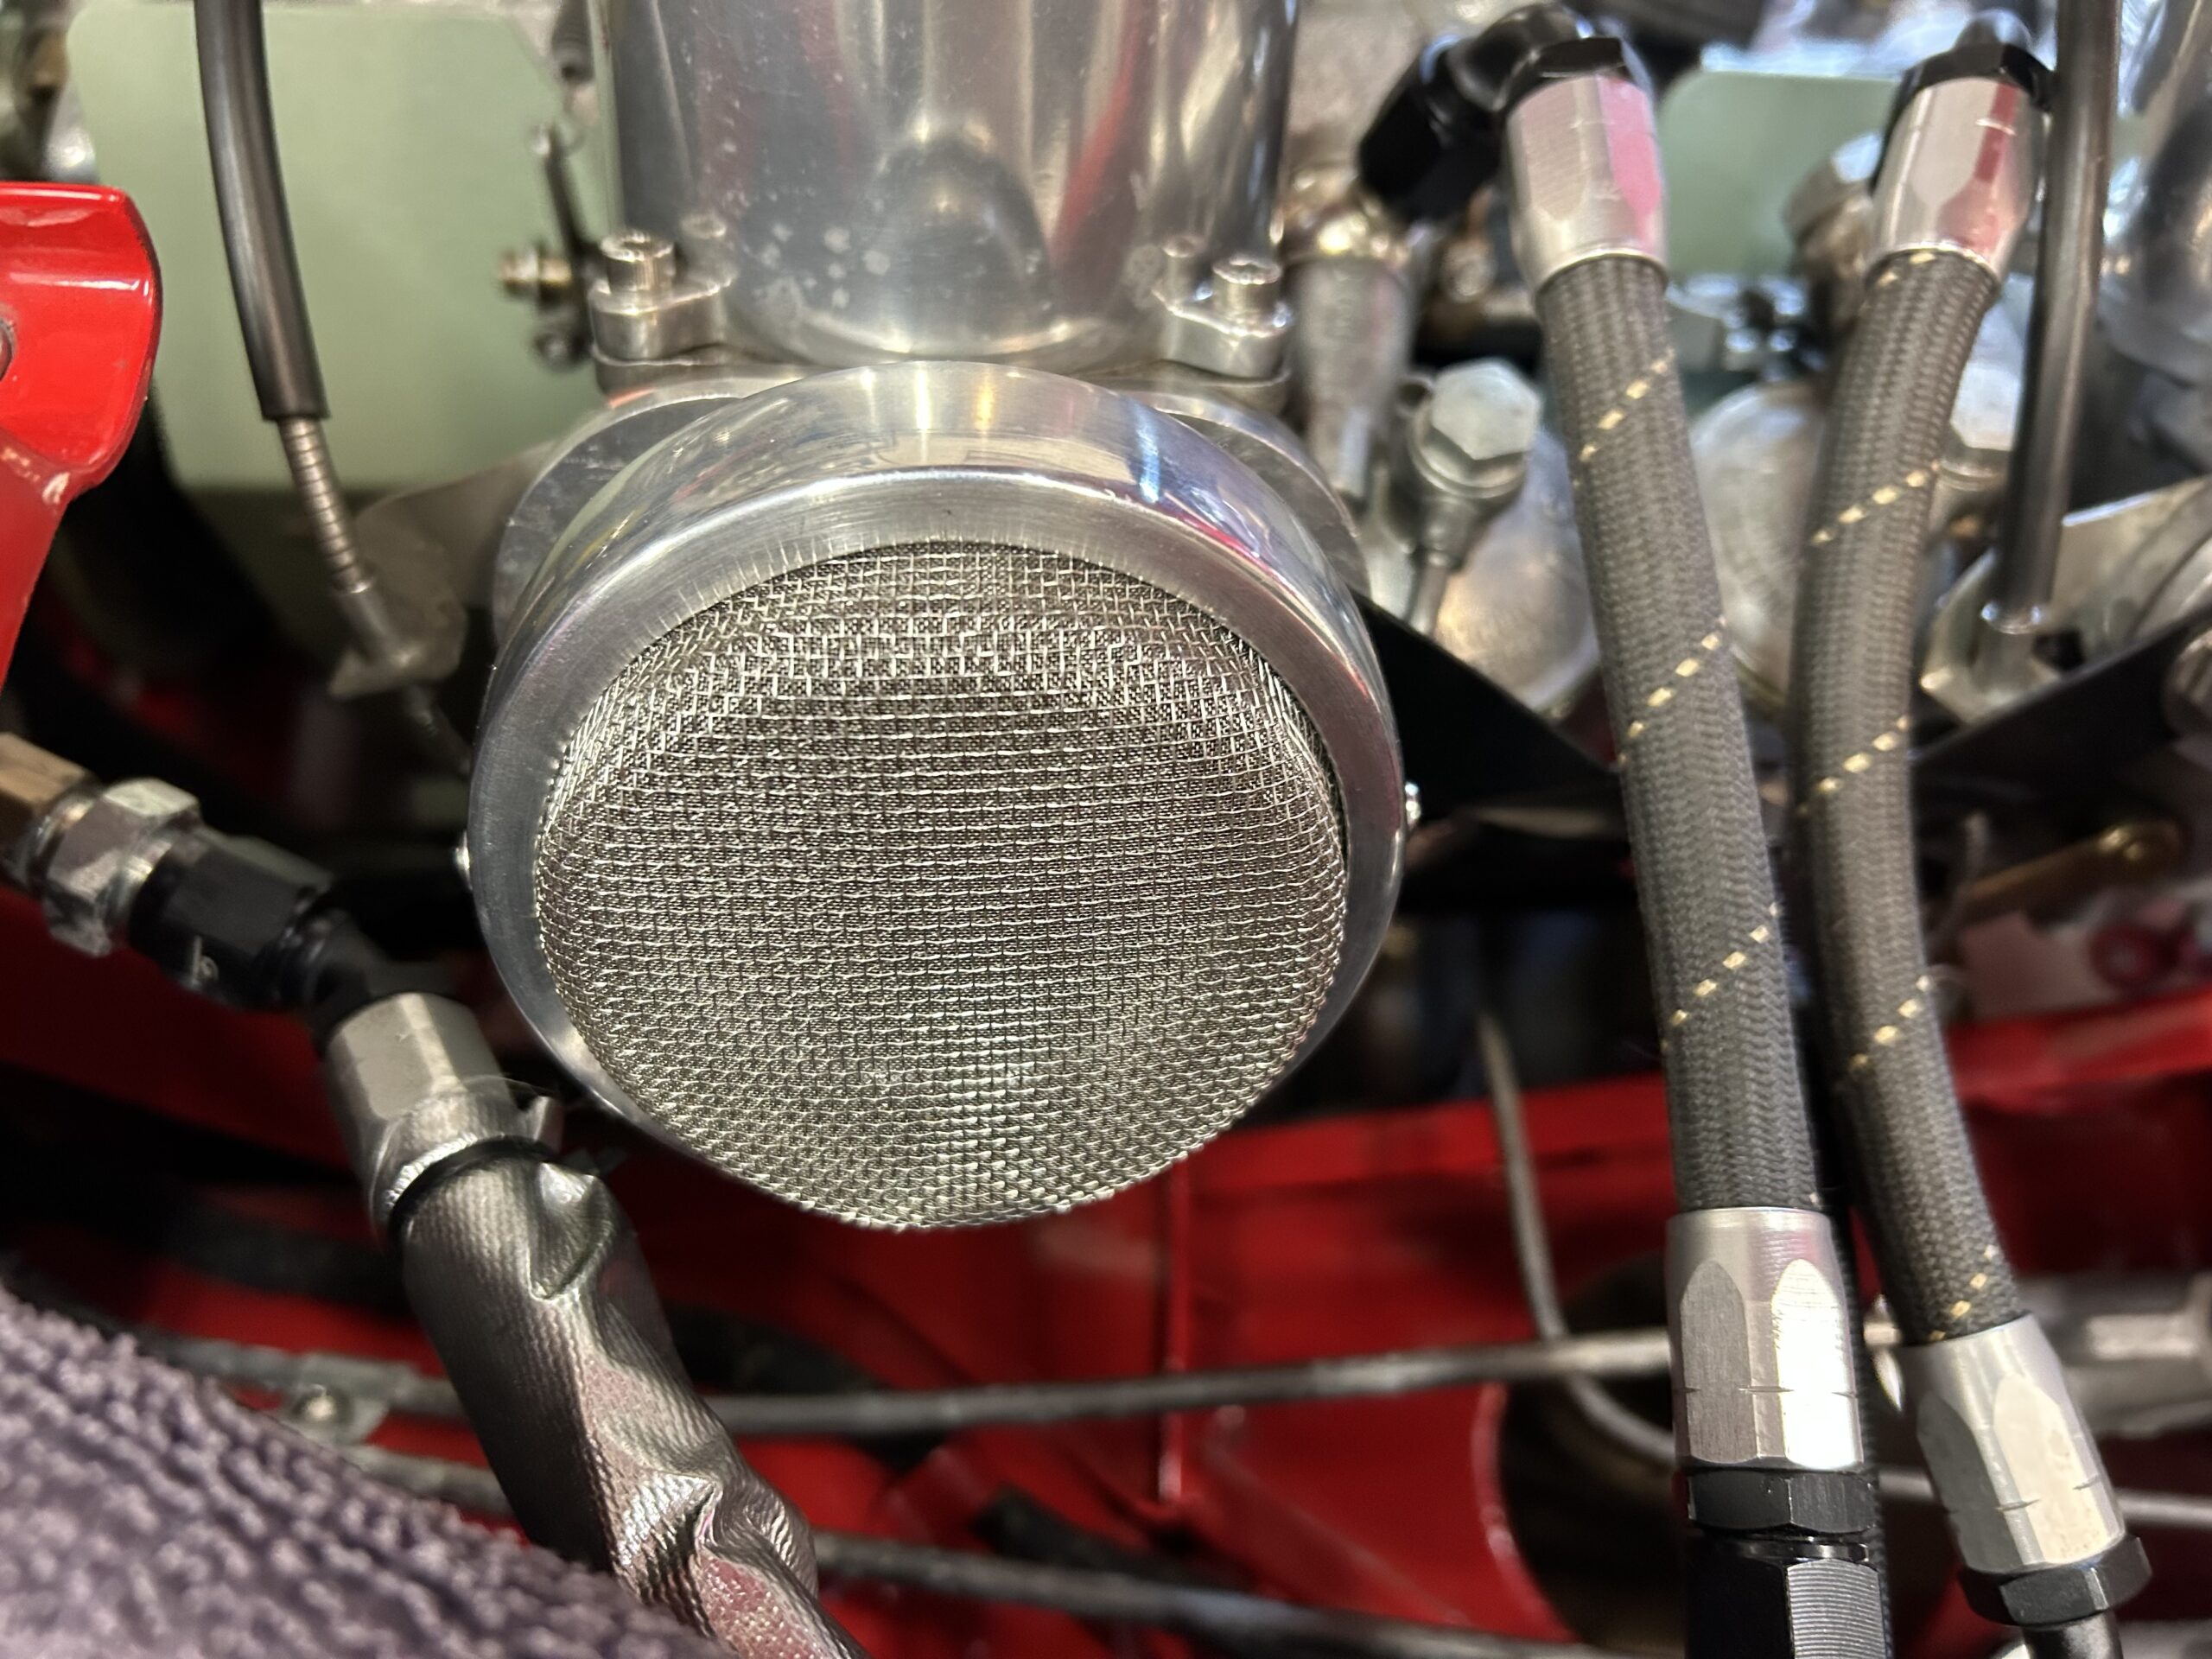
Velocity Stack and Filter Installed
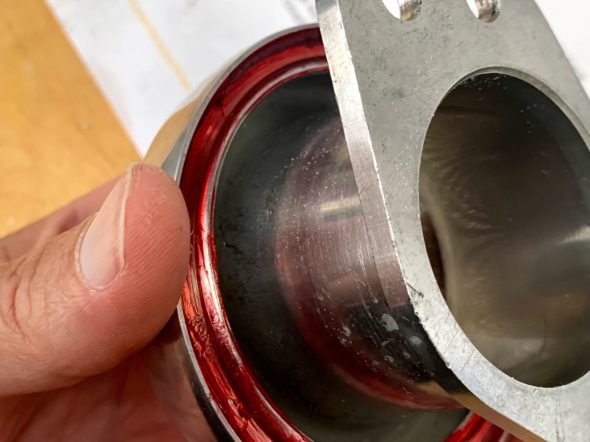
Loctite 518 Flange Sealant and locking Ring in Place

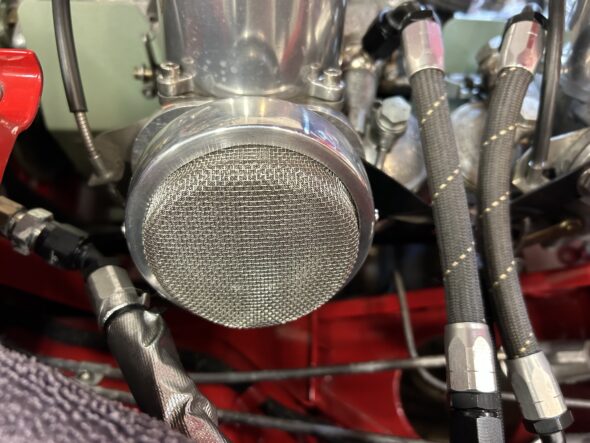
Velocity Stack Filters Installed
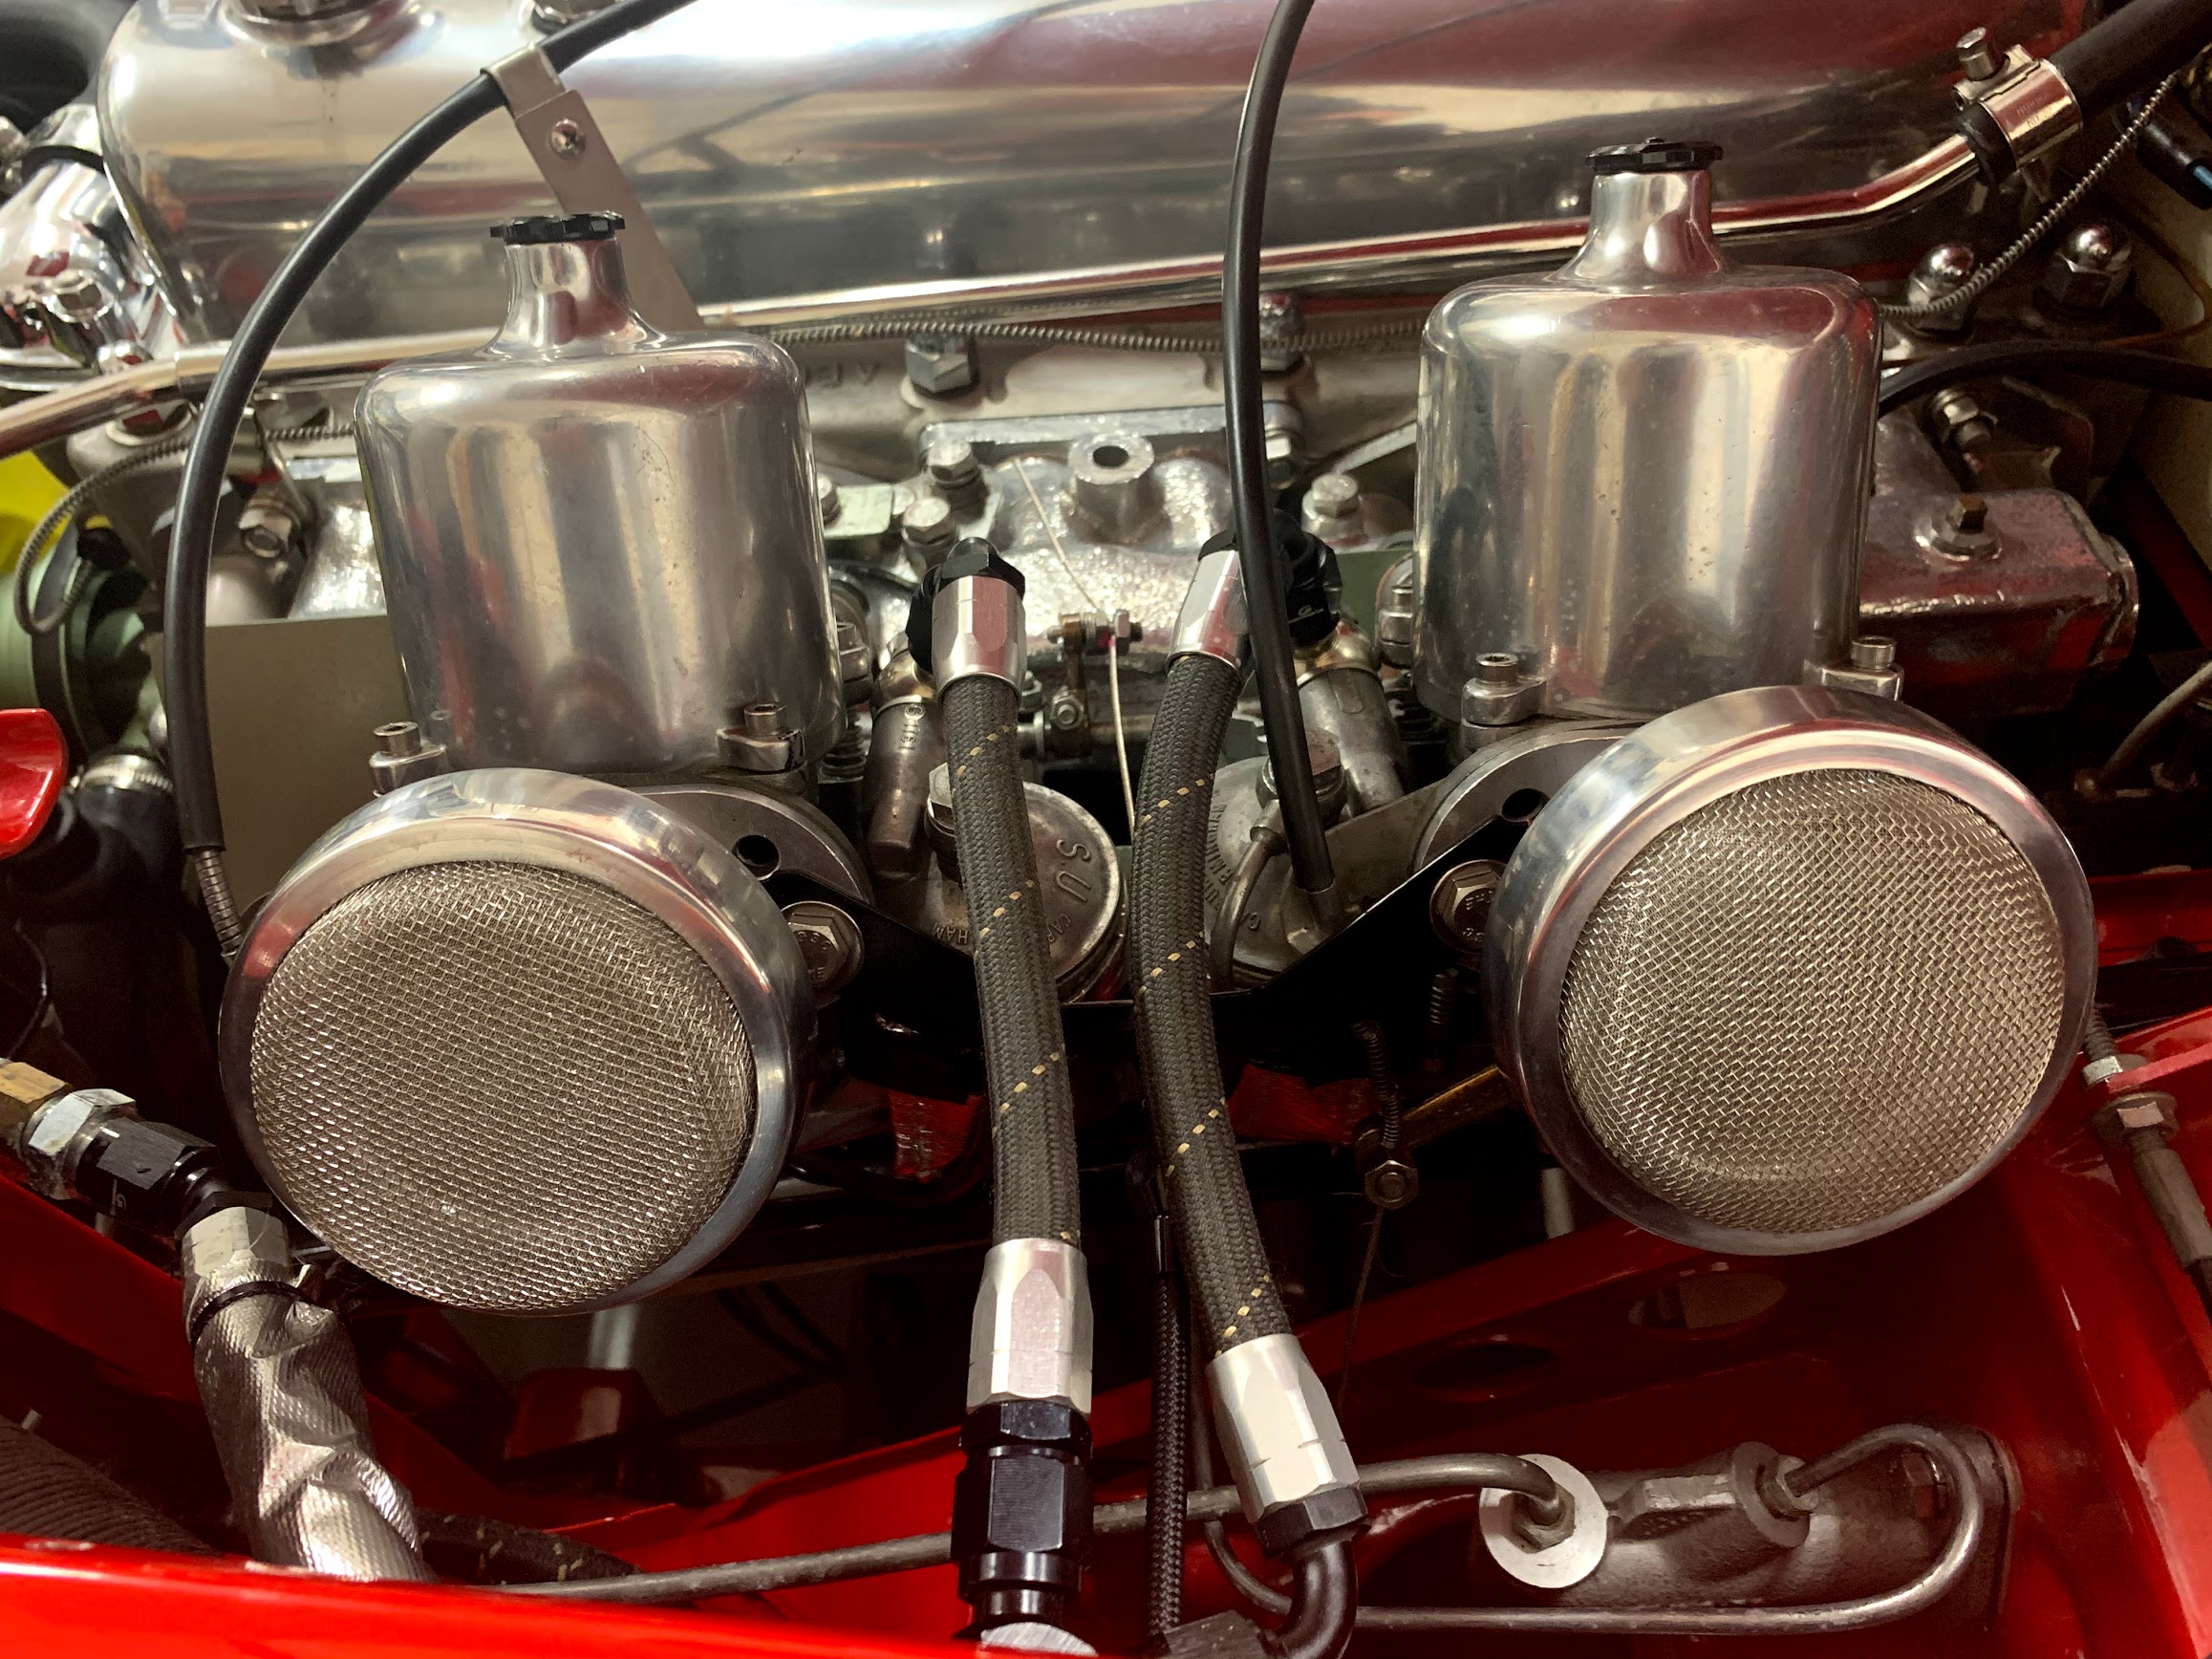
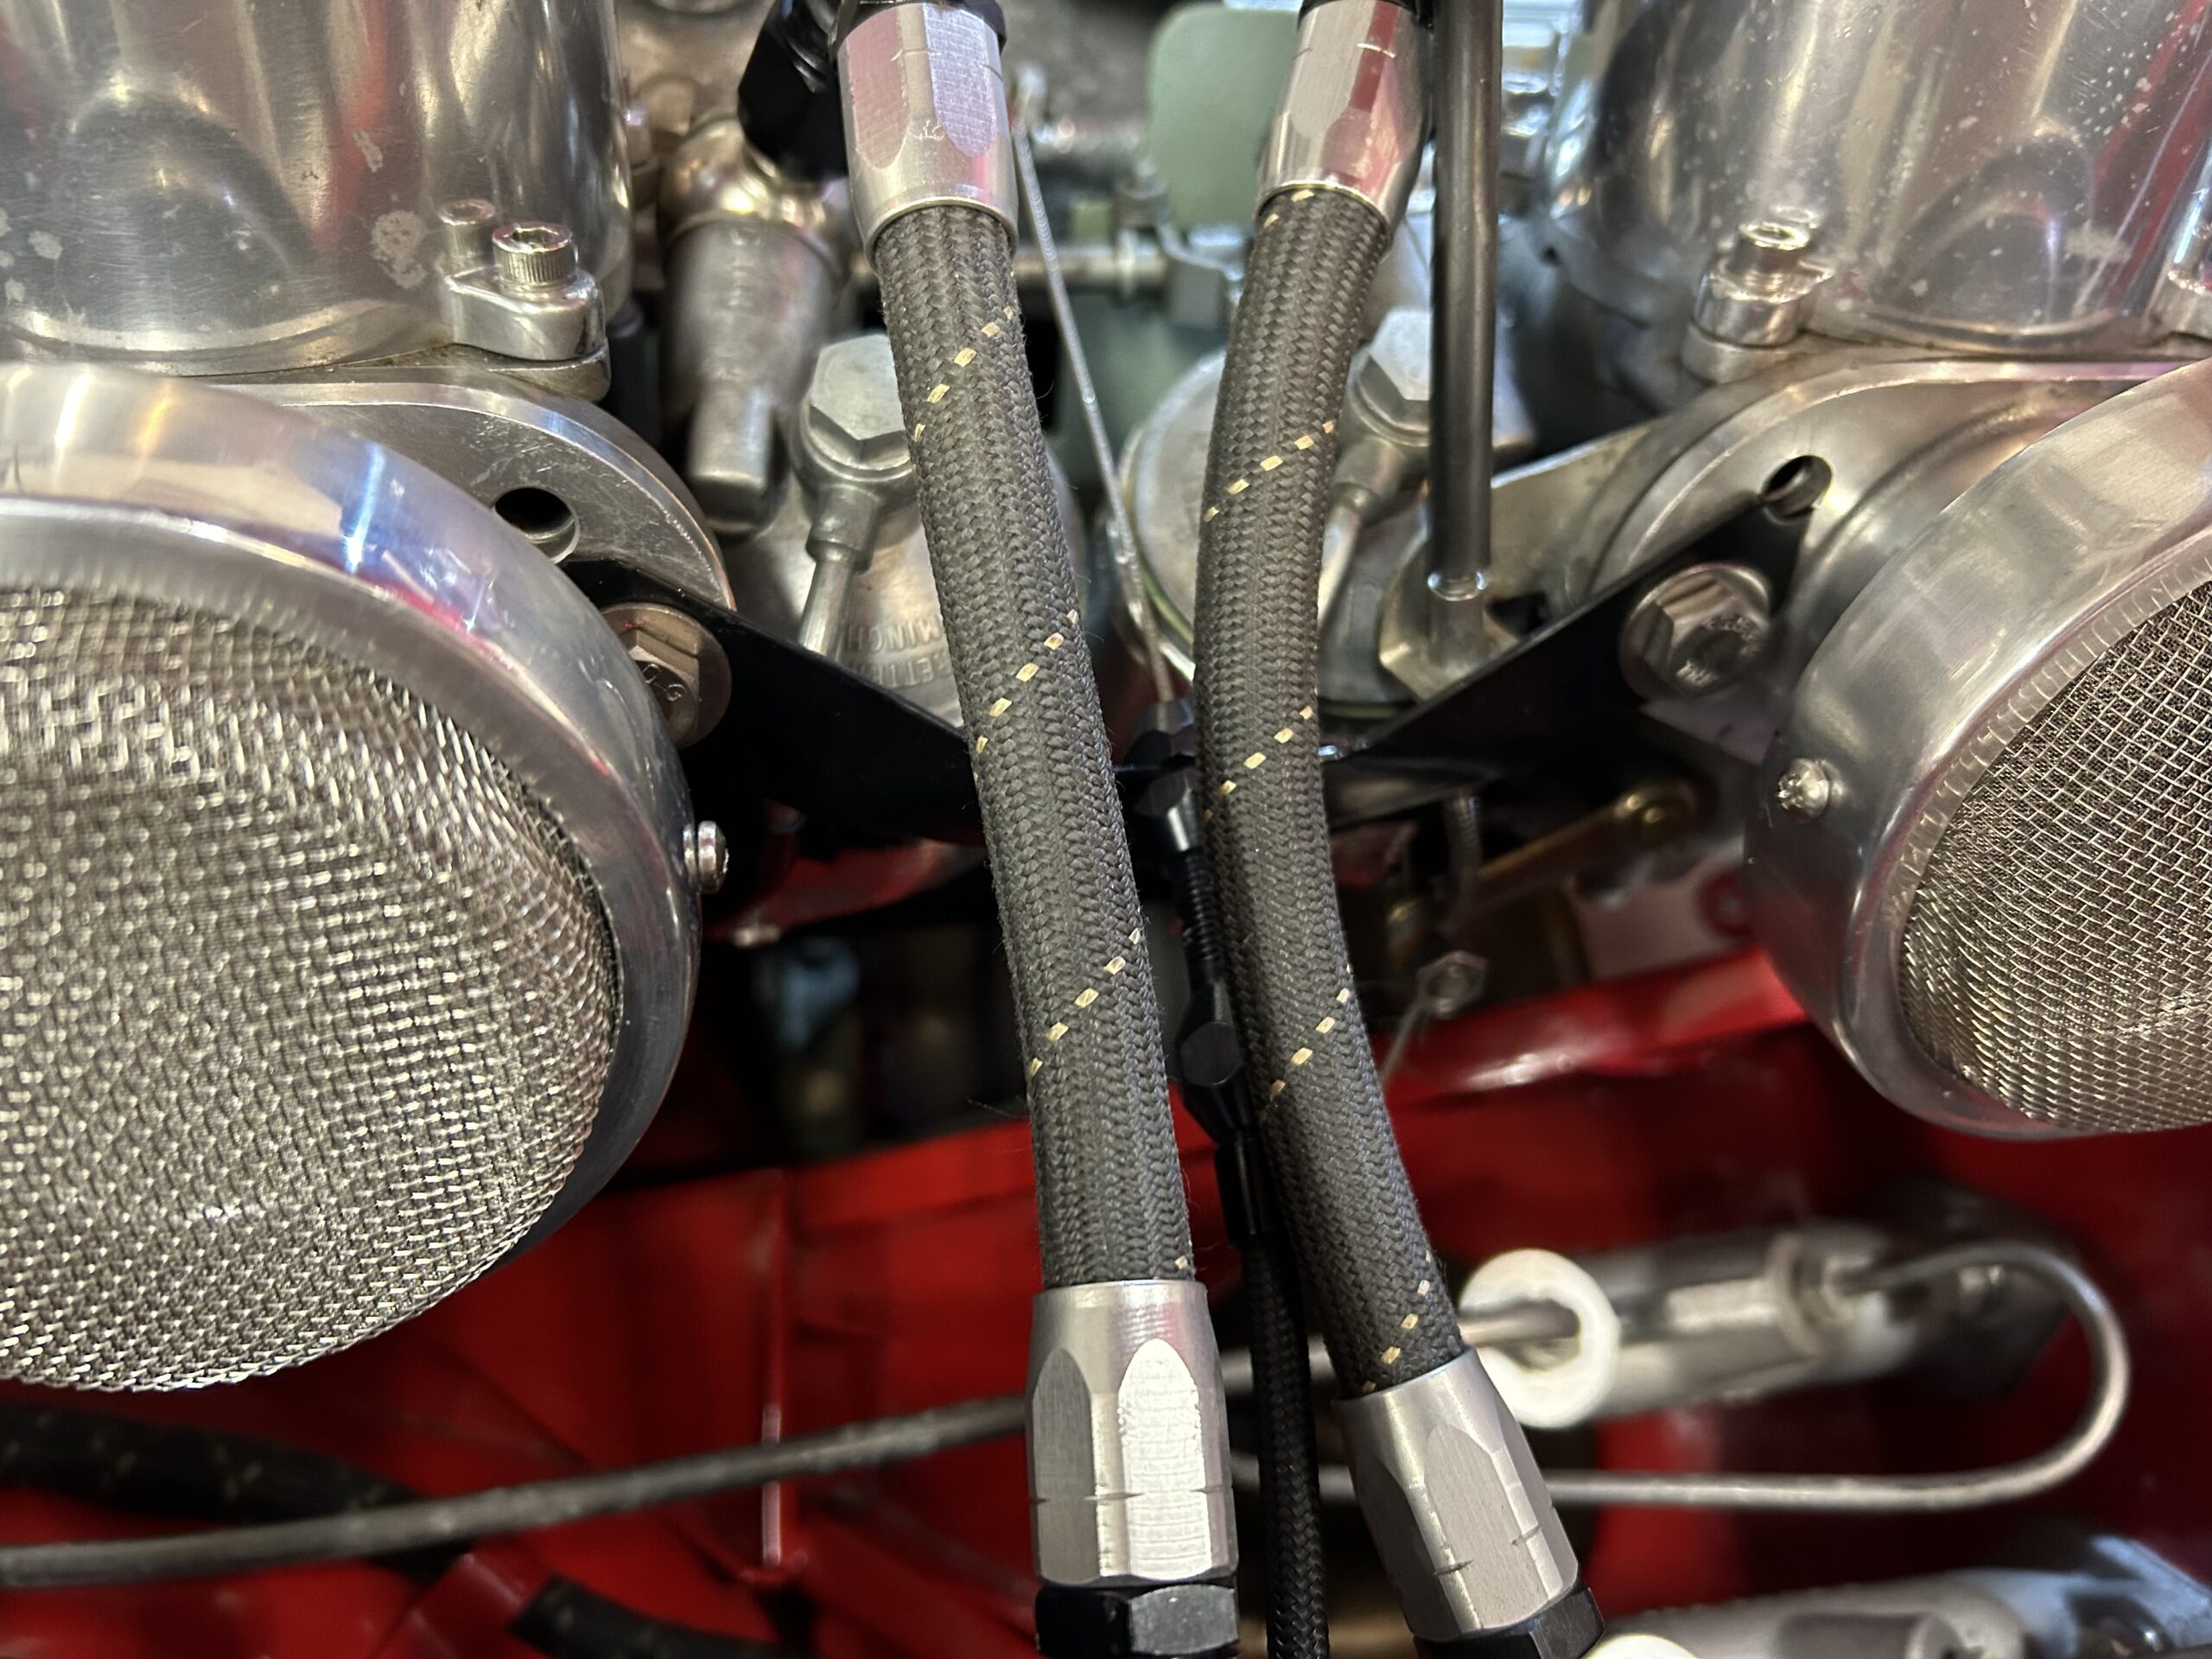
March 20, 2023 Update: The flange sealant method of attaching the filters to the velocity stacks described below did not hold up. So, I drilled 1/8″ holes through the filter rims and the velocity stack curled edges and attached the filter rims to the stacks with #6 x 1/2″ self tapping screws.

Velocity Stack Filters screwed to the Stacks
Velocity Stack Filters screwed to the Stacks
I am very pleased with both the look and performance of the new filtration system.