Bloody Beast Ten Year Renewal Plan
This is an initial draft of a check list for my ten year renewal project. I would love to have feedback from others on the completeness of the list. Obviously, some of these items will have been tended to rather recently during routine maintenance and they will now just get a quick check. My car is low mileage since its total restoration nine-plus years ago. Consequently, numerous items will not involve the typical wear one might see for this period of time. Instead, the item might need attention for age rather than wear.
Thanks to those readers who have written suggesting items to add to my check list. I appreciate your review! I have updated the list and it is current as of October 3, 2018
Bloody Beast Ten Year Renewal Plan
Body
RH side curtain vent installation – Unique to my situation
Repair all paint chips with touch up paint
Modify the Cape International rear bumper brackets to move the bumpers closer to the shroud. – Unique to my situation
Clay, Polish, and Wax
Lubricate Bonnet, Door, and Boot hinges and locks
White grease on door locks
White grease on bonnet catch
White grease on boot lock
Brakes and Clutch
Flush and refill hydraulic fluid and consider replacement of the master cylinders, bleed system. Outer portion of reservoir feeds the braking system. Inner portion feeds the clutch.
Check condition of all brake lines and rubber hoses and replace if needed
Consider replacing parts of the Cape International rear disc brake conversion with Steve Gerow’s kit. Unique to my situation
Inspect brake pads and renew if needed.
Check tightness of the slave cylinder fasteners.
Grease handbrake cable and compensator
Cooling
Replace radiator upper and lower hoses
Replace the fan belt
Check condition of the radiator cap
Flush coolant and replace with new coolant.
Electrical System
Replace alternator – Unique to my situation
Check all electrical connection points
Check condition of the battery and clean posts if needed.
Check tightness of fasteners securing the ground strap in the boot.
Add a back-up light from the gearbox
Replace the incandescent courtesy lamps with LED lights
Engine
Check tightness of Crankshaft starter nut and harmonic balancer
Adjust valve clearances
Oil and oil filter (K&N HP-2009) change – replace copper crush washer at drain plug
Check engine for leaks and repair where possible. Check the oil sump bolts.
Replace gaskets/seals for generator mounting plate and tappet covers.
Check tightness of all oil sump mounting bolts.
Replace rocker cover seal.
Replace the rocker cover “T” breather pipe with Cape International “U” pipe to take breather hoses to a Mishimoto oil catch can.- Unique to my situation
Check condition of engine mounts and bolt tightness.
Visually inspect core plugs for any seepage
Exhaust
Inspect system for any leaks and repair if needed
Check for tightness of fasteners
Fuel
Replace fuel filter – Malassi Filter King and Holley Gauge
Replace rubber fuel hose with ethanol resistant hose.
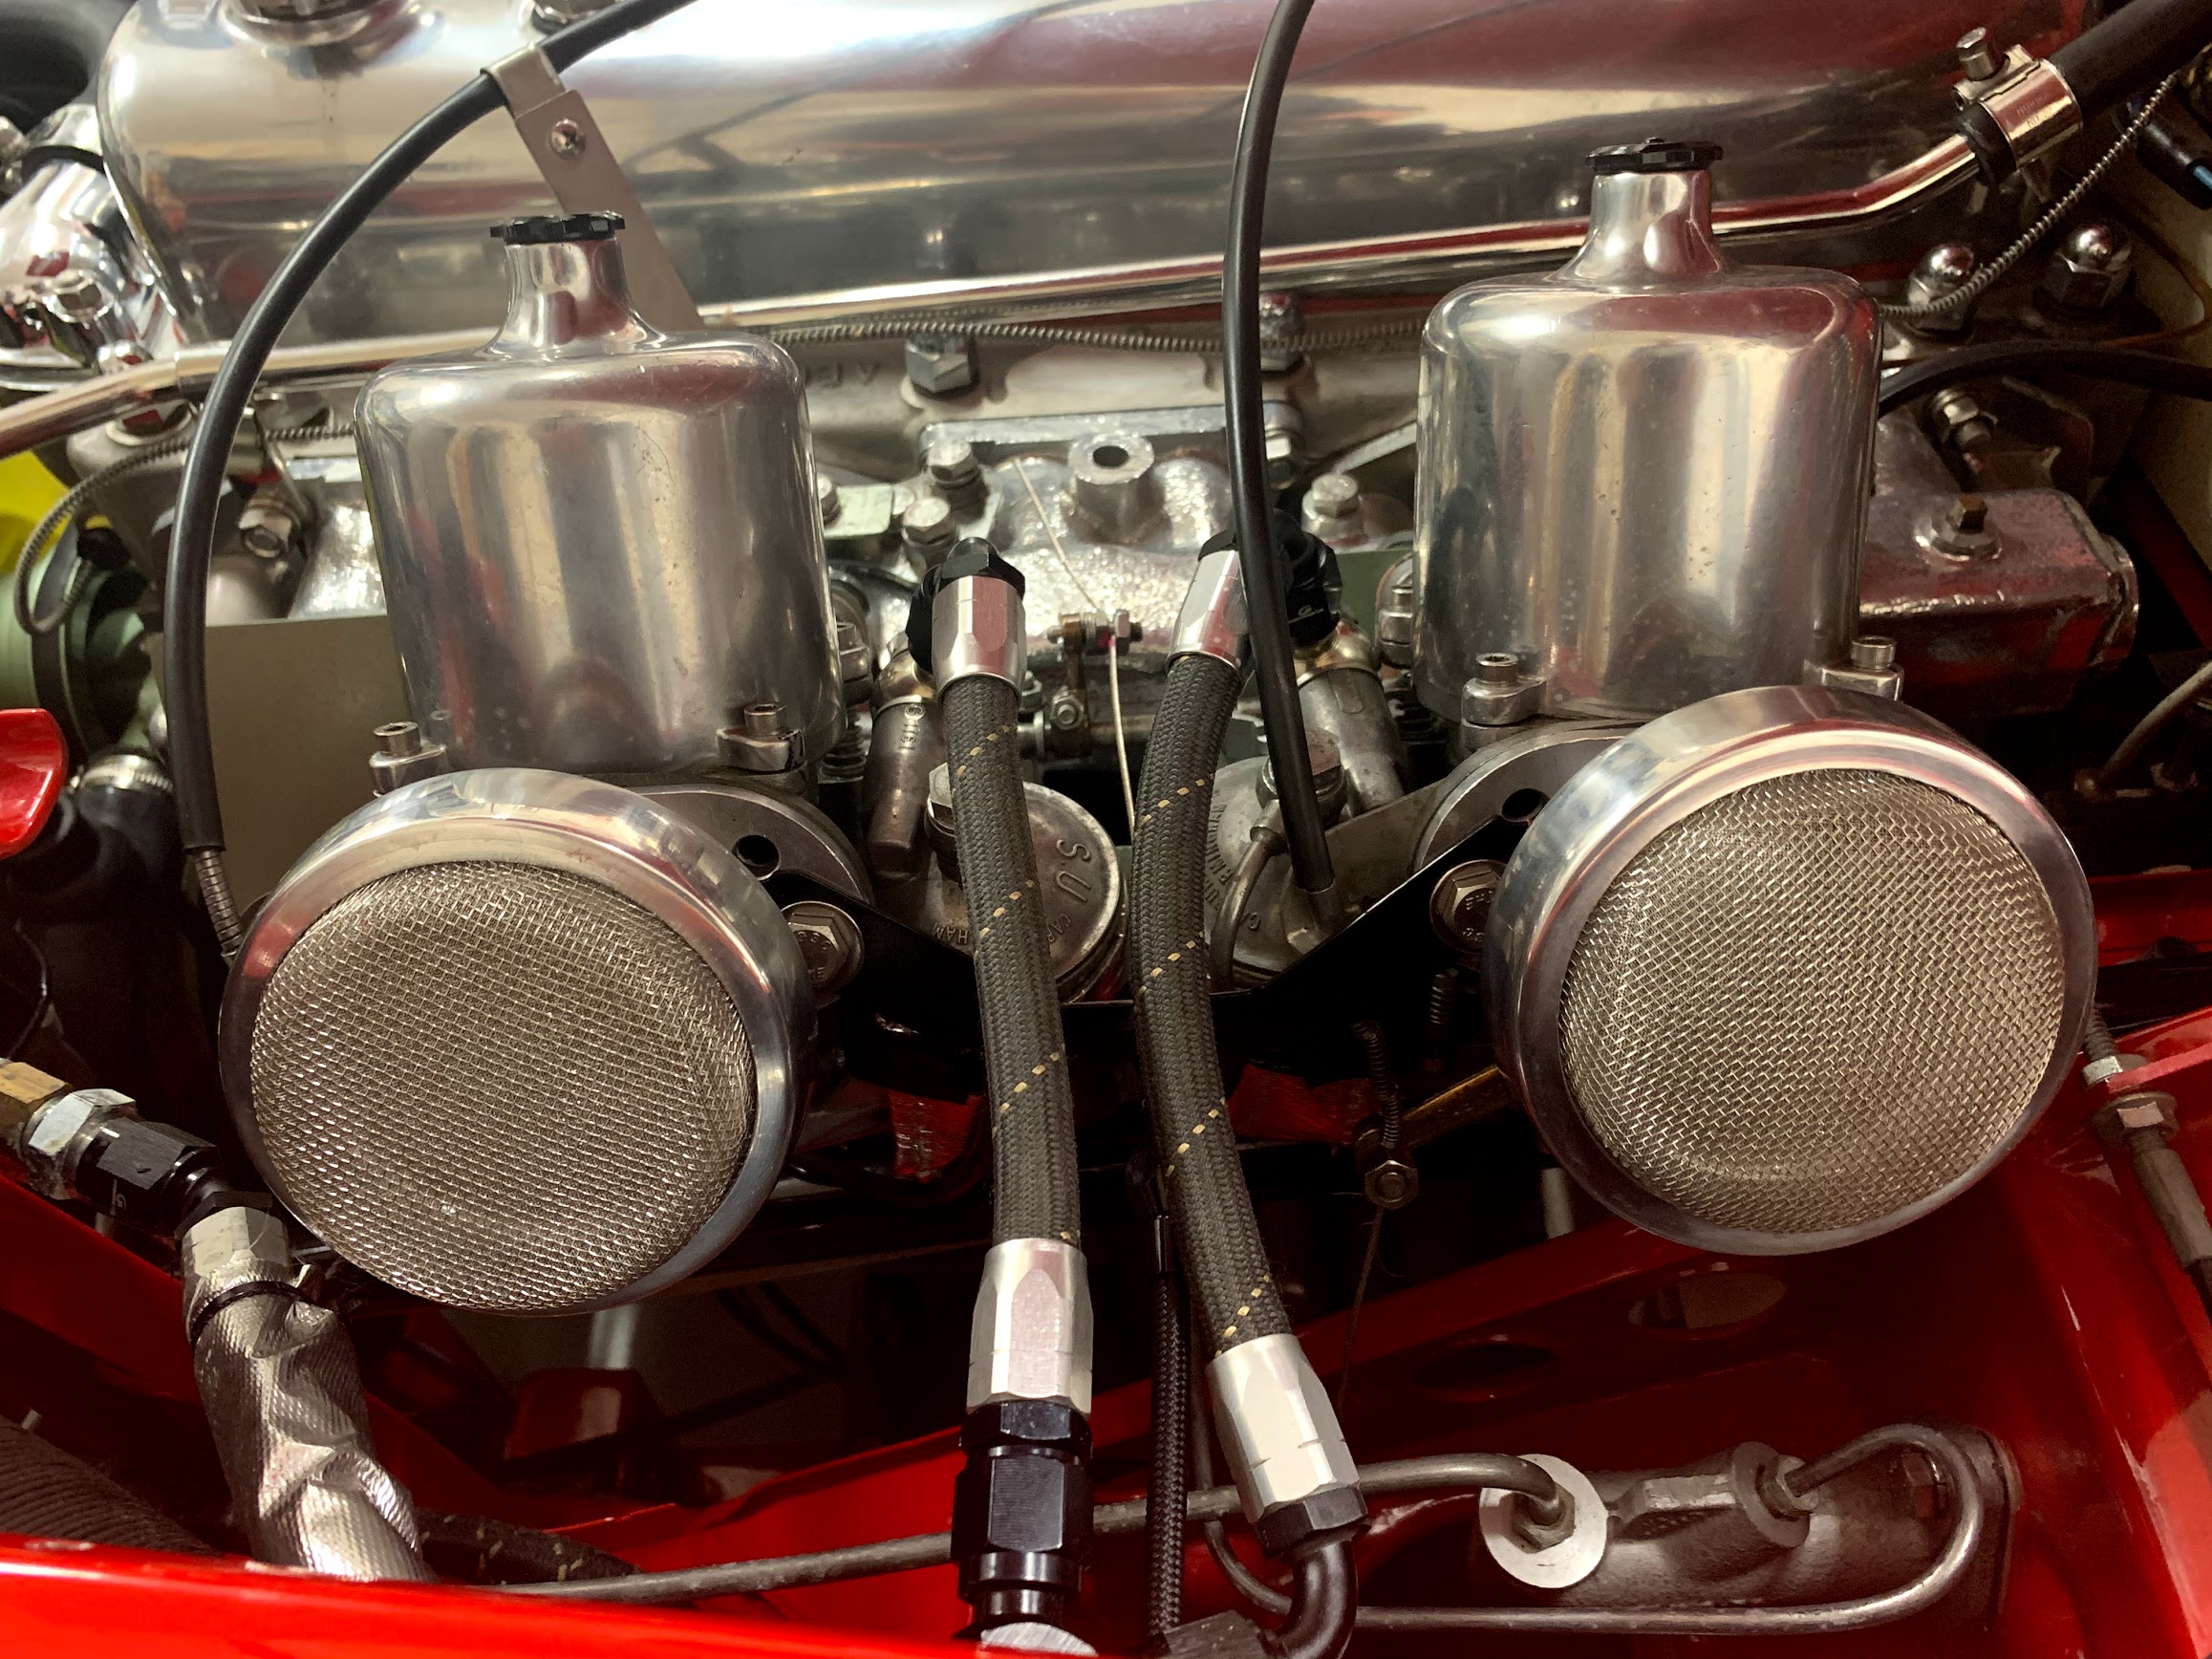
Check tightness of Carb fittings. Clean and polish carbs check damper oil level.
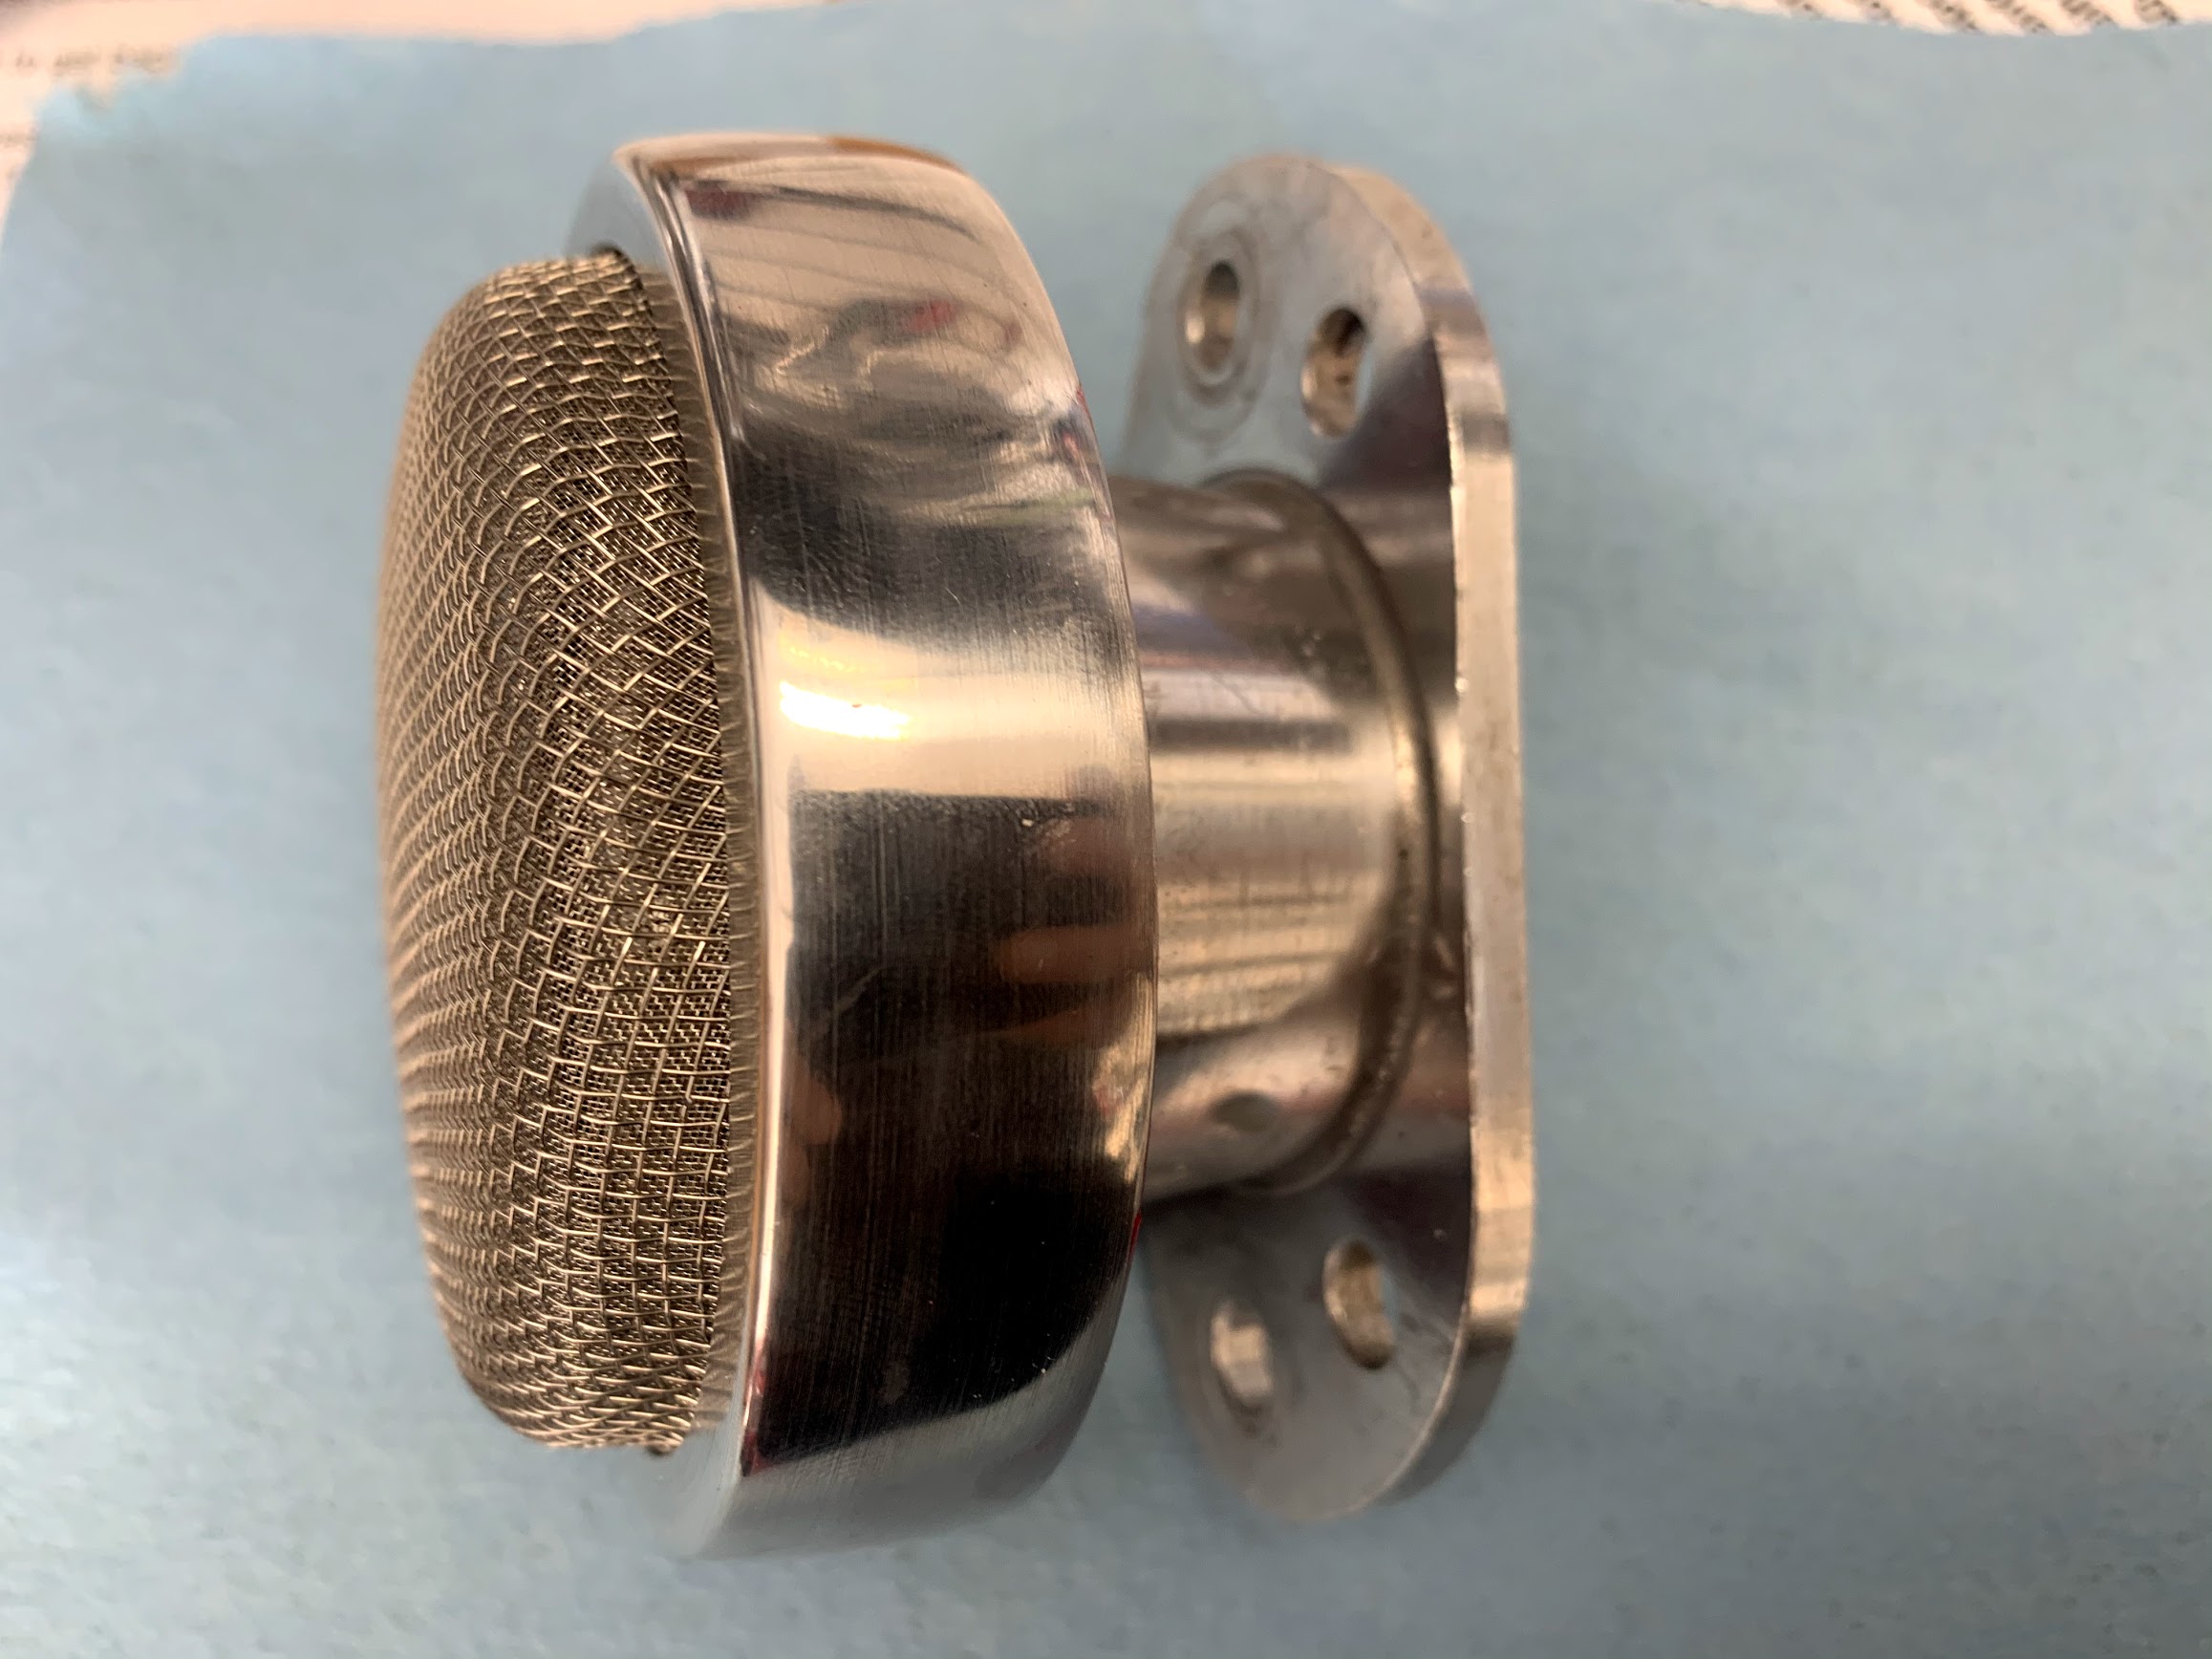
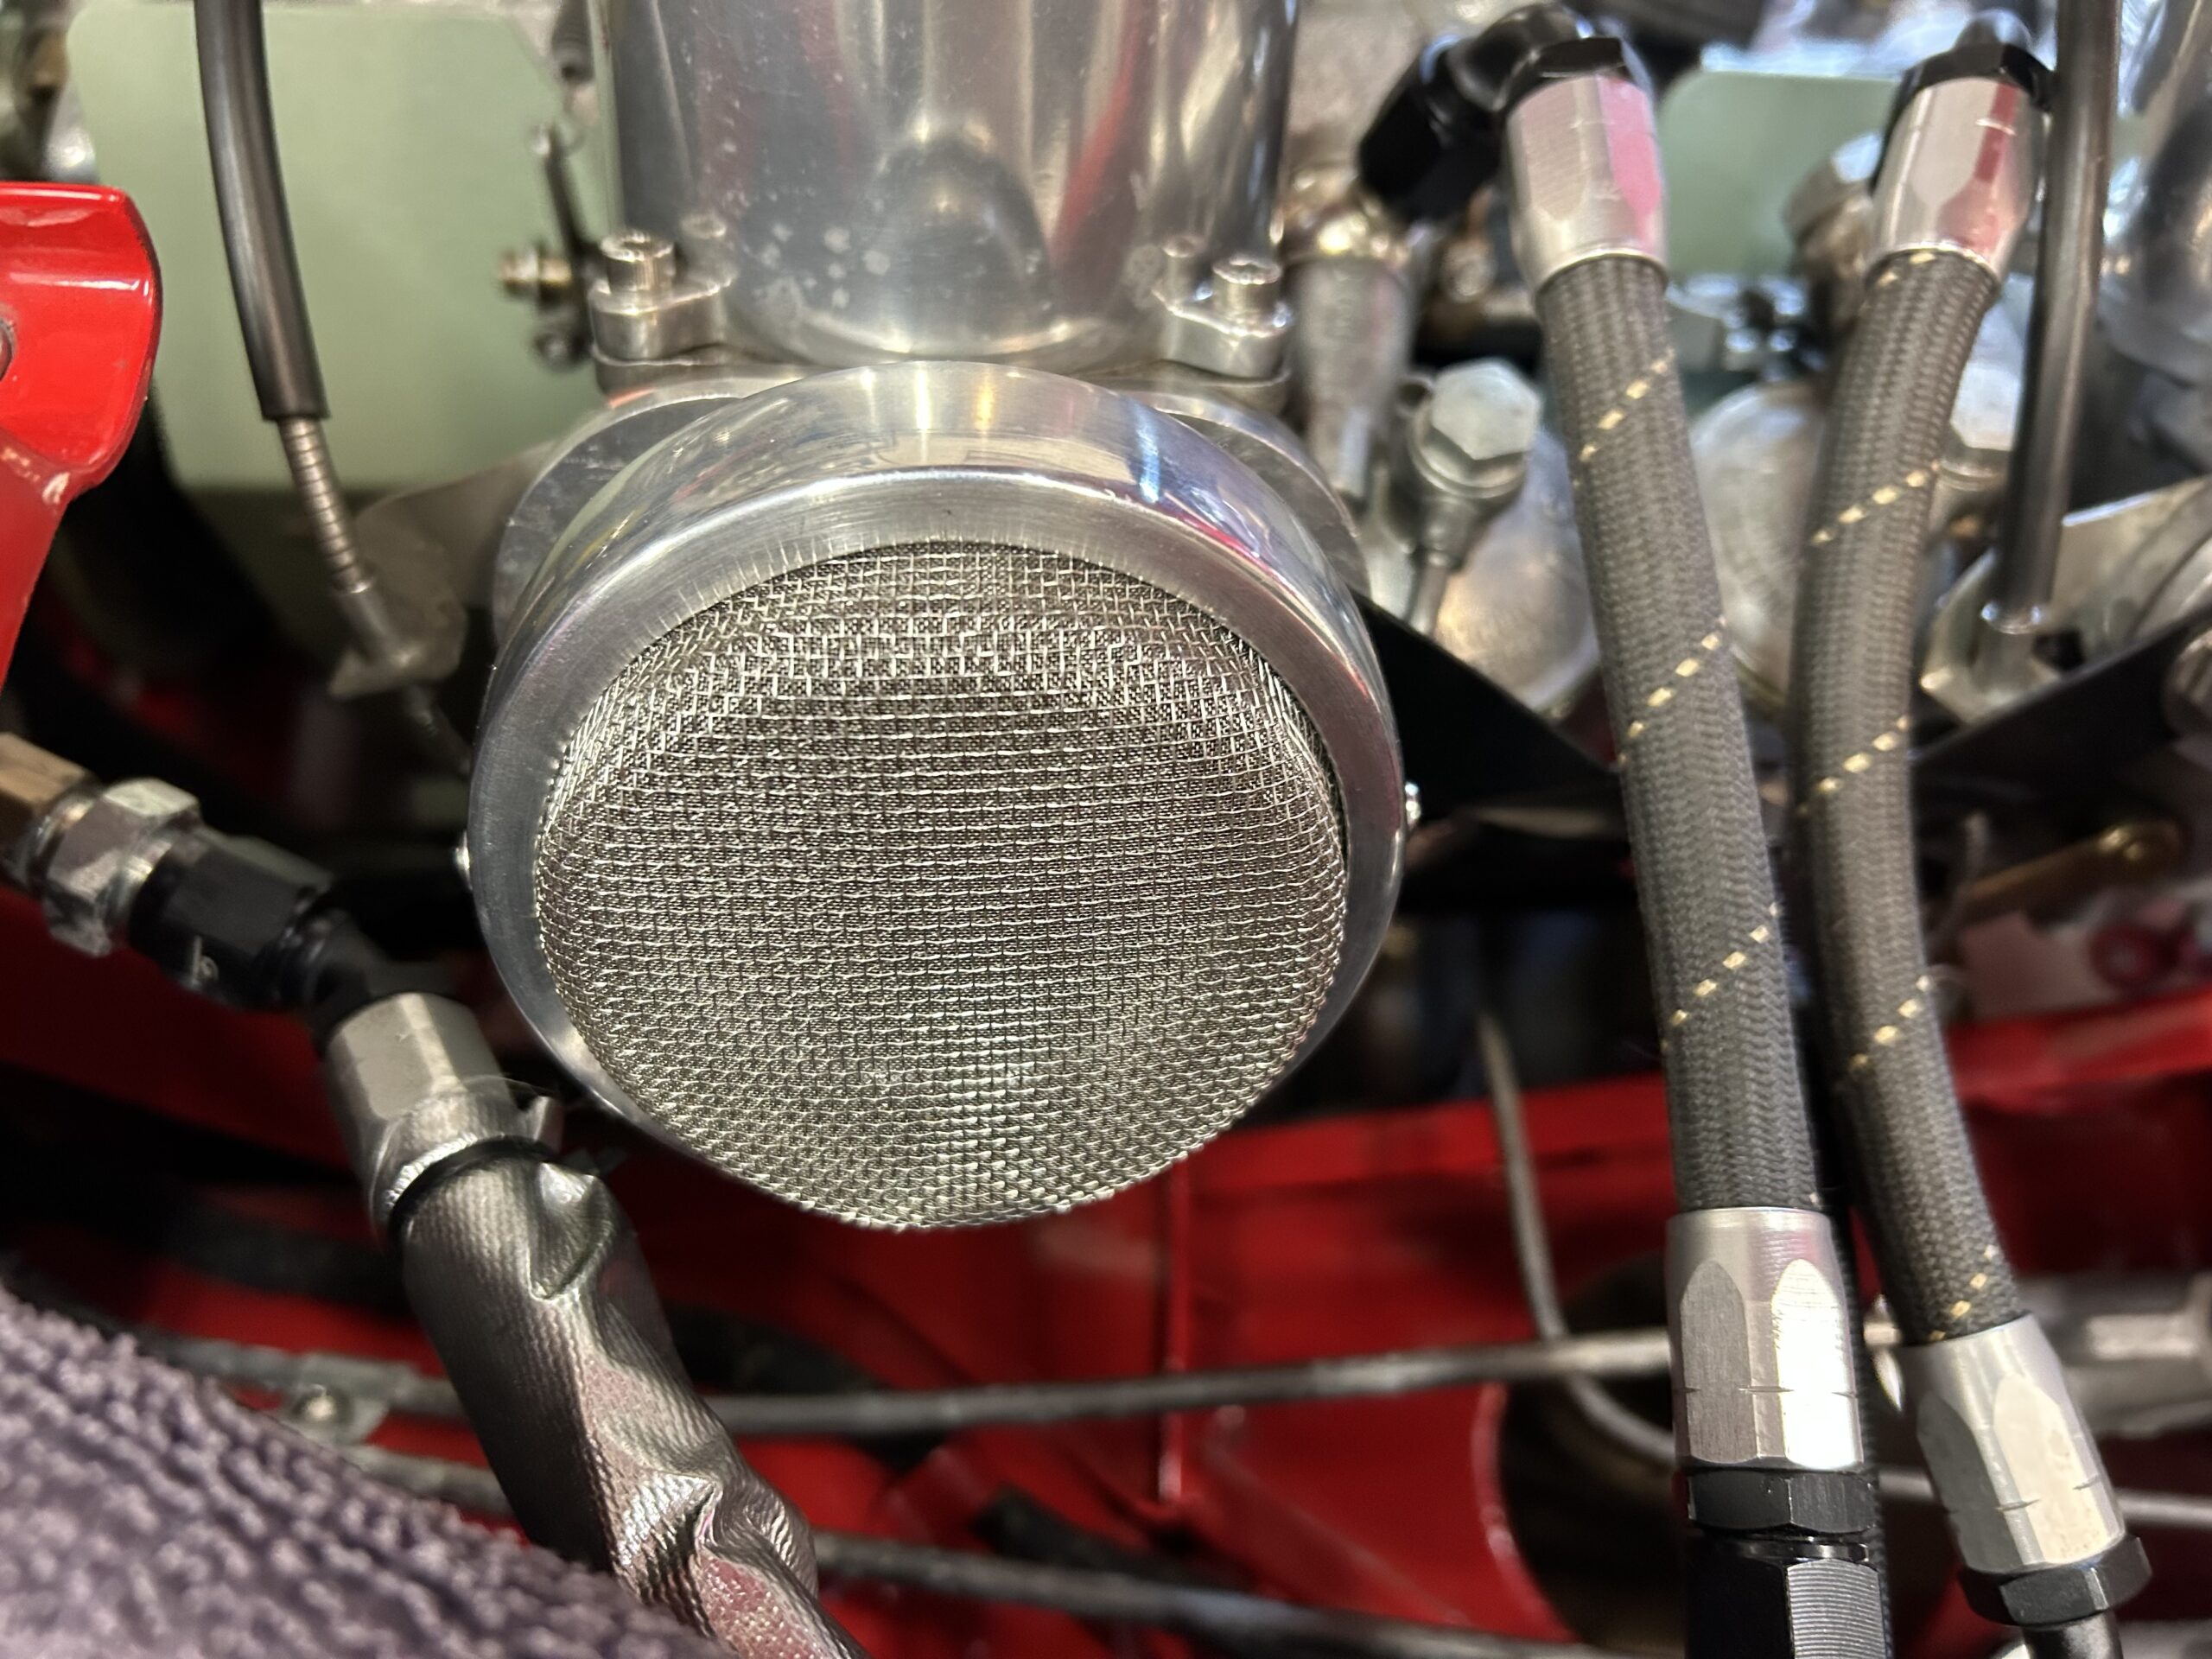
Change ITG air filter to Burlen Ram Pipes. – Unique to my situation
Adjust carbs as needed. See Steve Byers instructions.
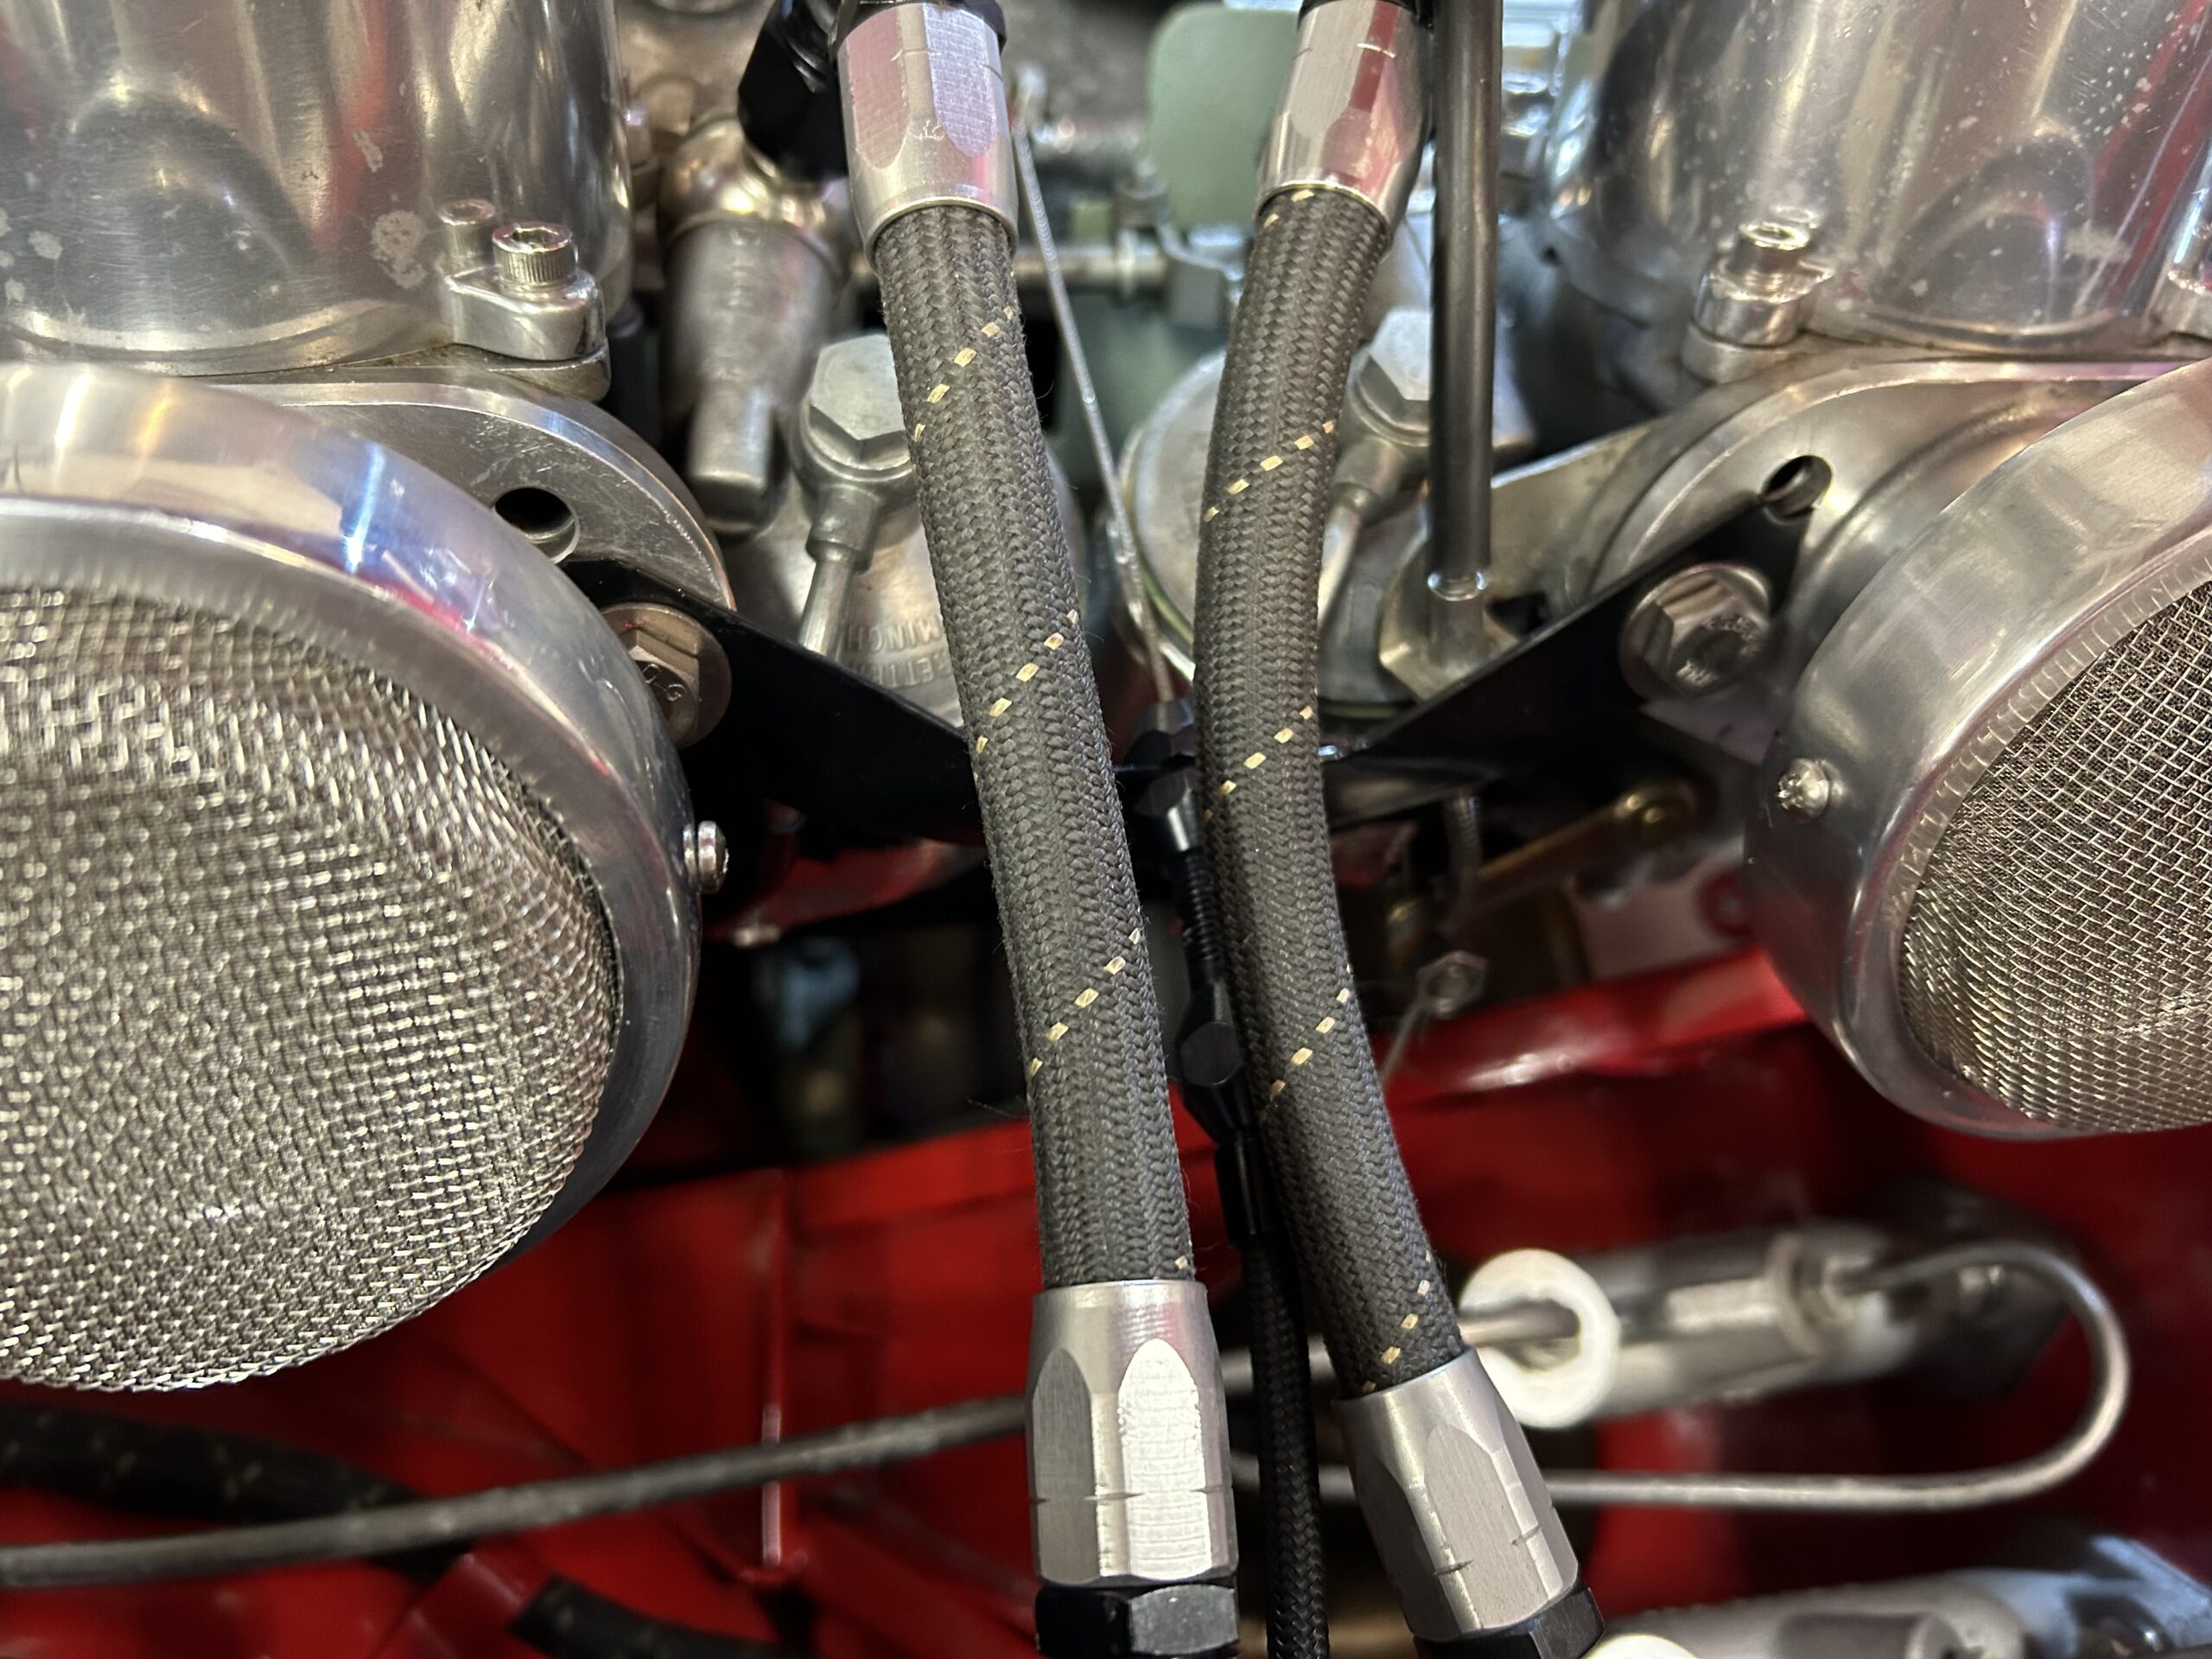
Consider a reworking of the fuel delivery hose system from pipe to carbs. Unique to my situation.
Add a ground connection wire from the fuel sender unit to the frame.
Check fuel sender/gasket for any fuel leakage.
Lubricate carb linkages with light oil
Front suspension
Check condition of rubber boots on ball joints and other bushings.
Check the tightness of all shock absorber mounting bolts.
Check Oil in the shock absorbers.
Check the tightness of the nuts/bolts under the spring pans.
Check the working condition of all grease zerks and grease them.
Inspect the front bearings. Repack or replace. Set end-float to spec.
Inspect the splines on the hubs and the wheels. Make sure all hub nuts are tight.
Check for wear in the king pin by testing to see if there is movement when grabbing the tire at the bottom and trying to move it in and out.
Gearbox & Propshaft
Check all mounting fasteners for tightness.
Drain gearbox oil and replace with a little less than 3 quarts of Red Line MT-90 synthetic gear oil.
Check condition of U-joints (?)
Heater
Inspect rubber heater hoses and replace if needed.
Consider replacement of the heater water valve to ensure it is not clogged.
Ignition
Inspect ignition system wiring and connection points
Inspect spark plugs and replace with new NGK BP6ES plugs
Check engine timing
Interior
Replace bristleflex door seals
Treat leather surfaces with conditioner.
Check oil seal on the back of the tachometer to see if there are any drips.
Lights
Check all bulbs and flashers for correct operation
Check operation of all dash lights
Rear Axle & Suspension
Refresh Axle Differential Gear Oil
Check fasteners for U-bolts, shock absorbers
Check the working condition of all grease zerks and grease them
Check the breather on the the axle casing
Check rear bearings for smooth turning and seals for leaks
Check oil in the shock absorbers
Steering
Check fill levels of the steering idler and steering box and add Penrite Steering Oil.
Check tightness of all fasteners and rubber ball joint boots.
Tires
Inspect for age and wear. Replace if needed.
Check inflation pressures and adjust if needed.
Wheels
Inspect all wheels for loose spokes. Repair if needed.
Windshield & Windshield Washer
Inspect and refresh fluid in reservoir
Replace wiper blades